 CLASHBASE.ONLINERanked
About this Town Hall 11 base
Copy this base to Clash of Clans
Tap the button below. Clash of Clans will open so you can place this layout in an available base slot.
Copy base to the gameClash of Clans must be installed on this device.Rate this layout
Share a useful, honest experience. One review is stored per visitor for this item.
TH11 Ranked Base #4: Open-Ring Defense Built Around Pathing and Percentage Control
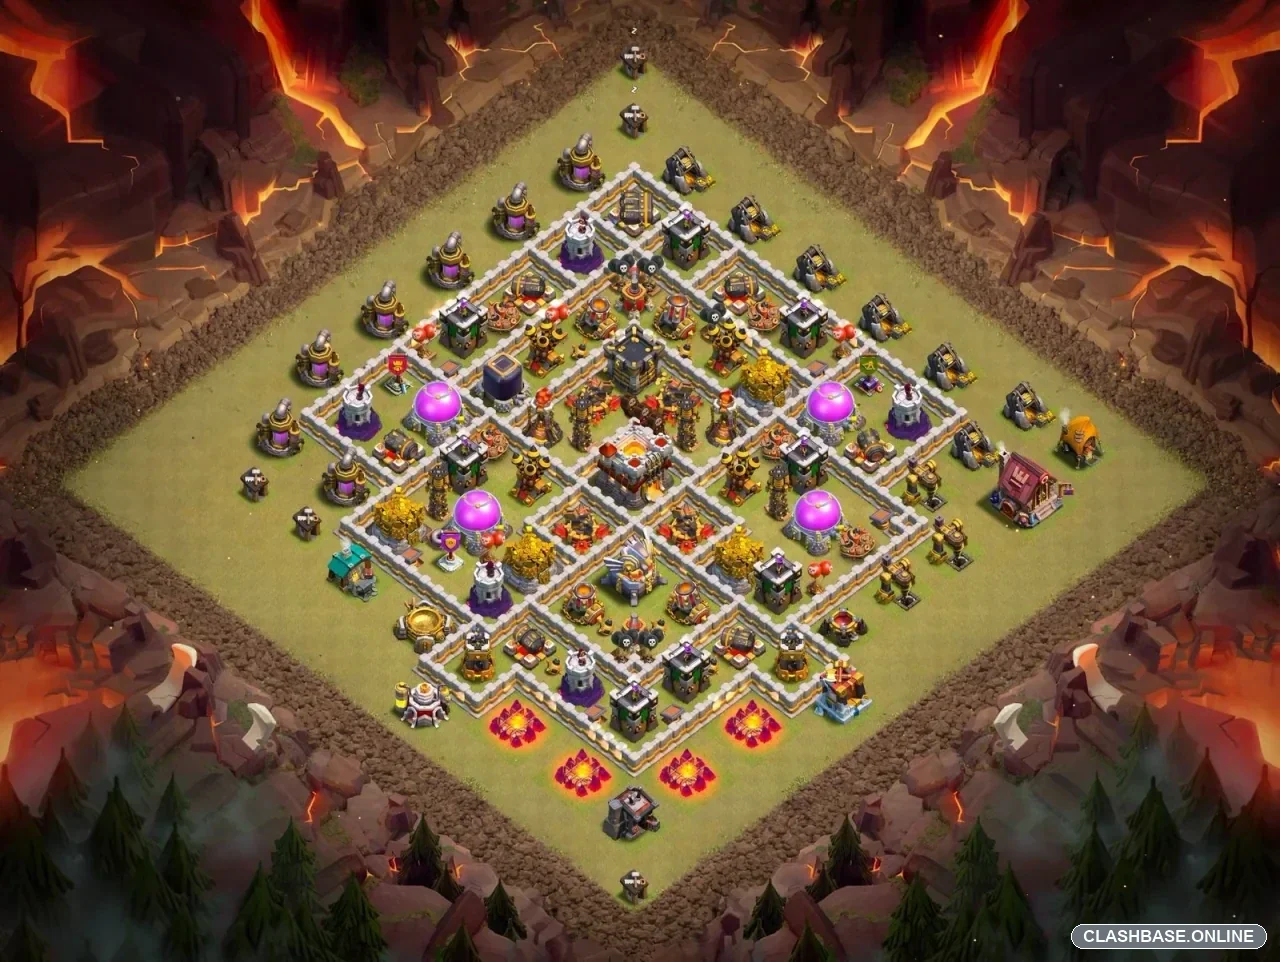
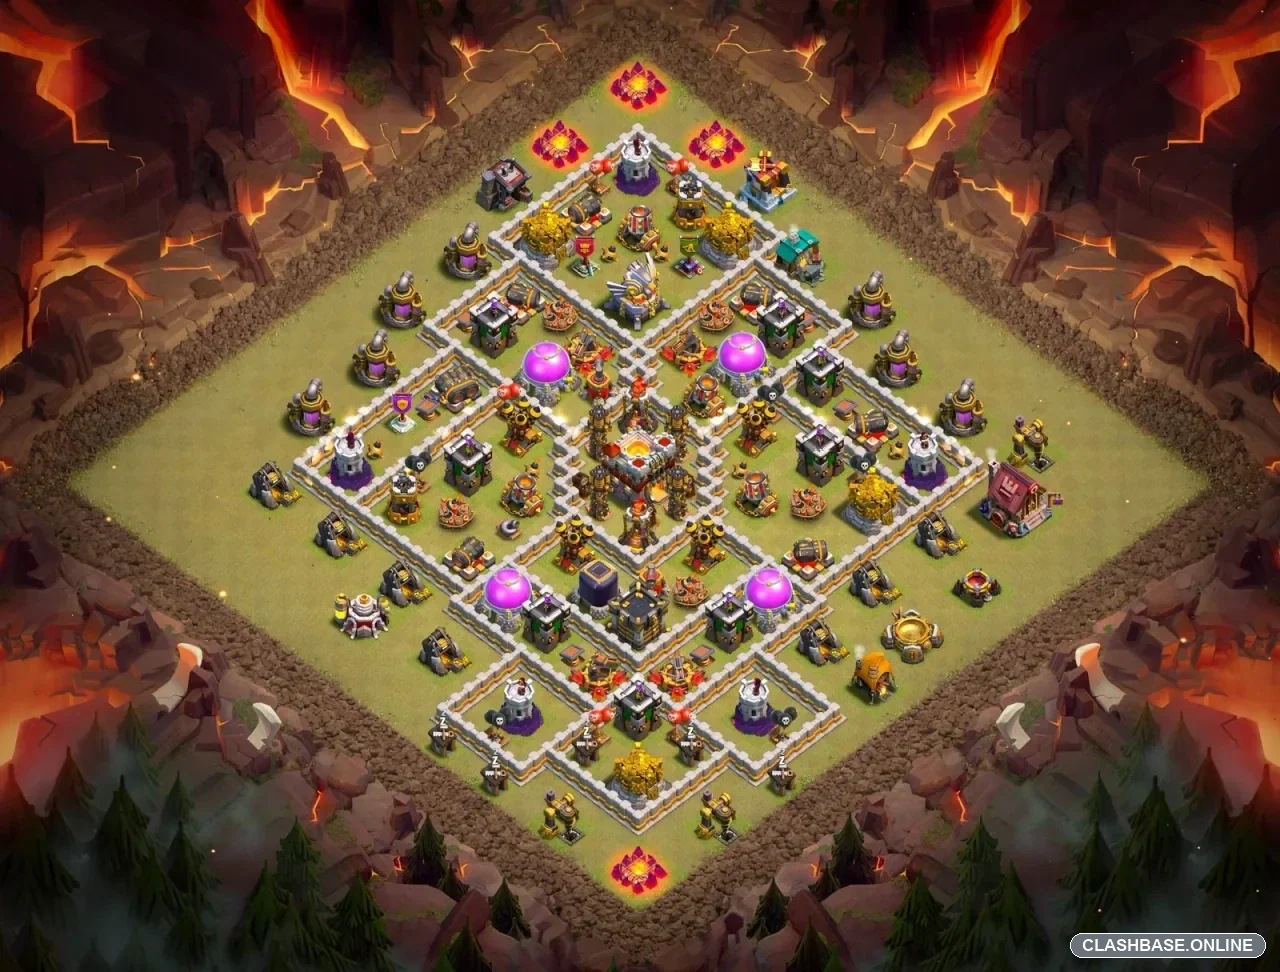
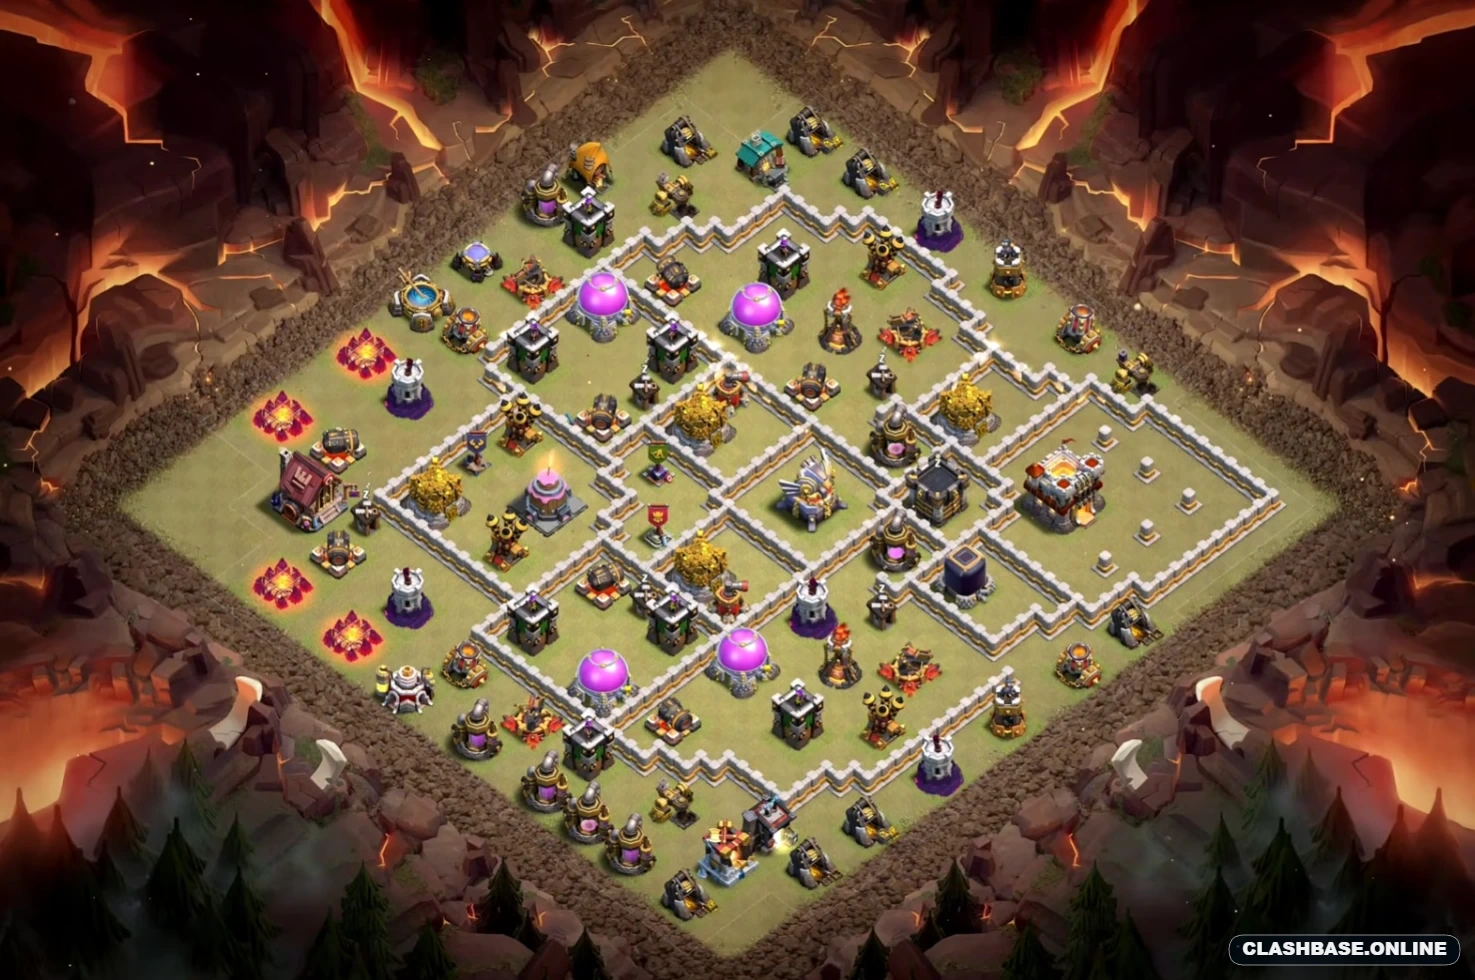
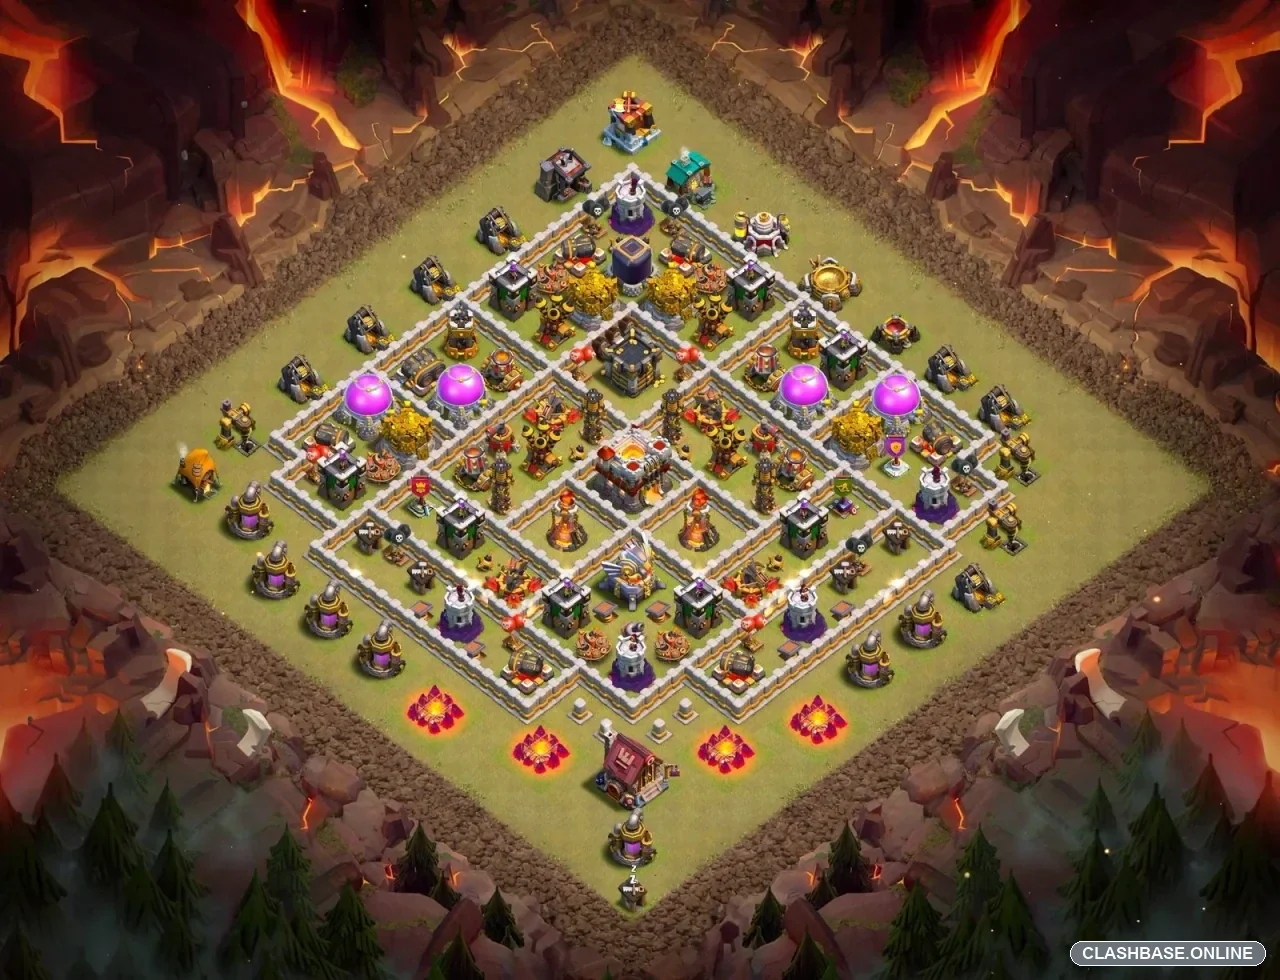
TH11 Ranked Layout #4 uses an open-ring structure with the Town Hall slightly offset toward the left side of the core. At first glance, the base looks fairly symmetrical, but the defensive value is not distributed evenly. The Town Hall, Eagle Artillery, Inferno Towers, Air Defenses, and surrounding compartments create several different pressure points rather than one obvious central target.
That is what makes this layout interesting for Ranked play. It appears designed to affect the entire raid—stars, percentage, troop movement, and cleanup time—instead of simply hoping the Town Hall survives.
The Town Hall creates pressure without becoming the whole defense
The Town Hall sits inside the inner defensive network, but it is not perfectly centered.
That slight offset may seem minor, yet it can change troop movement once the first few compartments disappear. An army approaching from one angle may not naturally continue through the Town Hall toward the opposite side.
Meanwhile, other important defenses remain active around the ring. So even if the Town Hall eventually falls, the attacker may still face enough defensive strength to make the remaining percentage uncomfortable.
For Ranked defense, that matters. A successful objective push does not automatically mean a clean finish.
The open ring is really a pathing tool
The strongest part of Layout #4 is probably its wall structure.
Several compartments circle the core, giving troops multiple nearby targets. If the funnel is not precise, one group can start moving around the ring while another heads inward.
That split is exactly what the defense wants.
Hog or Miner Hybrid attacks depend heavily on clean pathing and well-timed Heal coverage. If the troops separate too early, spell efficiency drops. Queen Charge LavaLoon can face a similar issue if the Queen clears one section but leaves an awkward air path behind.
Even Electro Dragons, which may find attractive chain value in some compact pockets, still have to deal with the fact that the entire village is not stacked into one dense block.
Air and Inferno coverage remains divided
The Air Defenses are spread across the inner compartments, while the Inferno Towers sit far enough apart to reduce easy single-spell value.
This creates a more persistent defense.
One section can begin to collapse without automatically making the opposite side safe. Against air attacks, that means another Air Defense may still cover the next lane. Ground armies face the same problem with the Infernos: controlling one anchor does not solve the whole core.
The lower-left edge is the key pressure point
The lower-left edge appears to be the easiest place to establish a funnel.
The danger for the defense is controlled pathing. If an attacker deliberately sends one group around the ring while another force enters the core at the right moment, the layout's main strength can turn into a weakness.
That makes this side especially important for traps, defensive overlap, and anything that disrupts a perfectly clean opening.
Why Layout #4 fits Ranked
TH11 Ranked Base #4 works because it does more than protect one building. The open ring influences troop movement, the offset Town Hall pressures stars, and the separated defensive anchors keep percentage relevant deep into the raid.