 CLASHBASE.ONLINERanked
About this Town Hall 16 base
Copy this base to Clash of Clans
Tap the button below. Clash of Clans will open so you can place this layout in an available base slot.
Copy base to the gameClash of Clans must be installed on this device.Rate this layout
Share a useful, honest experience. One review is stored per visitor for this item.
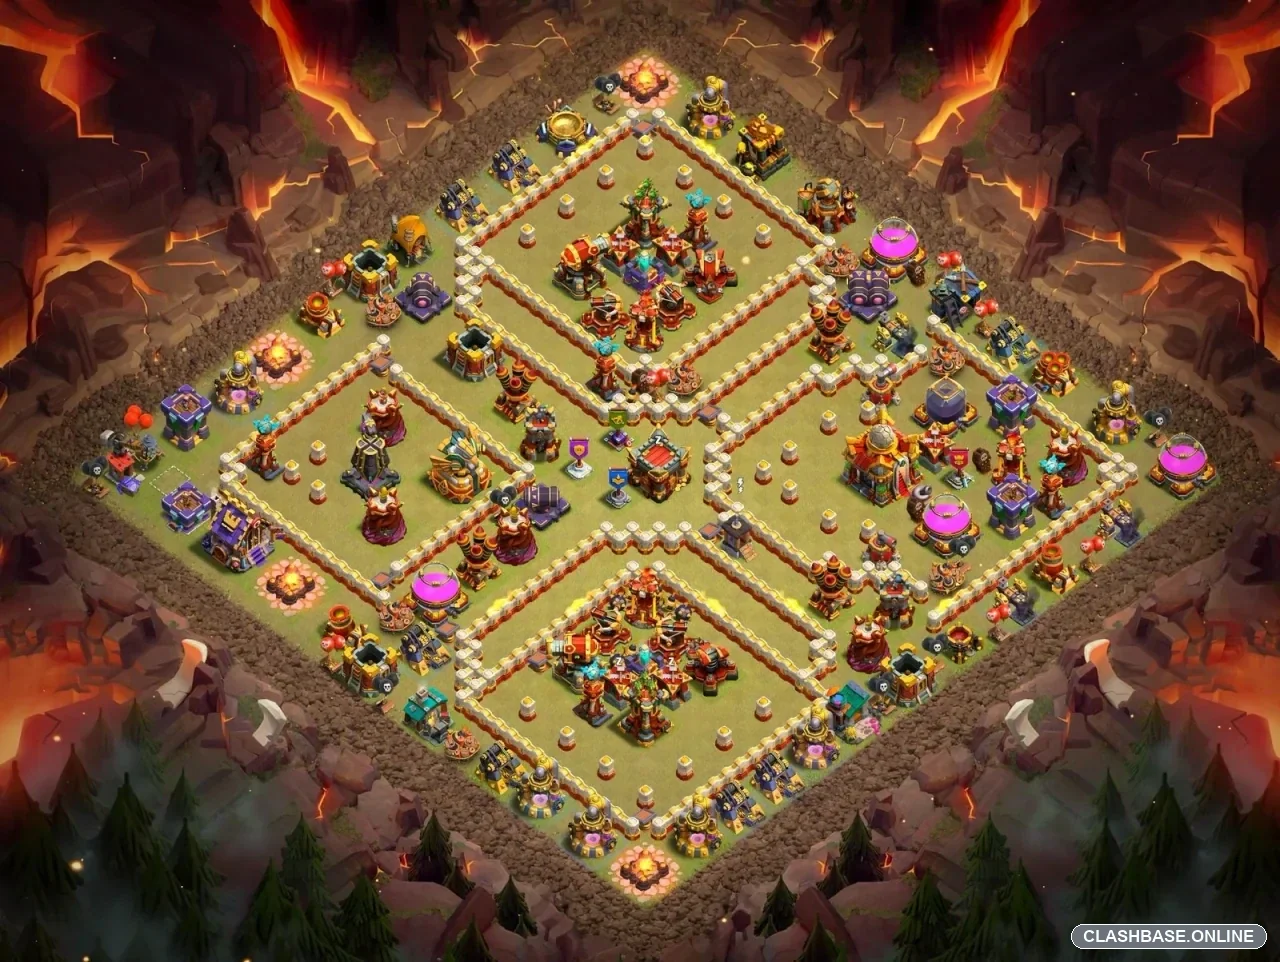
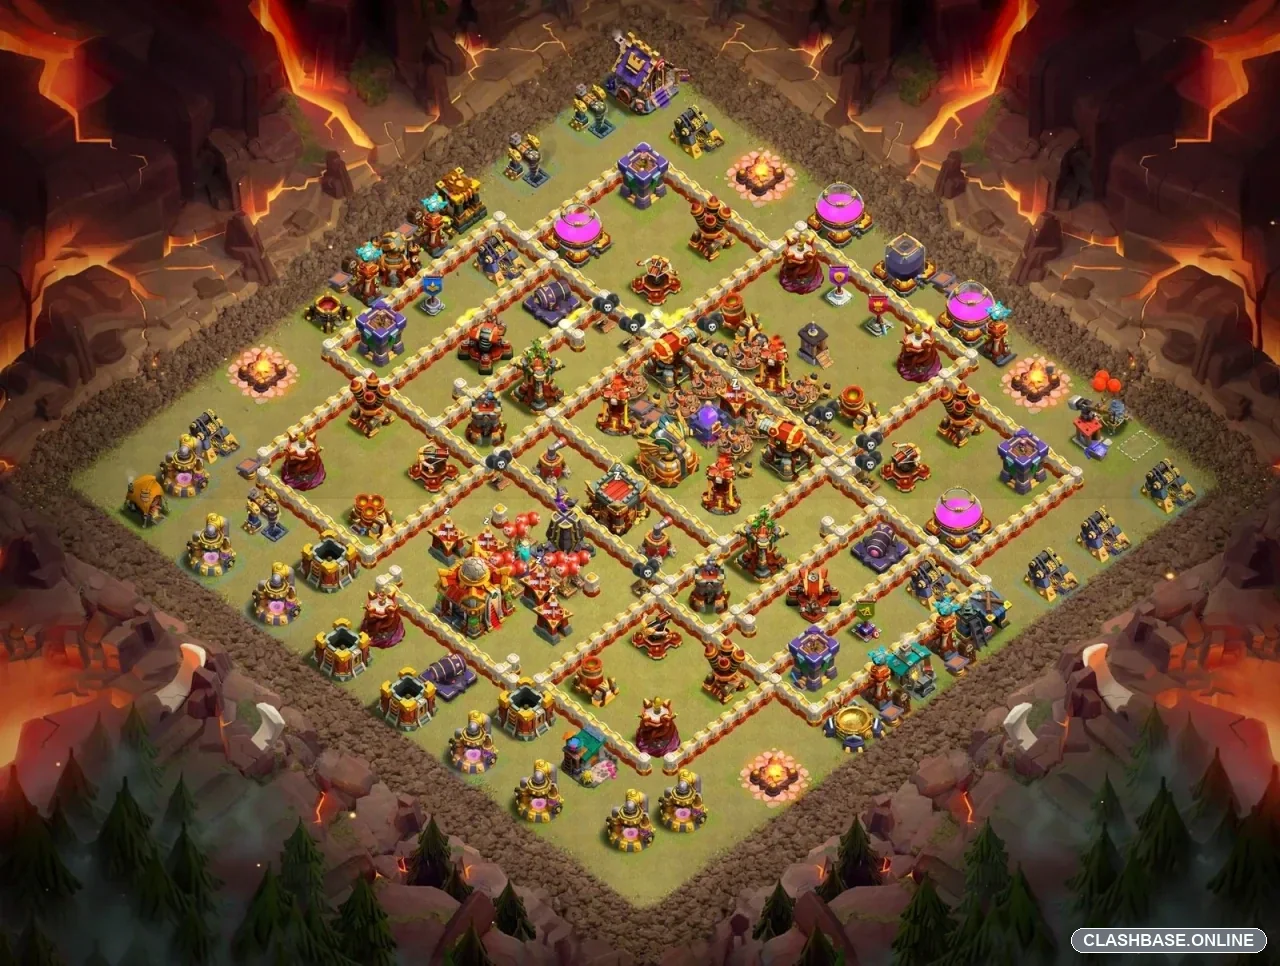
TH16 Ranked Base #9: Compact Core with a Right-Side Entry and Strong Central Spell Value
Town Hall 16 Ranked Layout #9 has a fairly compact shape, but it does not behave like a simple box base. The Town Hall sits slightly toward the right side of the core rather than perfectly in the middle, and several important defenses are arranged around it in separate compartments. From a scouting screen, the layout looks readable enough. The difficult part begins once the first walls open, because the obvious route toward the Town Hall does not automatically give the attacker a comfortable path through the rest of the village.
The right edge is probably the first side I would examine. Around three or four o’clock, there appears to be enough room to remove a few outside buildings and shape a reasonably clean funnel. That makes the side attractive for both ground and air approaches. I would still avoid opening the entire edge too early. A broad funnel can expose several targets at once, and troops that looked organized during deployment may start moving into different compartments as soon as the first defenses fall.
That pathing issue matters particularly with heavy ground armies.
A Root Rider or similar smash attack could make quick progress from the right because the wall structure itself is unlikely to hold a strong TH16 army for long. The more important question is whether the heroes, support troops, and main tanks stay together. If they do, the attacker can push toward the Town Hall with good momentum and use spells efficiently. If the Queen or part of the support line drifts toward an outside compartment, the attack becomes much harder to manage.
The split may not look serious immediately. In fact, it can initially feel like extra value. One group clears the edge while another works toward the center, and percentage rises quickly. A little later, though, the main force reaches the core without the full support it expected. That is often when the attacker has to start improvising.
The compact central area has one obvious defensive strength: several important threats can influence the same fight. But that concentration creates the layout’s biggest weakness too—high spell value.
If an attacker reaches the middle with the army still grouped and most spells available, a well-timed Freeze, Rage, Overgrowth, or another control spell could affect several important defenses during the same window. That may turn an intimidating core into a much more manageable section. The base therefore seems to rely heavily on making the attacker spend resources before reaching that point.
A poor funnel helps the defender. A clean one does the opposite.
Queen Charge Hybrid looks like one of the better ways to control the opening. A Queen starting from the right side could remove an outer defensive pocket, reduce the number of buildings competing for pathing, and leave Miners and Hog Riders with a more predictable lane toward the center. If that first phase works properly, the Hybrid portion should have a better chance of staying together through the core.
The risk is timing. Queen Charges sometimes lose ten or fifteen seconds on a single unexpected target. That may not sound significant early in the raid, but this layout has enough separated compartments that late cleanup could become awkward. An attack can secure the Town Hall, reach strong percentage, and still finish with a couple of buildings standing because the army ended on the wrong side.
That is one reason the Ranked label makes sense here.
The attacker is not only thinking about taking the Town Hall. Percentage, remaining time, and where the army finishes all matter. A direct right-side push can reach the main objective more quickly, but it may leave outer buildings alive elsewhere. A wider route produces safer percentage, although it delays the core and gives the central defenses more time to work.
Air approaches face a similar tradeoff. The Air Defenses and Inferno Towers are not presented as one tidy defensive group. Their spacing means the attacker has to decide which threat deserves attention first rather than simply removing one central cluster and sending the entire army through.
Dragons could still work from the right after a careful funnel. I would expect a tighter deployment to be more reliable than a broad line. Spread the Dragons too widely and some may follow outside targets while the strongest part of the army travels toward the Town Hall. That leaves fewer units available during the most important phase of the attack.
LavaLoon gives the attacker more control over individual defensive targets, but the route needs to be planned beyond the first Air Defense. Taking down one threat does not appear to open the entire village. The attacker still has to decide how to cross the core, deal with the Town Hall section, and preserve enough Balloons for the final defenses.
The central concentration is what makes Layout #9 interesting. Against a disorganized attack, that area can apply heavy pressure. Against a disciplined player, however, the same compact structure can provide excellent spell value. The difference is likely to come down to the entry.
A clean right-side funnel that keeps the army compact may expose the base faster than intended. A rushed or overly wide deployment could create exactly the opposite result: split troops, wasted spell coverage, and cleanup beginning from two different directions.