 CLASHBASE.ONLINEFarming
About this Town Hall 13 base
Copy this base to Clash of Clans
Tap the button below. Clash of Clans will open so you can place this layout in an available base slot.
Copy base to the gameClash of Clans must be installed on this device.Rate this layout
Share a useful, honest experience. One review is stored per visitor for this item.
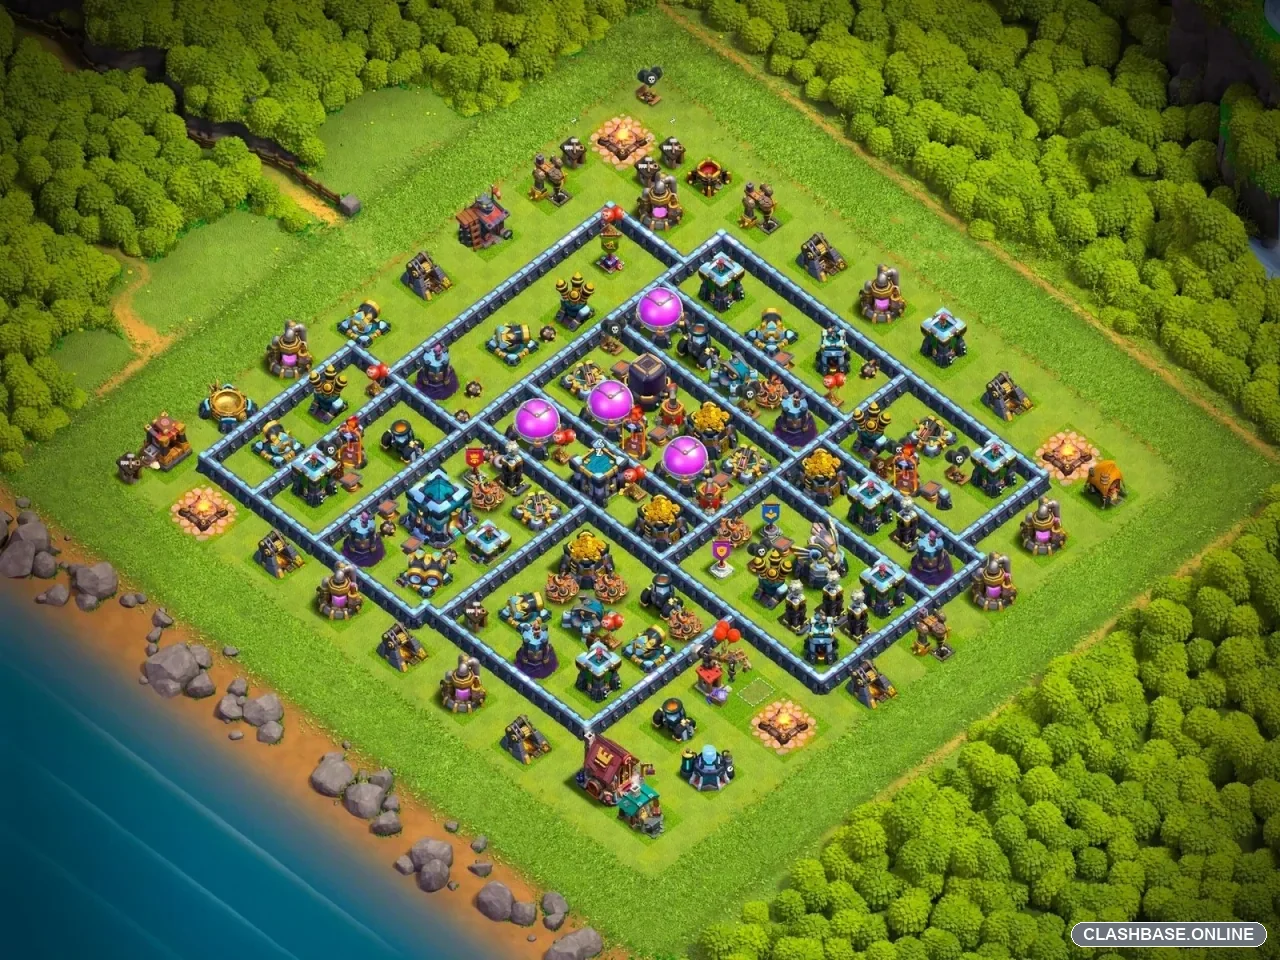
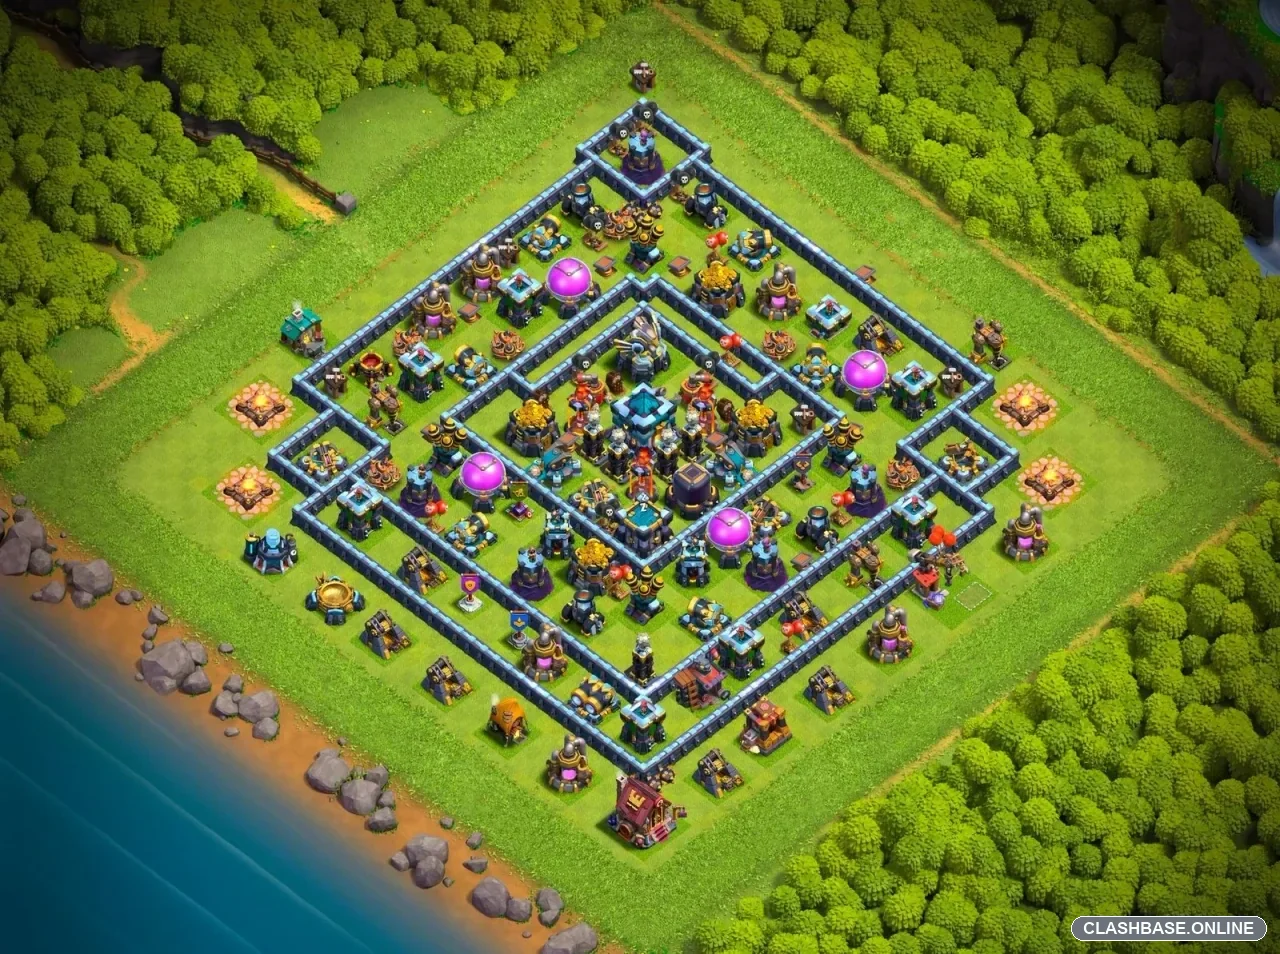
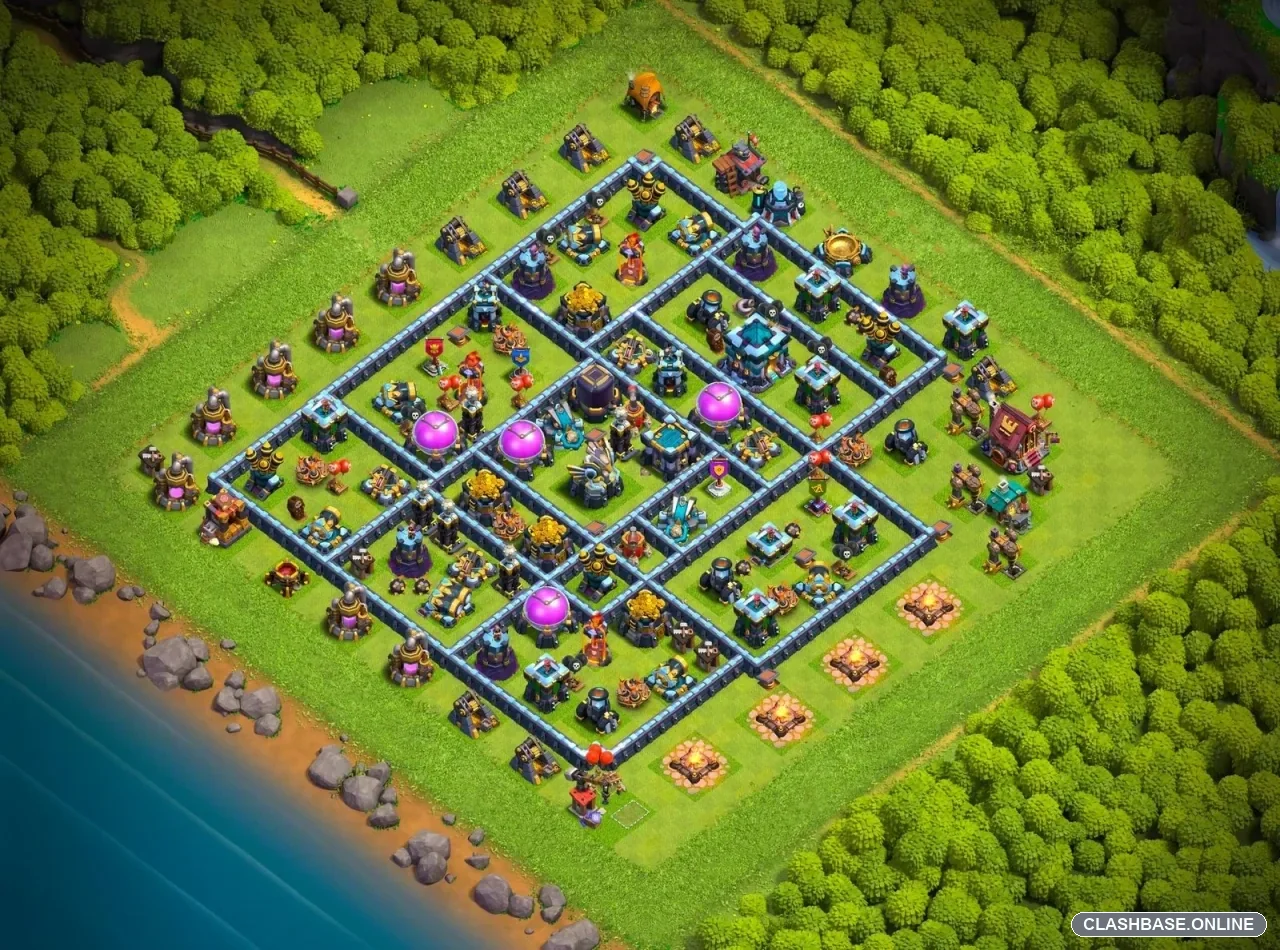
TH13 Farming Base #10: Layered-Square Defense Built Around Resource Preservation
TH13 Farming Layout #10 uses a layered-square structure with the Town Hall slightly offset toward the lower side of the core. Looking at the actual base first, the layout feels deliberately compartment-heavy rather than centered around one giant protected room. Storages, high-damage defenses, and the Town Hall sit on different paths, which is exactly what gives this design its farming value.
The defensive idea is fairly simple: losing one section should not mean losing every important resource behind it.
The Town Hall supports the resource network
The Town Hall sits within the deeper defensive area, but it is not treated as the only building worth protecting.
Gold and Elixir Storages are distributed around different compartments, so a raider reaching one resource pocket still has to move through another wall layer before threatening the next. That separation matters much more in a farming layout than making the Town Hall perfectly symmetrical.
Storages also contribute defensively because of their high hit points. Troops can spend valuable seconds working through one while X-Bows, Inferno Towers, Scattershots, and other nearby defenses continue firing.
Even if the storage eventually falls, it may have bought enough time to preserve another section.
The layered squares create repeated defensive stops
The wall pattern is probably the strongest part of Layout #10.
Rather than relying on one outer barrier, the base creates several square and rectangular layers. Each section has its own group of targets and defensive coverage.
That means troops rarely receive a completely straight route through the village. One group may remain occupied in an outer compartment while another moves toward the core.
From the defender’s perspective, that split is useful.
A concentrated army clears quickly. A divided army takes longer, receives less efficient spell support, and gives the untouched compartments more time to protect their resources.
Air and Inferno coverage is spread across different lanes
The anti-air network is distributed across opposite sections of the village, while the Inferno Towers support separate routes into the core.
This prevents the defensive strength from depending on one small area.
If one side begins to collapse, another section can remain active around a different resource pocket. That is particularly useful for farming because the base does not need to preserve everything. Keeping even one or two important storages alive can make the defense worthwhile.
The separated Infernos also reduce the chance that one spell sequence controls too much defensive value at once.
The right edge is the main structural concern
The right edge appears to be the most accessible side of Layout #10.
The real weakness is not simply that this side can be entered. The danger is a disciplined corner funnel creating a relatively straight route through two wall layers. If that happens too cheaply, some of the travel distance built into the layered-square design disappears.
For the defense, this section needs to consume something—time, hero health, abilities, or troop strength—before the deeper resource compartments are exposed.
It does not need an immediate stop. Making the first breakthrough expensive is already useful.
Why Layout #10 works for Farming
The strongest feature of TH13 Farming Base #10 is that its valuable buildings sit on different routes.
The slightly offset Town Hall, layered-square walls, separated storages, distributed anti-air coverage, and divided Inferno pressure all support one clear goal: make a full resource sweep require several successful stages rather than one clean push.