 CLASHBASE.ONLINERanked
About this Town Hall 14 base
Copy this base to Clash of Clans
Tap the button below. Clash of Clans will open so you can place this layout in an available base slot.
Copy base to the gameClash of Clans must be installed on this device.Rate this layout
Share a useful, honest experience. One review is stored per visitor for this item.
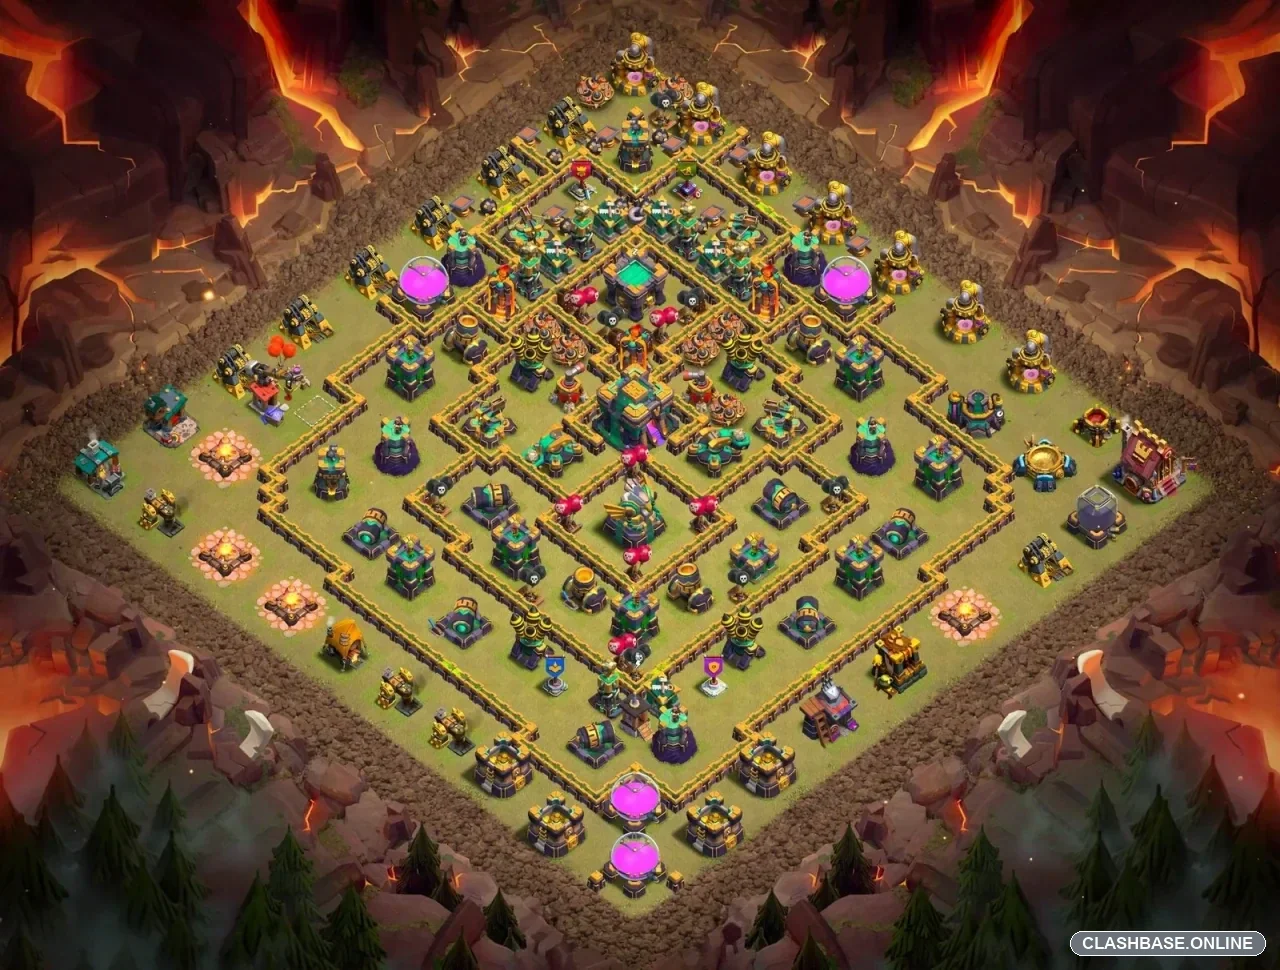
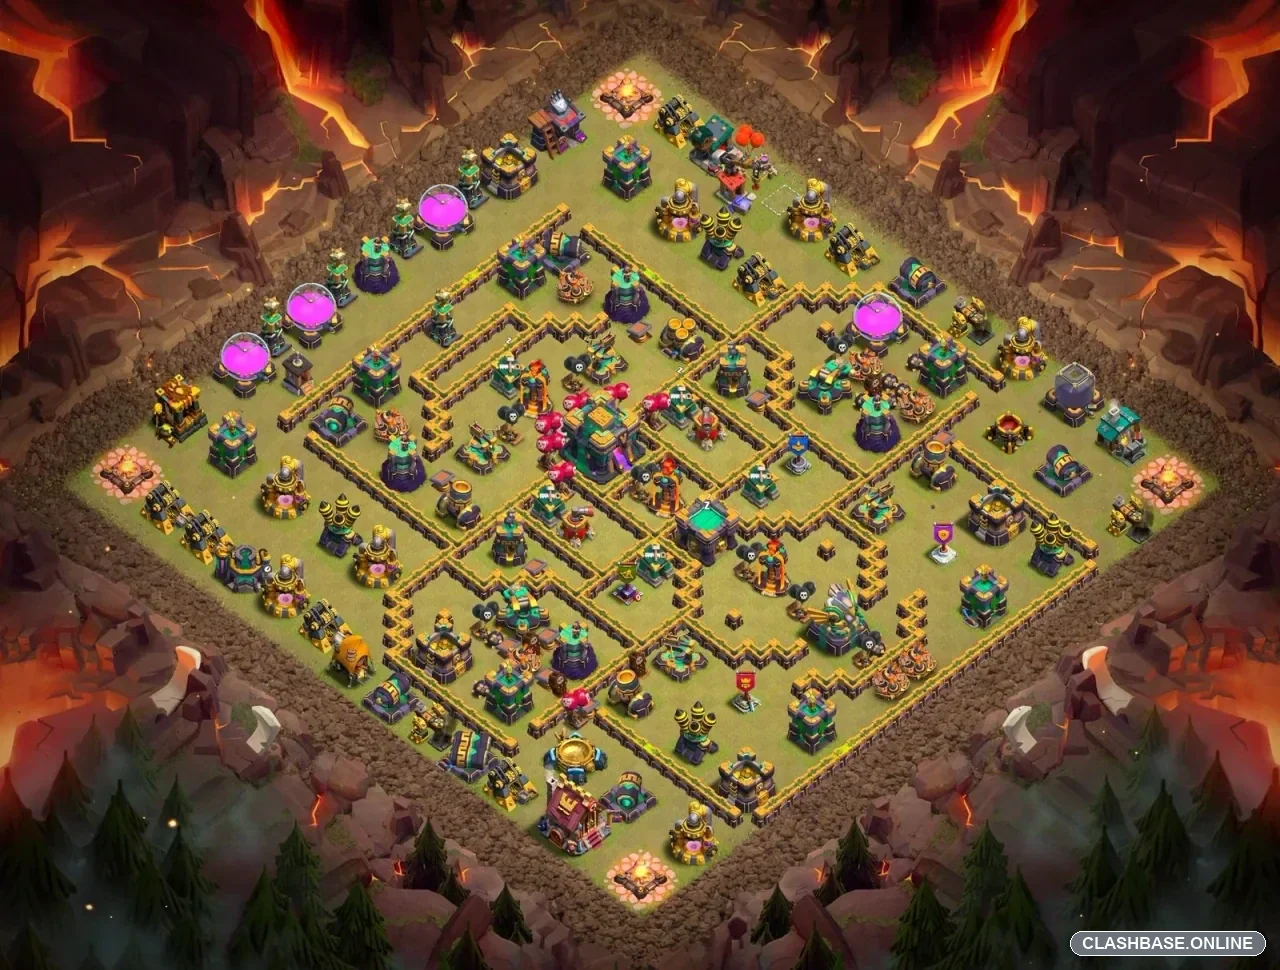
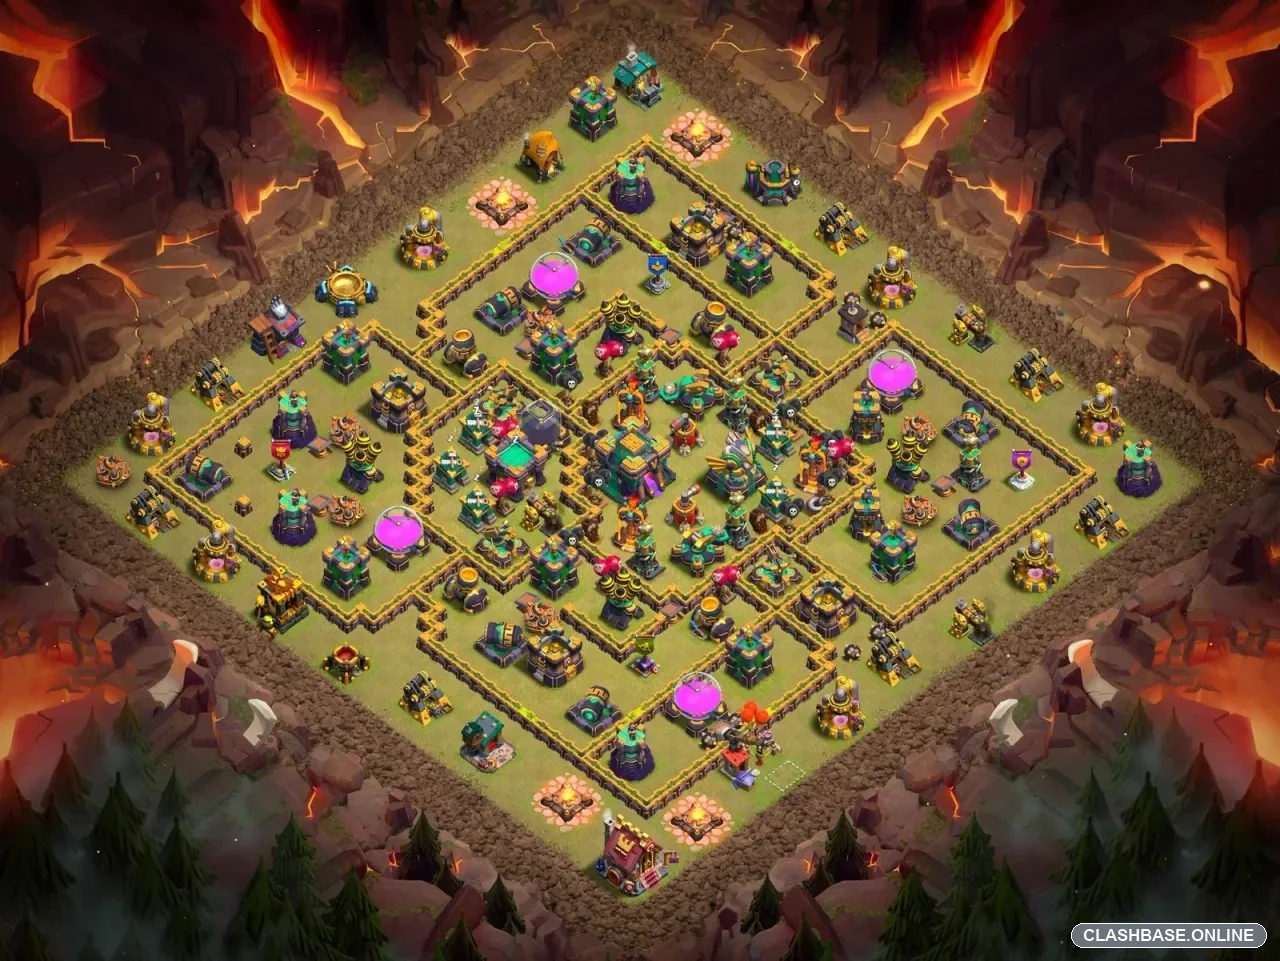
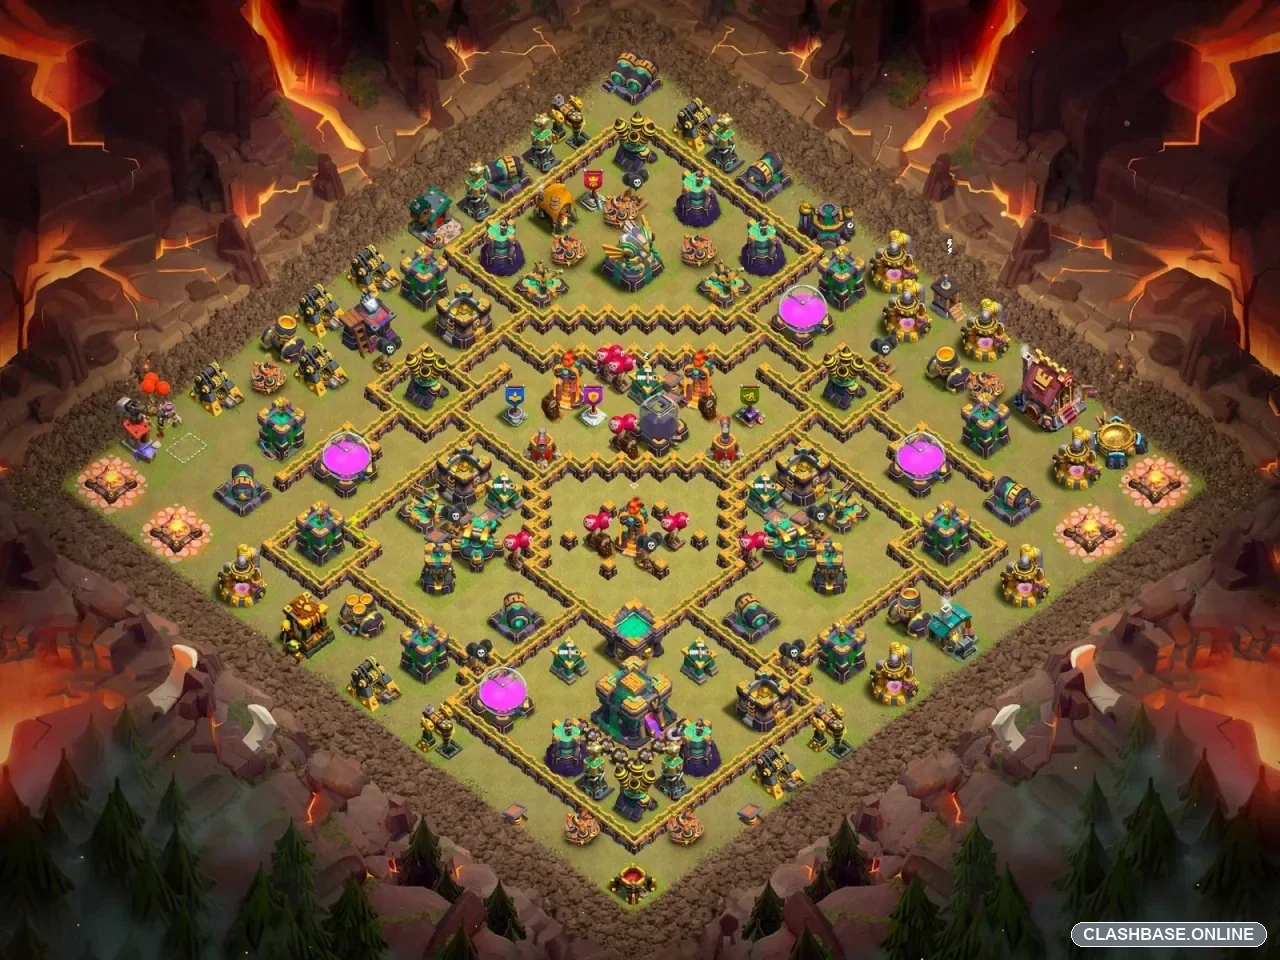
TH14 Ranked Base #10: Compact-Square Defense Built to Protect Stars and Percentage
TH14 Ranked Layout #10 uses a compact-square defensive structure with the Town Hall slightly shifted toward the right side of the core. Looking at the actual base first, the layout feels deliberately controlled rather than overly spread out. Important defenses sit close enough to support one another, while the surrounding compartments are shaped to interfere with troop movement before the strongest part of the base is reached.
For Ranked defense, that combination is useful. The layout is not only protecting the Town Hall. It is trying to keep pressure on stars, percentage, troop concentration, and the clock at the same time.
The Town Hall sits inside a concentrated pressure zone
The Town Hall is protected inside the main defensive network rather than being left on an exposed edge. Its slight right-side offset also prevents the central area from becoming perfectly symmetrical.
That matters because troops entering from different directions may not leave the core along the same path.
Several high-value defenses remain active around the Town Hall zone, meaning the defense can continue applying damage even after one compartment begins to collapse. Instead of depending on a single dramatic stop, Layout #10 appears designed to wear the attacking formation down gradually.
By the time troops reach the deepest section, heroes may have lost health, support units may be missing, and abilities may already have been forced.
Compact compartments punish poor troop coordination
The wall structure is fairly tight, with several small defensive sections surrounding the center.
From a defensive perspective, those compartments help create short but awkward transitions. Troops finishing one target can suddenly find several new buildings at similar distances, increasing the chance that the formation begins to separate.
That is especially valuable against Yeti or Bowler Smash-style armies. A compact smash is difficult to stop when everything moves together. Once tanks, heroes, and supporting troops split between different sections, the same force becomes easier for the defenses to manage.
Queen Charge Hybrid can face similar pressure because removing one compartment does not necessarily disable the neighboring defensive zones.
Air and Inferno coverage remains divided
The Air Defenses and Inferno Towers do not sit in one perfectly tidy cluster.
This creates several independent threat zones around the village. Against Dragons or LavaLoon, one section may fall while another Air Defense or Inferno remains active farther along the route.
That continued pressure is important. The layout is trying to avoid a situation where one successful moment removes every major threat at once.
High spell value is the main defensive concern
The biggest tradeoff of the compact design is central spell value.
Because several important defenses operate relatively close to one another, a well-timed spell affecting the central area may suppress more defensive pressure than the layout would ideally allow.
This does not automatically make the core weak, but it places more importance on exact spacing and hidden traps. The defense works best when the attacker is forced to choose which threat to control rather than comfortably covering several high-value defenses together.
The right edge carries extra responsibility
The right edge appears to be the most accessible side of Layout #10.
For the defense, this section needs to slow early progress enough that the compact center is not challenged by a completely fresh army. Even a small delay, forced hero ability, or loss of supporting troops can make the core noticeably stronger later.