 CLASHBASE.ONLINERanked
About this Town Hall 14 base
Copy this base to Clash of Clans
Tap the button below. Clash of Clans will open so you can place this layout in an available base slot.
Copy base to the gameClash of Clans must be installed on this device.Rate this layout
Share a useful, honest experience. One review is stored per visitor for this item.
TH14 Ranked Base #20: Multi-Compartment Defense Built Around Pathing and Cleanup Pressure
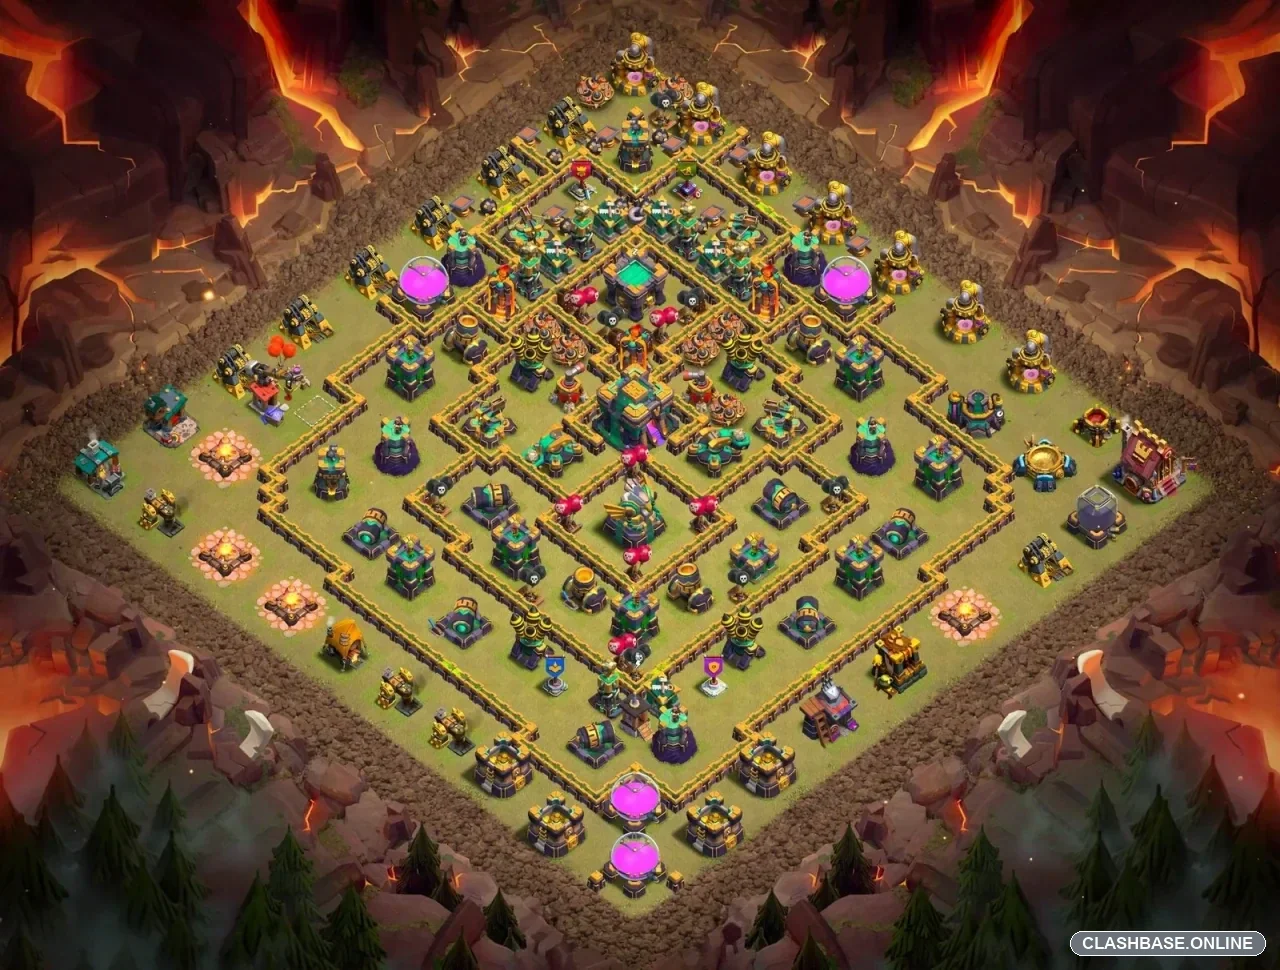
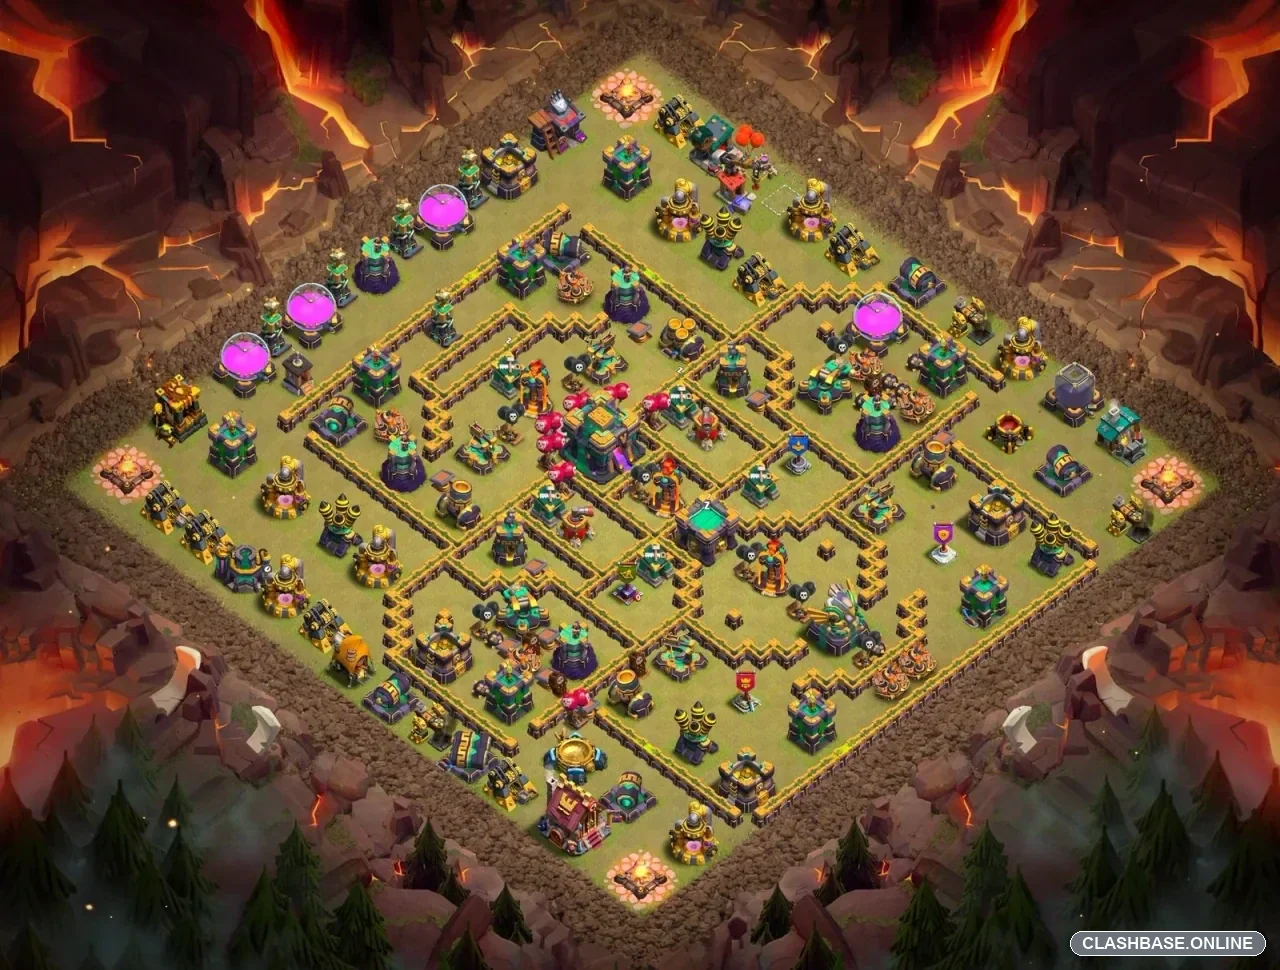
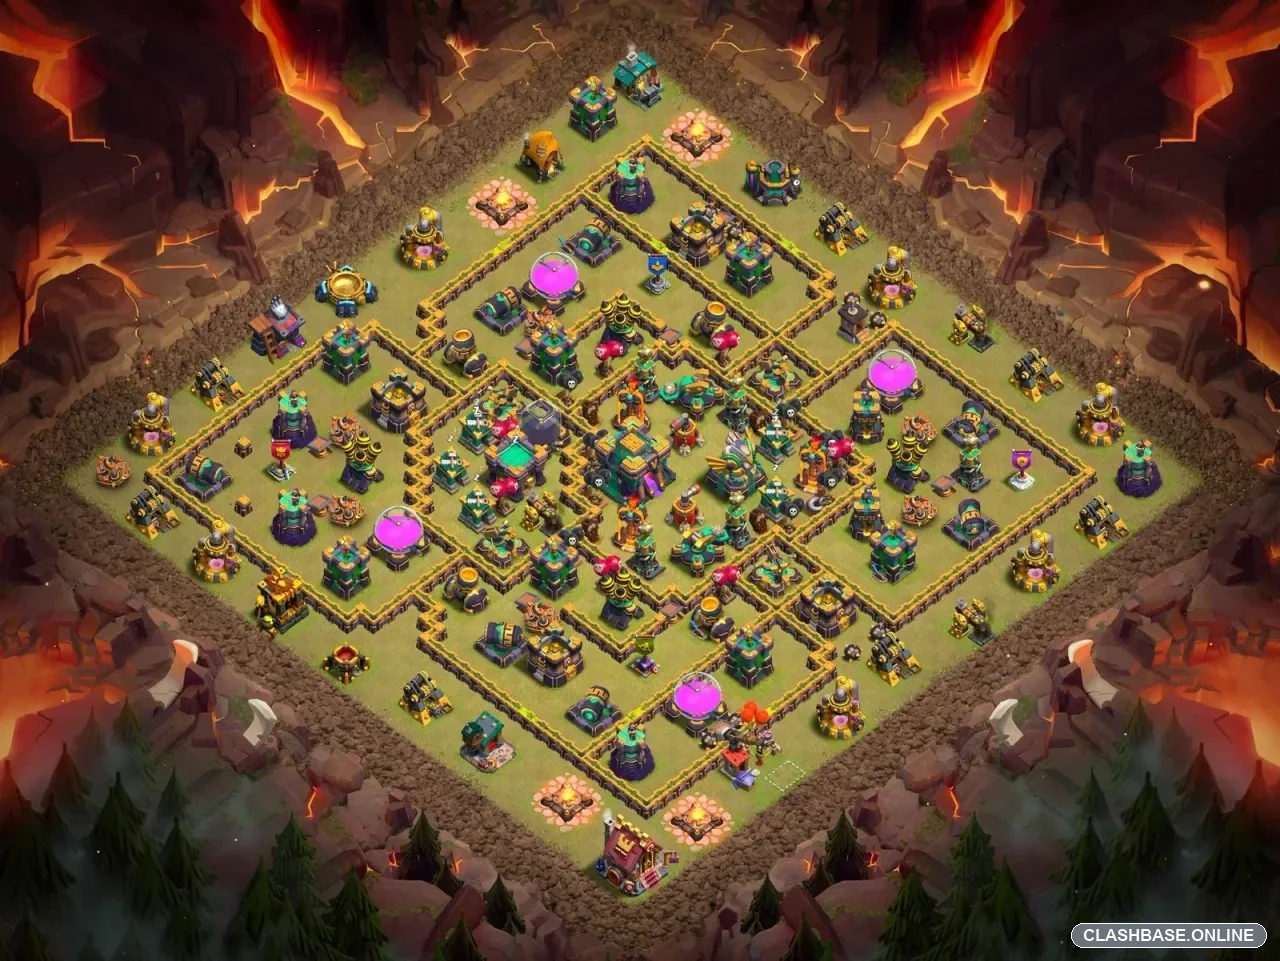
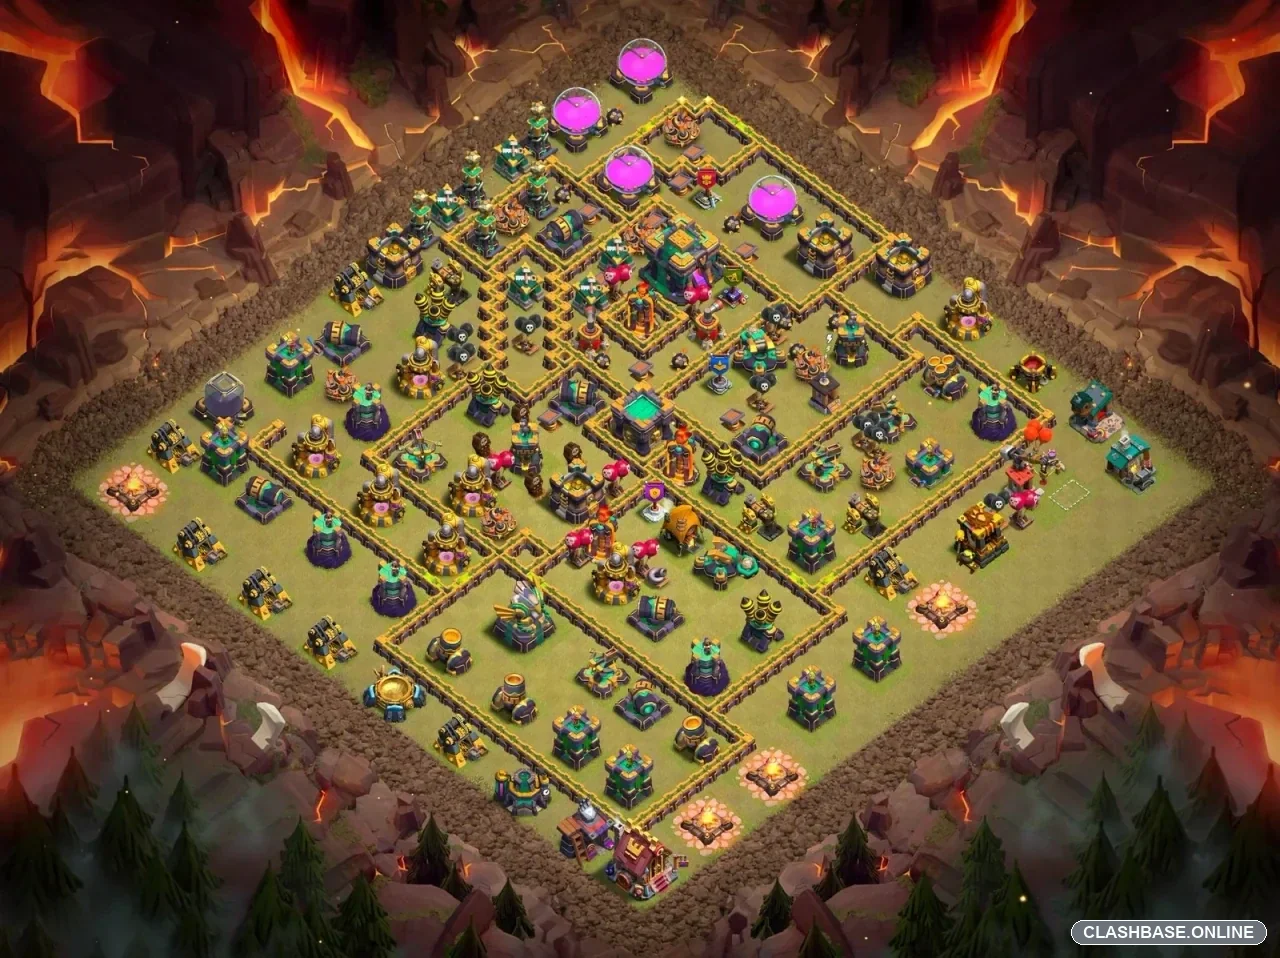
TH14 Ranked Layout #20 uses a wide multi-compartment structure with the Town Hall mildly offset toward the left side of the core. After looking at the actual layout, the defensive idea seems broader than simply trying to keep the Town Hall alive. Important defenses are spread across several sections, while the outer buildings create extra distance between the first percentage gained and the harder defensive zones inside.
That makes the base well suited to Ranked defense. Some early percentage may be conceded, but the layout appears designed to make the middle of the raid increasingly awkward.
The Town Hall is supported without creating one oversized core
The Town Hall sits inside the primary defensive network, but it is not surrounded by every major threat in one compact cluster.
That is useful defensively because losing one section does not automatically remove the entire core. Infernos, Air Defenses, X-Bows, and other high-value structures remain distributed across neighboring compartments.
The slight left-side offset also makes the defensive shape less predictable. Troops that enter one section may not naturally continue through the Town Hall and into the remaining defenses in a clean line.
The result is a base that can continue applying pressure even after an important compartment has already fallen.
Multi-compartment walls are meant to break formation
The wall layout is probably the strongest feature of Base #20.
Several medium-sized compartments surround the inner defenses, creating multiple target choices as troops move deeper. One group can turn sideways while another remains closer to the core.
For the defense, that separation is valuable.
Yeti or Bowler Smash armies are much harder to contain when tanks, heroes, and support troops stay together. Layout #20 appears designed to gradually stretch that formation. Once troops are fighting in different compartments, shared spell coverage becomes less efficient and individual defenses survive longer.
The same general pressure can affect Queen Charge Hybrid, where losing control of troop direction may leave one section of the defensive network untouched.
Air and Inferno pressure comes from different zones
The anti-air network is spread across opposite portions of the village instead of forming one obvious defensive block. Inferno Towers also support different routes toward the core.
This means one successful spell or defensive takedown is less likely to silence everything important at once.
Against Dragons or LavaLoon, the defense can continue applying pressure as air troops move from one section into another. A group that survives the first zone may still meet active defenses on the opposite side.
That staggered coverage gives the base more staying power throughout the raid.
The top edge plays a deliberate defensive role
The top edge appears to be the most accessible part of Layout #20.
Giving away a few buildings there is not necessarily a design failure. In Ranked play, early percentage can tempt the attacking force to spread wider than intended.
If that happens, the multi-compartment structure begins doing its job. Troops may split into adjacent sections, causing the raid to lose concentration before the strongest part of the base is reached.
The structural weakness is the opposite situation: if the opening remains extremely controlled and the attacking army stays compact, some of that pathing pressure disappears.