 CLASHBASE.ONLINEFarming
About this Town Hall 16 base
Copy this base to Clash of Clans
Tap the button below. Clash of Clans will open so you can place this layout in an available base slot.
Copy base to the gameClash of Clans must be installed on this device.Rate this layout
Share a useful, honest experience. One review is stored per visitor for this item.
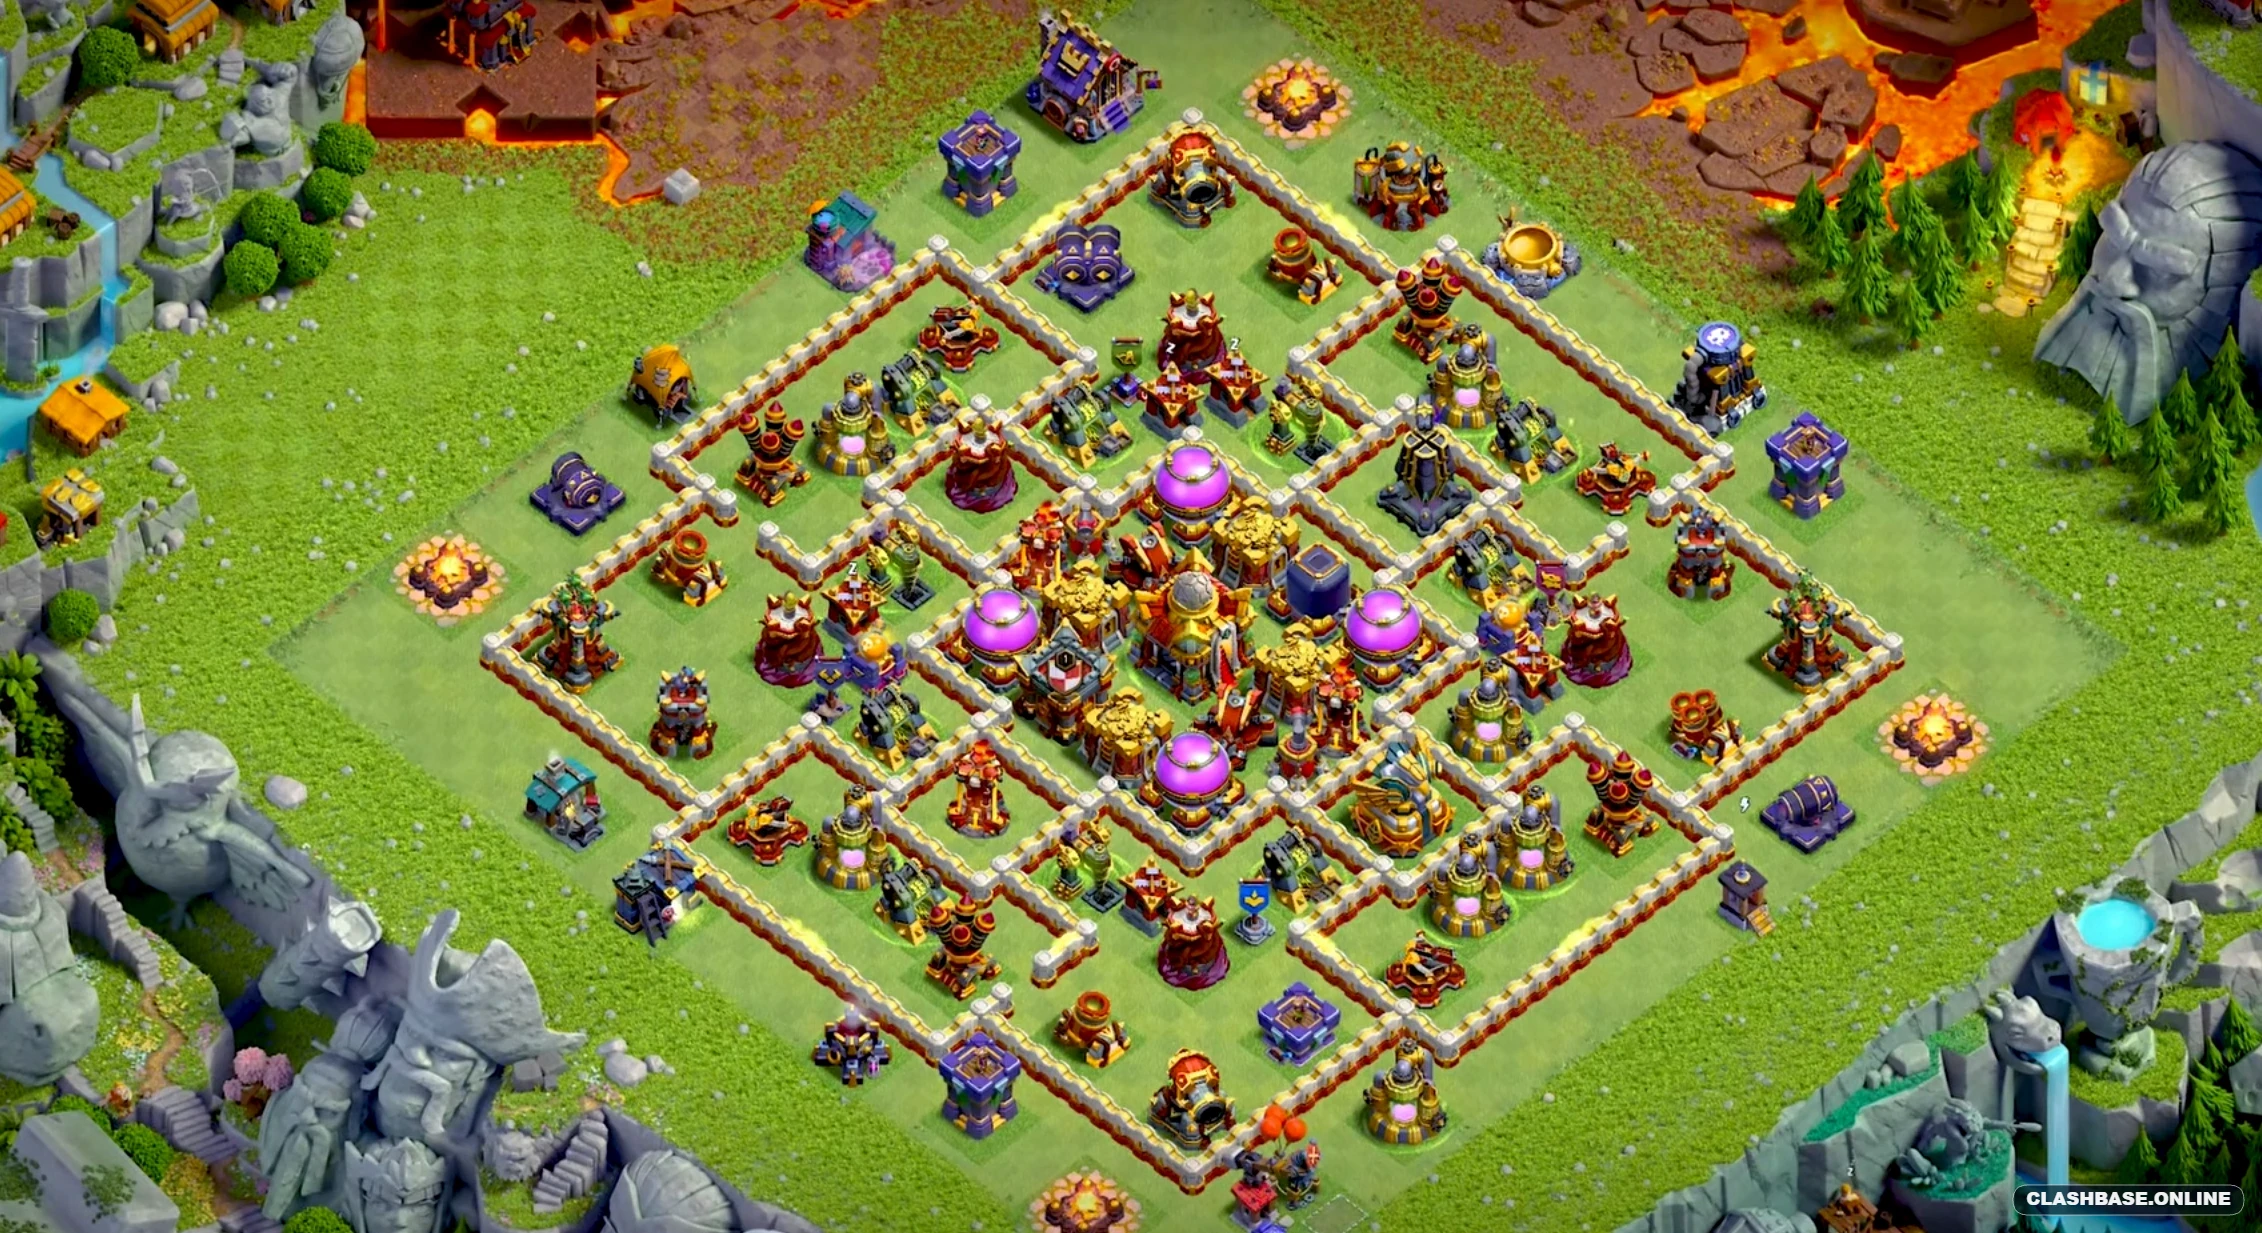
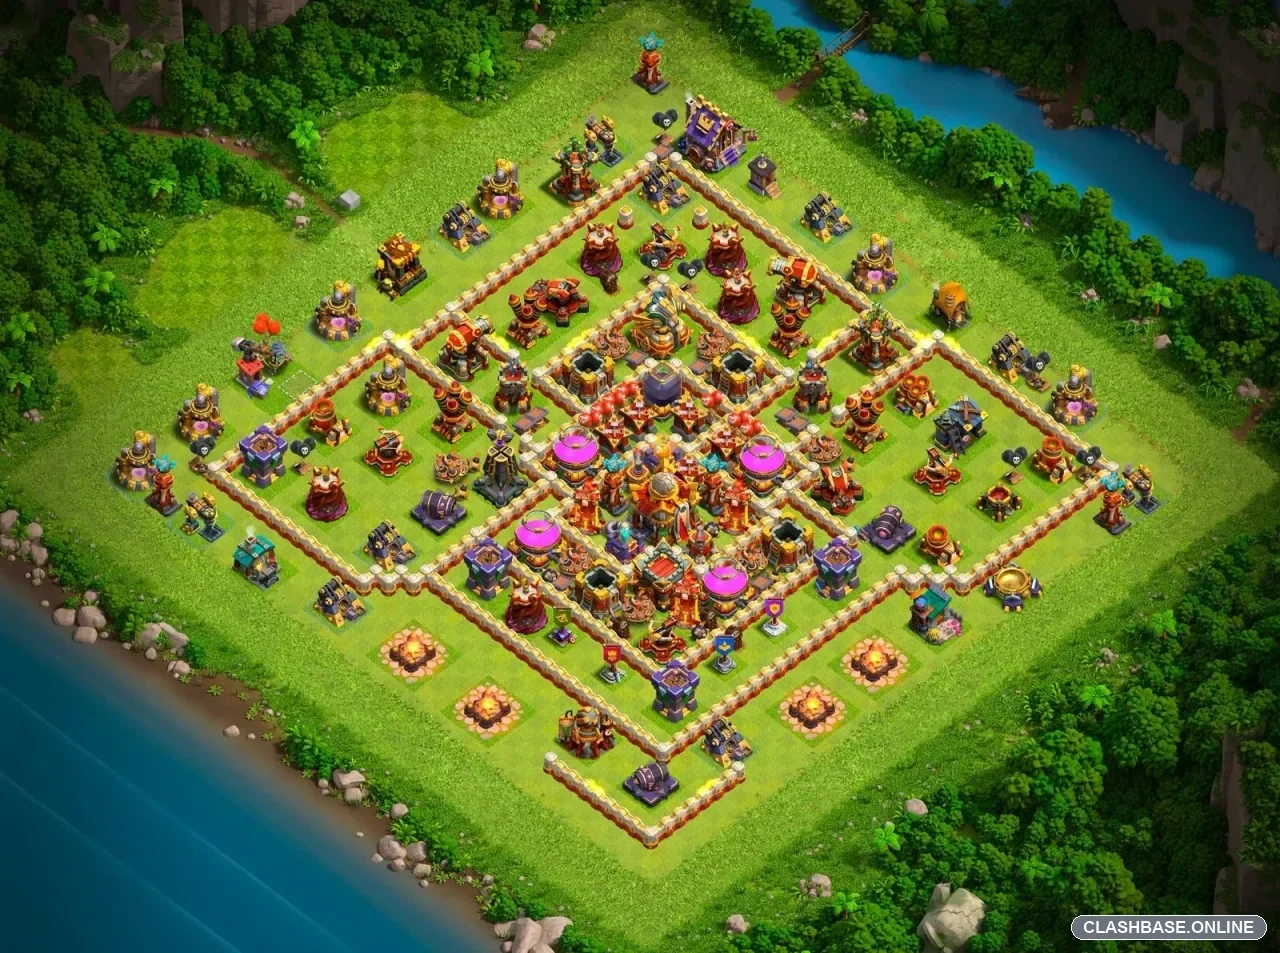
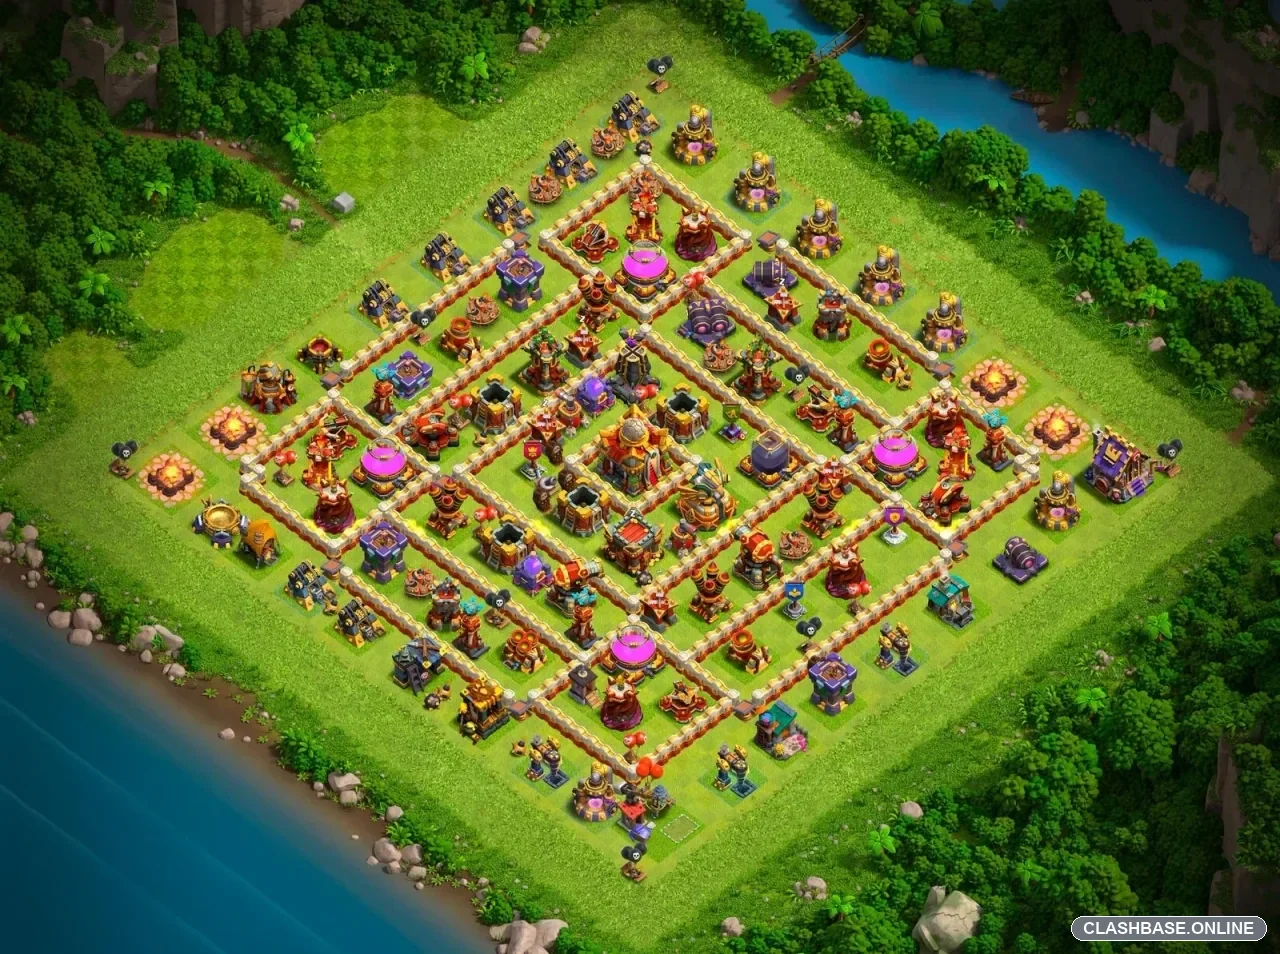
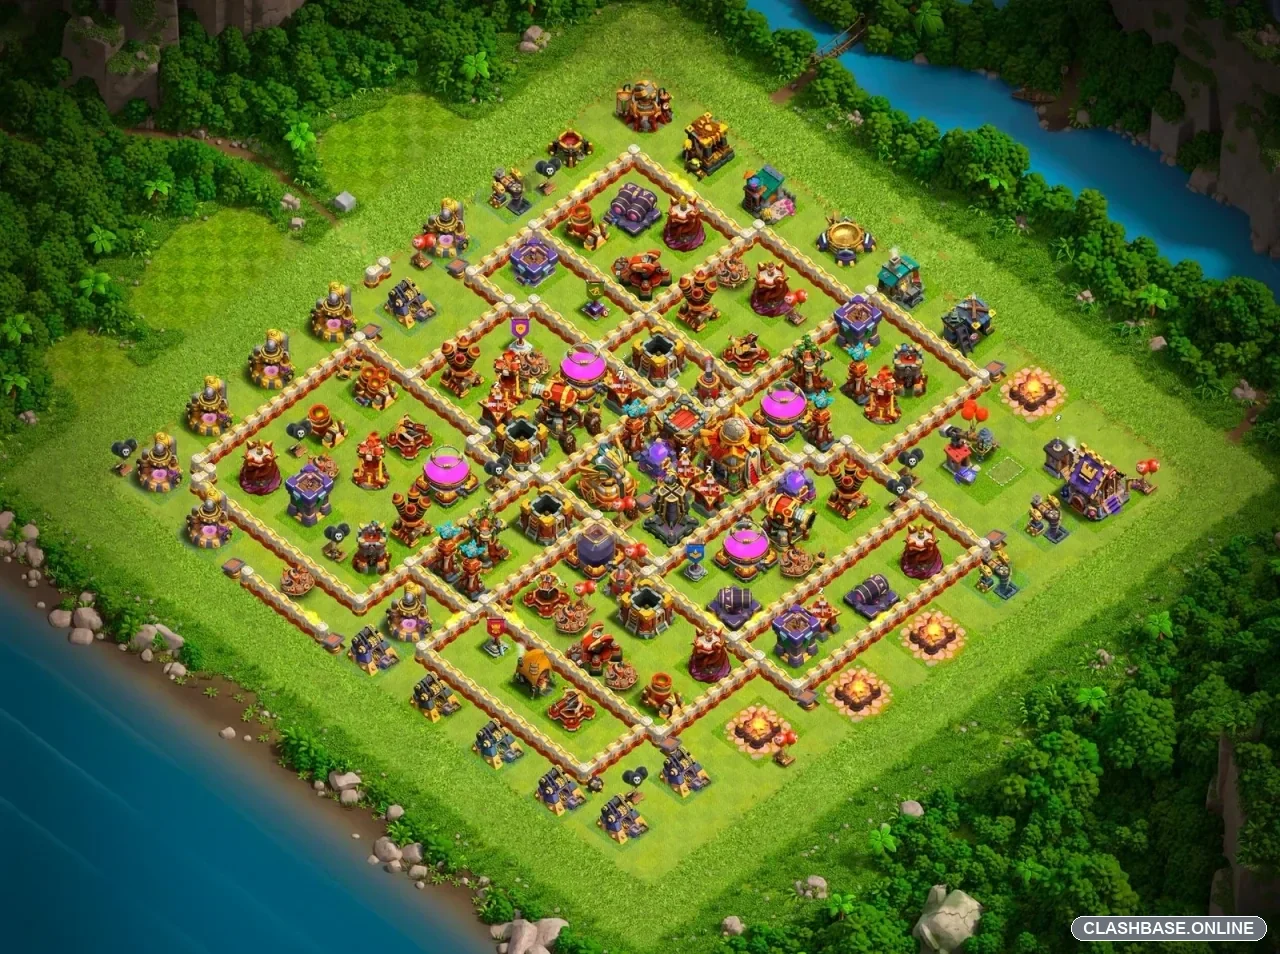
TH16 Farming Base #4: Broken-Ring Core with Spread-Out Resource Paths
Town Hall 16 Farming Layout #4 is built around a broken-ring core, with the Town Hall placed close to the center behind the main storage line. Rather than stacking every important resource building inside one tight compartment, the layout spreads value across several connected sections. That is probably the first thing worth understanding about this design: reaching one useful target does not necessarily put the attacker on a comfortable route toward everything else.
For farming defense, that makes sense.
A well-prepared TH16 attacker can usually take something from a base. Trying to make every storage impossible to reach is not very realistic. A more practical approach is to make the second and third resource pockets cost additional troops, spell support, or time. Layout #4 appears to lean heavily into that idea.
The broken-ring center creates several route choices
The walls around the Town Hall do not create one sealed square. Instead, the core behaves more like an interrupted ring, with several compartments giving troops different places to turn after the first section falls.
That can create some awkward pathing.
Imagine a ground army entering cleanly from one side. The heavier troops begin working toward the Town Hall, while the Queen or another support group sees a nearby defense and moves into the next compartment. For the first part of the raid, that may actually look useful. Two areas are being cleared at once, percentage rises quickly, and the attacker may collect one storage fairly early.
Then the core fight begins.
Now the main army may be several tiles away from the heroes or support troops that were supposed to help it. A Rage, Heal, Freeze, Overgrowth, or similar spell becomes less efficient because it covers only part of the formation.
The base does not necessarily need to destroy those separated troops. Sometimes simply forcing them to take different routes is enough to protect a storage on the far side.
The upper-right edge looks like the easiest funnel
The upper-right side, roughly around one or two o’clock, appears to be the cleanest place to begin shaping an attack.
There are enough exterior buildings in that area to create a funnel without immediately deploying the entire army. A Queen Charge could begin there, or a few support troops could remove the outside structures before the main ground force enters.
The obvious temptation would be to clear too much.
A wide funnel can expose several compartments at the same time. Root Riders may move toward the center while the Queen continues along the outside. Dragons can do something similar, with part of the air army following perimeter buildings instead of joining the central push.
For twenty seconds or so, that split may look harmless.
Later, the attacker realizes that the army entering the Town Hall area is smaller than expected.
That is why a narrow upper-right entry seems considerably more dangerous to the layout than simply spreading a full army across the side.
Breaking the ring early is the clearest weakness
The main weakness I see is a controlled entry that interrupts the broken ring before troops begin circling around the objective.
If the attacker removes the correct buildings on the upper-right and establishes one direct lane inward, the layout becomes easier to read. Instead of allowing the base to influence troop movement, the attacker decides the route in advance.
Queen Charge Hybrid looks well suited to this.
A Queen starting from the upper-right could clear one defensive pocket, remove buildings that might pull Miners and Hog Riders sideways, and create a more predictable lane into the center.
If the Queen follows the planned route, the Hybrid phase could reach the Town Hall with good control.
The tradeoff is time.
A single outside building can keep the Queen walking farther than expected. A slow wall opening or high-hitpoint target can delay the main phase as well. The Town Hall may still fall, but one storage could remain on the opposite side with the attacker suddenly watching the final seconds disappear.
For a farming layout, that can still be a useful defensive result.
Root Riders can pressure the core quickly
Root Riders or another heavy ground smash army would also be a natural counter.
These armies are fairly comfortable against wall-heavy layouts, so the broken-ring structure itself is unlikely to stop them for long. What matters more is whether the base can separate the tanks from their heroes, healers, and support troops.
A compact smash is dangerous.
If the whole army stays together, the attacker can use Rage, Heal, Freeze, or Overgrowth in one central area and get strong value from each spell.
If the formation spreads across two sections of the ring, the same army becomes noticeably less efficient.
That is probably the defensive purpose here. The walls are not simply trying to keep troops out. They are trying to make troops enter in the wrong order.
Air attacks have several workable options
The Air Defenses appear positioned to cover crossing lanes rather than only one side of the village. The Inferno Towers are also separated, which makes it harder to treat them as one easy spell target.
Dragons could certainly attack from the upper-right after a proper funnel.
I would expect a tighter deployment to work better than a full-width line. When Dragons spread too much, a few may stay on exterior buildings while the strongest group moves toward the Town Hall. The central defenses then fight only part of the army.
LavaLoon offers more control over individual defensive targets, but the attacker still needs a plan for the second half.
Destroying one Air Defense does not automatically open every storage route. The Balloons still need to cross the central ring, manage the remaining Inferno coverage, and finish close enough to the last resource pocket for cleanup.
That final transition could be where an otherwise strong air attack loses efficiency.
Why Layout #4 fits the Farming category
The strongest reason to classify this as a farming base is the spread-out resource value.
Gold, Elixir, and Dark Elixir are not all placed on one comfortable line. An attacker may reach one storage quickly, but taking the next one requires another commitment. A third resource pocket may sit across the central structure, forcing surviving troops to change direction yet again.
That movement costs time.
A farming defense does not always work because every attacking troop dies. Sometimes the attacker ends with a healthy army in completely the wrong place. The final fifteen seconds are spent travelling toward a storage rather than actually attacking it.
Layout #4 appears designed to create that sort of result.
The upper-right entry remains the first weakness I would test. A disciplined attacker who breaks the ring early and keeps the main army together could open the center faster than intended. Queen Charge Hybrid, Root Riders, Dragons, and LavaLoon all look like realistic counters depending on execution.
Still, that does not make the design ineffective.
A farming layout does not need to be unbeatable. It needs to make complete loot collection less convenient than a quick raid.