 CLASHBASE.ONLINEClan War
About this Town Hall 16 base
Copy this base to Clash of Clans
Tap the button below. Clash of Clans will open so you can place this layout in an available base slot.
Copy base to the gameClash of Clans must be installed on this device.Rate this layout
Share a useful, honest experience. One review is stored per visitor for this item.
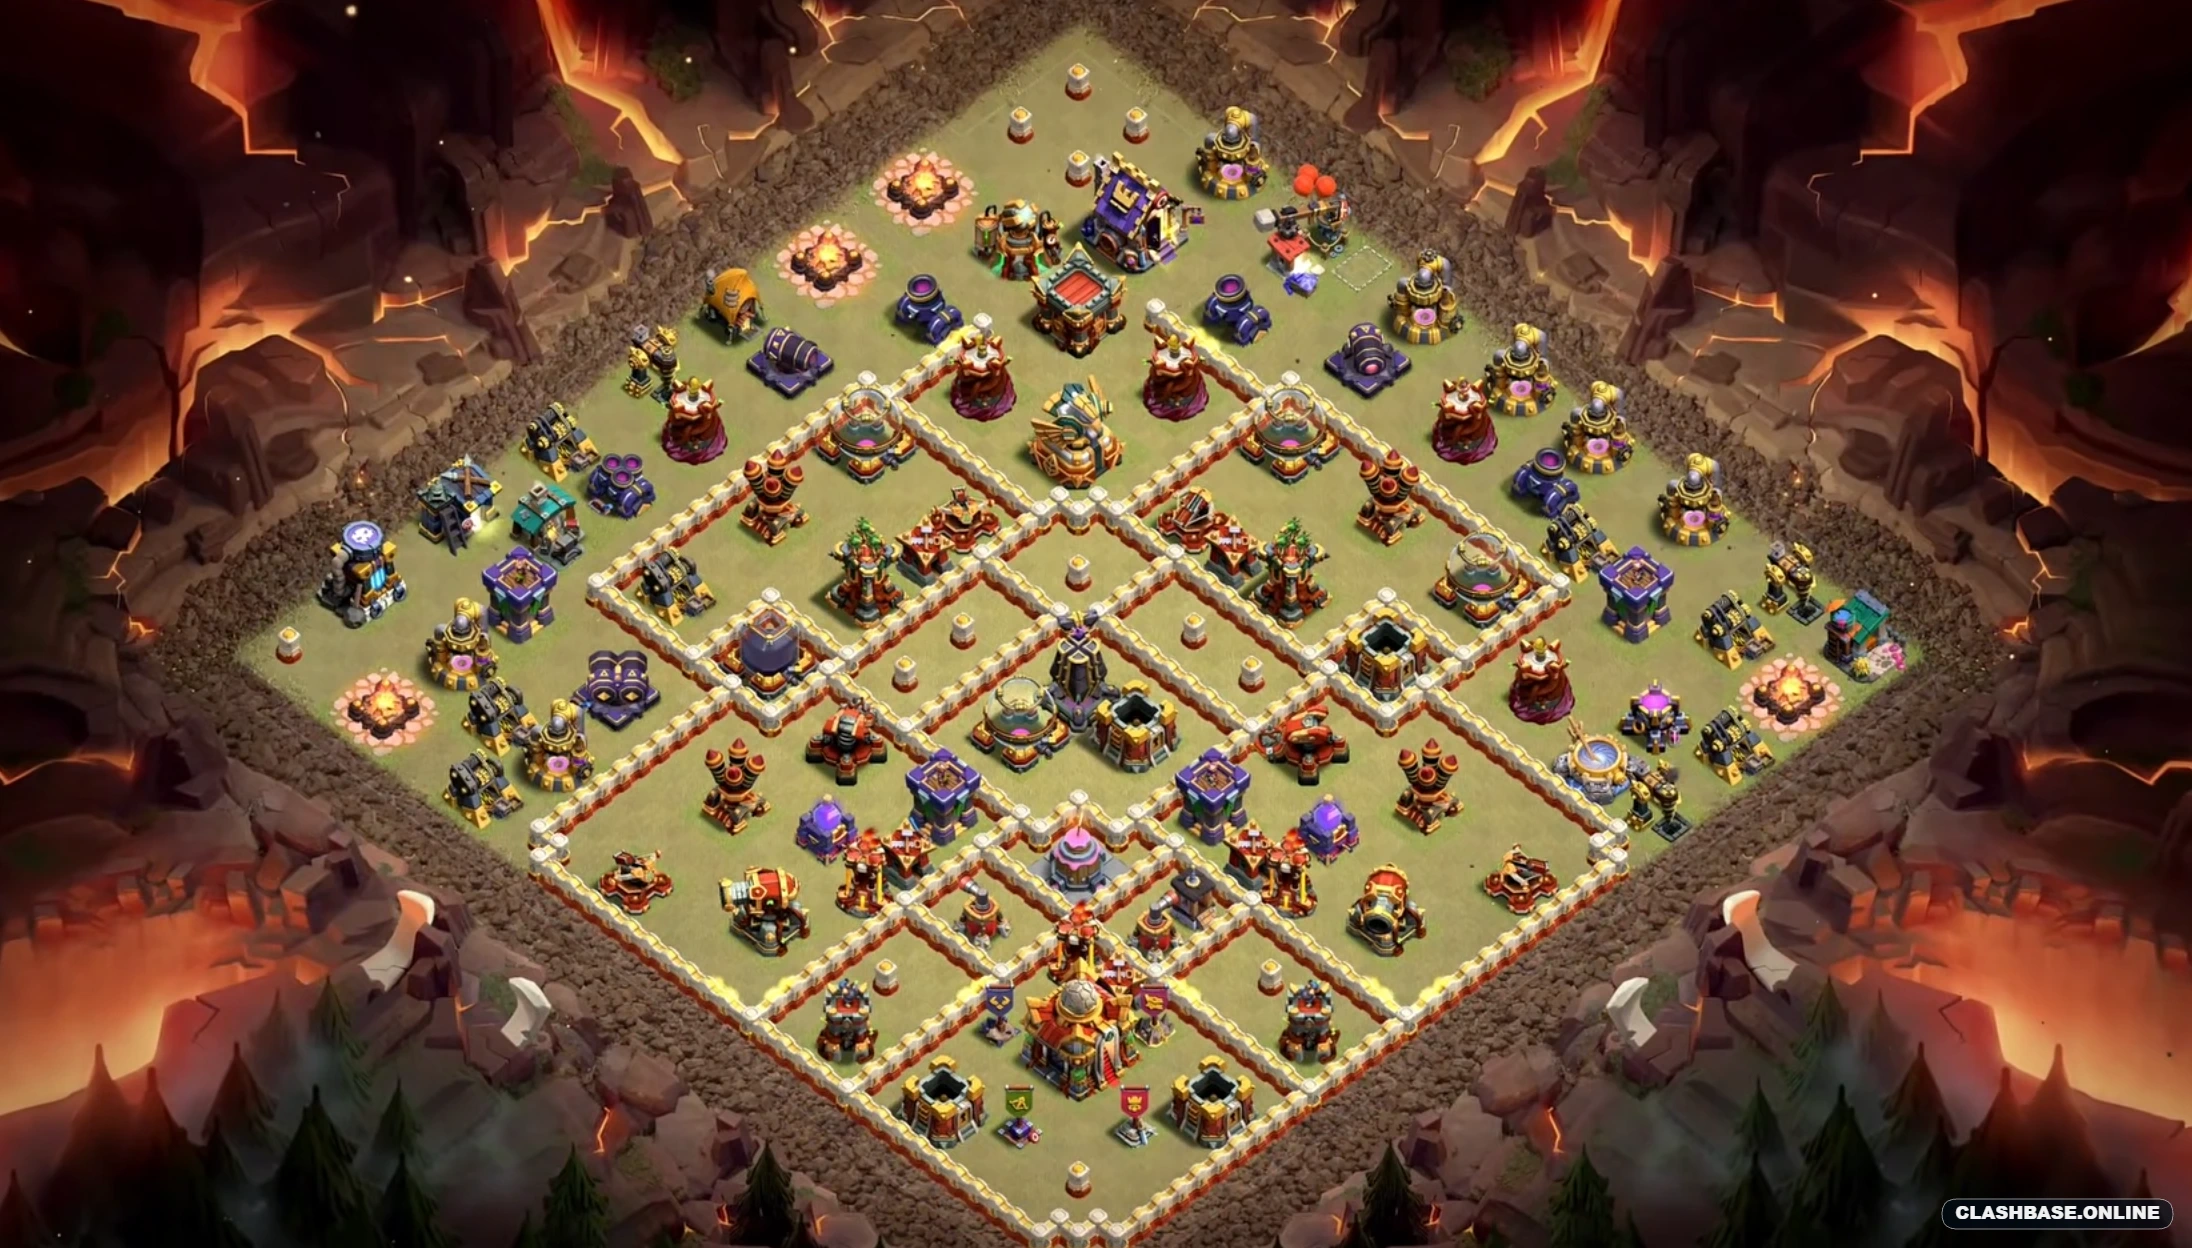
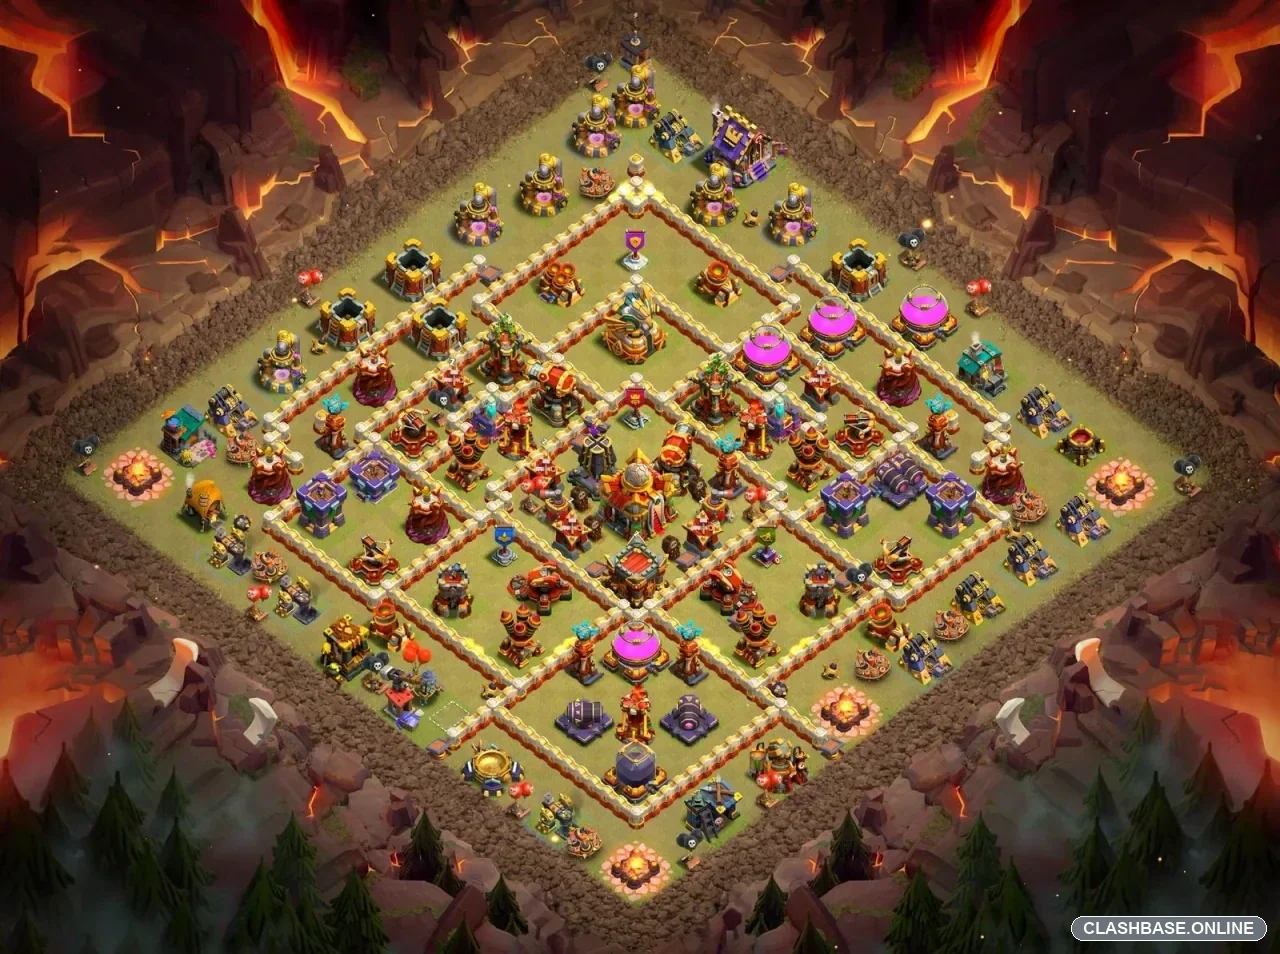
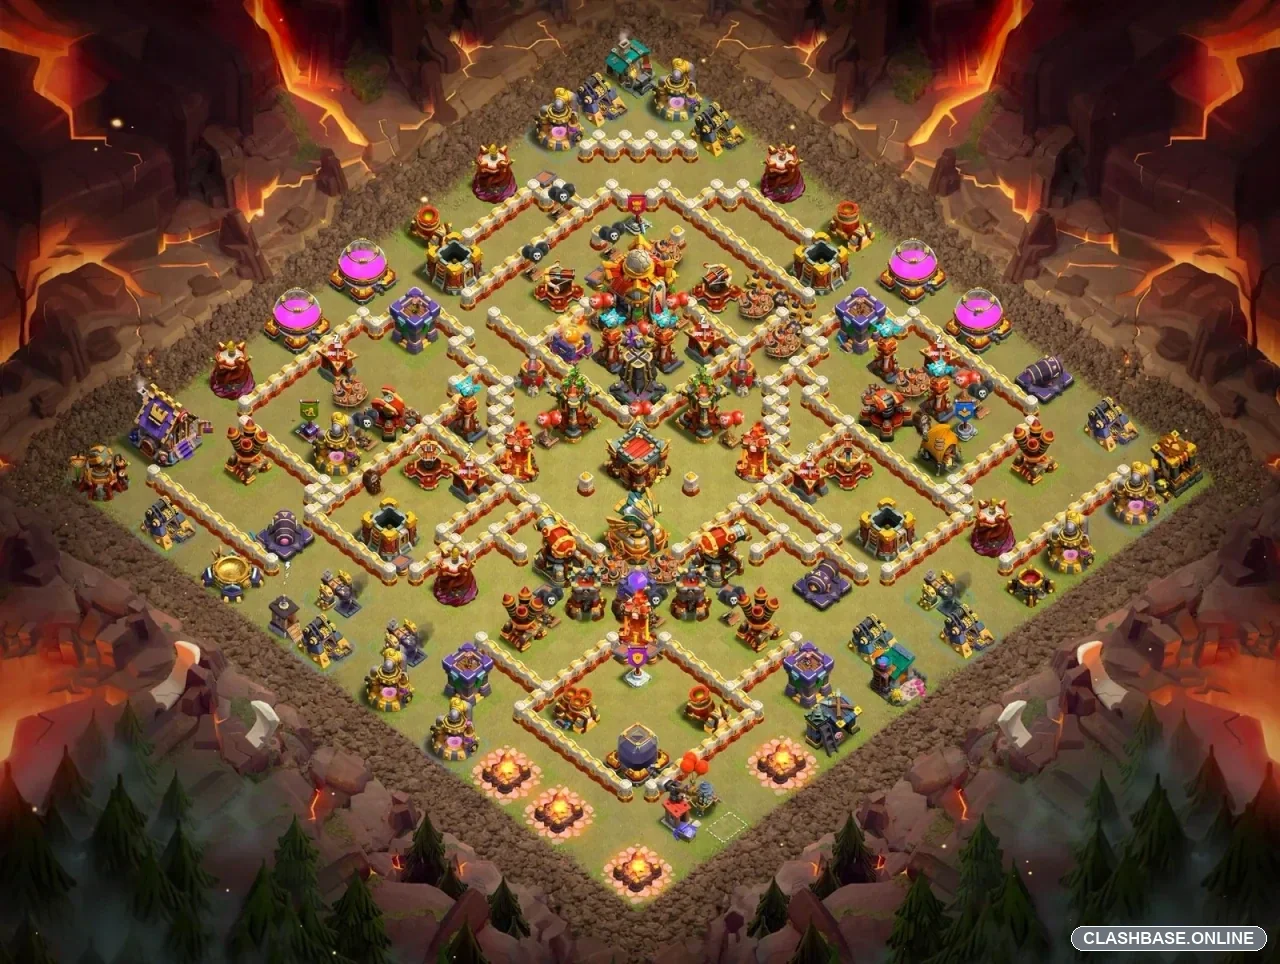
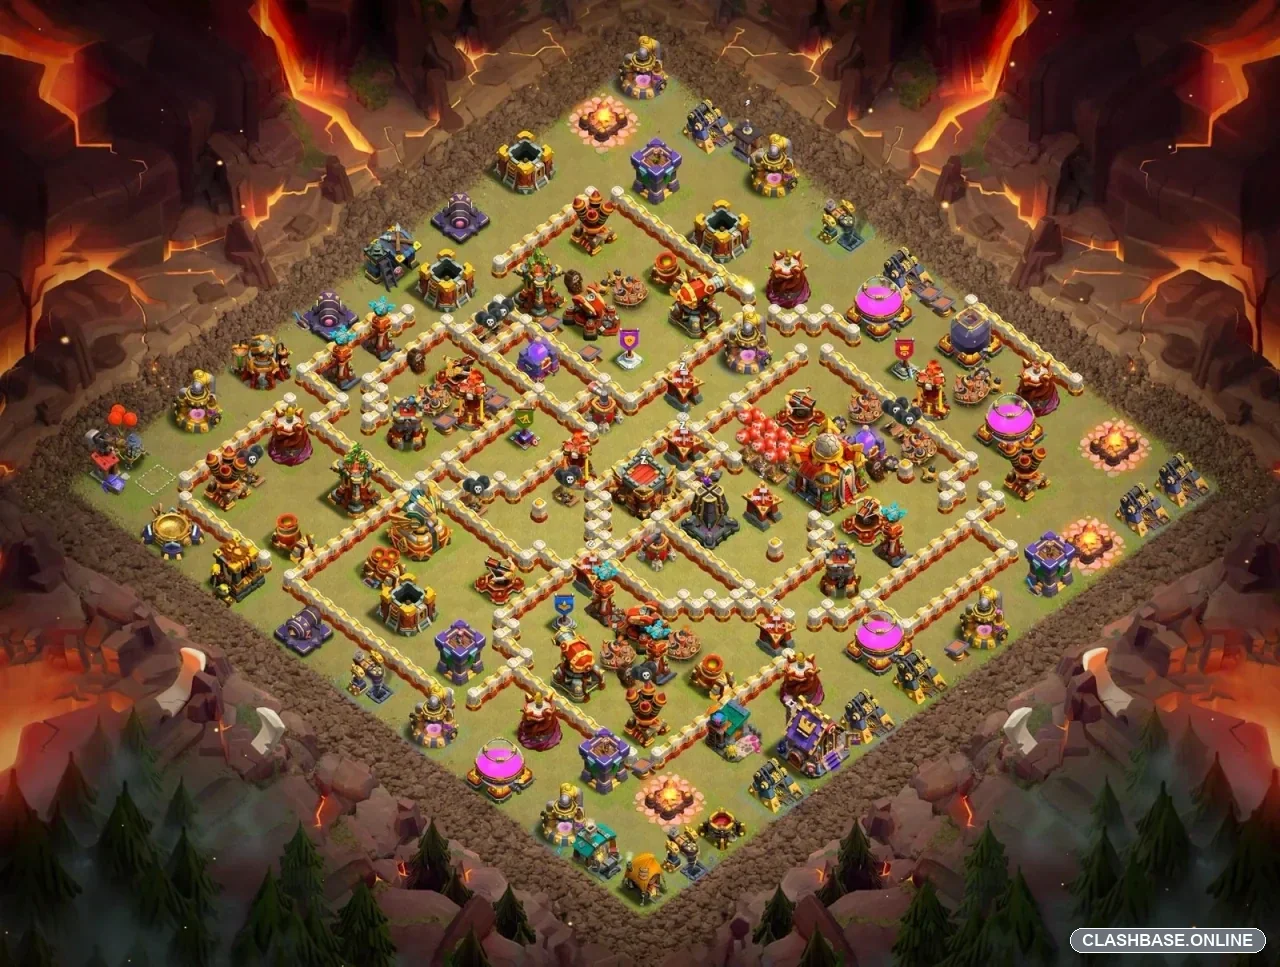
TH16 Clan War Base #4: Asymmetric Diamond with a Shorter Left-Side Route
Town Hall 16 Clan War Layout #4 has an uneven structure that makes it noticeably different from a standard symmetrical war base. The Town Hall sits close to the edge of the inner core rather than being buried exactly in the middle, while the surrounding walls create an asymmetric diamond made up of several medium-sized compartments. That arrangement seems intended to make the attacker solve more than one problem at once. Reaching the Town Hall is achievable, but reaching it with enough troops, spells, and time left for the rest of the village is a different challenge.
The left edge looks like the most natural place to begin scouting. Around eight or nine o’clock, there are enough exterior buildings to create a funnel without investing too much of the army. More importantly, the route from that side appears slightly shorter than the opposite diagonal. An experienced attacker is likely to notice that quickly.
The shorter route is also the clearest weakness I see in the layout.
A carefully prepared ground attack could use the left corner to remove a few outside targets and create a relatively direct line toward the inner compartments. Root Riders or another heavy smash army would make sense here because wall access is unlikely to be the biggest obstacle. Once the troops are inside, pathing becomes far more important.
If the funnel stays narrow, Root Riders, heroes, healers, and support units can remain close together. That gives the attacker much better value from Rage, Heal, Freeze, Overgrowth, or other control spells. A concentrated army entering through the shorter diagonal could remove several defenses in sequence before the deeper side of the base contributes its full pressure.
A wide funnel may produce the opposite result.
The main ground force could turn inward while the Queen or supporting troops continue along the outer-left buildings. For the first part of the raid, that split may even look helpful. Several structures fall simultaneously and percentage climbs quickly. The issue becomes clearer later, when the Town Hall group reaches stronger defenses and some of the supporting army is still fighting in another compartment.
At that point, one spell can no longer help everyone.
This is probably where the asymmetric design earns most of its defensive value. The base does not necessarily need to destroy the army immediately. It may be enough to stretch the formation, reduce spell efficiency, and force the attacker to approach the final section with smaller groups.
The Town Hall placement reinforces that idea. Because it sits near the edge of the inner core, a player may find a relatively safe way to secure it before dealing with every important defense. That can be attractive in Clan War because it protects the two-star result. Still, committing too much to the Town Hall can leave the opposite side surprisingly healthy.
That creates a useful anti-three-star tradeoff. A cautious attacker may secure the objective and finish with strong percentage, but lack the remaining strength for the triple. A more aggressive player can preserve spells and heroes for the back end, though that makes the Town Hall phase slightly less comfortable.
Queen Charge Hybrid could provide a more controlled approach. A Queen starting from the left may remove one defensive pocket, eliminate buildings that could disturb the funnel, and create a narrower route before Miners and Hog Riders enter. If everything goes according to plan, this could reduce much of the uncertainty around the shorter diagonal.
The weakness of that approach is time. One unexpected Queen walk, a slow wall opening, or a high-hitpoint building can delay the main phase. The Town Hall may still fall, but the final compartments could become difficult to finish if cleanup starts late.
Air attacks face another kind of challenge. The Air Defenses appear staggered rather than packed into one easy cluster, while the Inferno Towers act as separate high-value threats. That spacing may force an attacker to decide which defensive section deserves attention first.
Dragons could probably use the left-side entry after a good funnel, but I would expect a narrow deployment to work better than a broad one. If several Dragons follow buildings along the perimeter while the main group goes toward the Town Hall, the core receives only part of the intended attack.
LavaLoon offers better control over target order, though it would need a clear plan beyond the first Air Defense. Removing one threat does not appear to open the entire village. The attacker still has to think about the Town Hall section, remaining Inferno coverage, and whichever defensive pocket becomes the back end.
What makes Layout #4 feel genuinely suited to Clan War is the separation between objective security and complete base control. The Town Hall may be reachable, especially from the shorter left diagonal, but the valuable defenses beyond it remain meaningful. A player who only plans the first half of the attack may secure two stars and then find the final section awkwardly positioned.
The layout is certainly not unbeatable. A disciplined attacker who creates a precise left-side funnel and keeps the main force together could exploit the reduced defensive overlap along that diagonal. Still, that requires much more control than a simple spam deployment.