 CLASHBASE.ONLINEClan War
About this Town Hall 16 base
Copy this base to Clash of Clans
Tap the button below. Clash of Clans will open so you can place this layout in an available base slot.
Copy base to the gameClash of Clans must be installed on this device.Rate this layout
Share a useful, honest experience. One review is stored per visitor for this item.
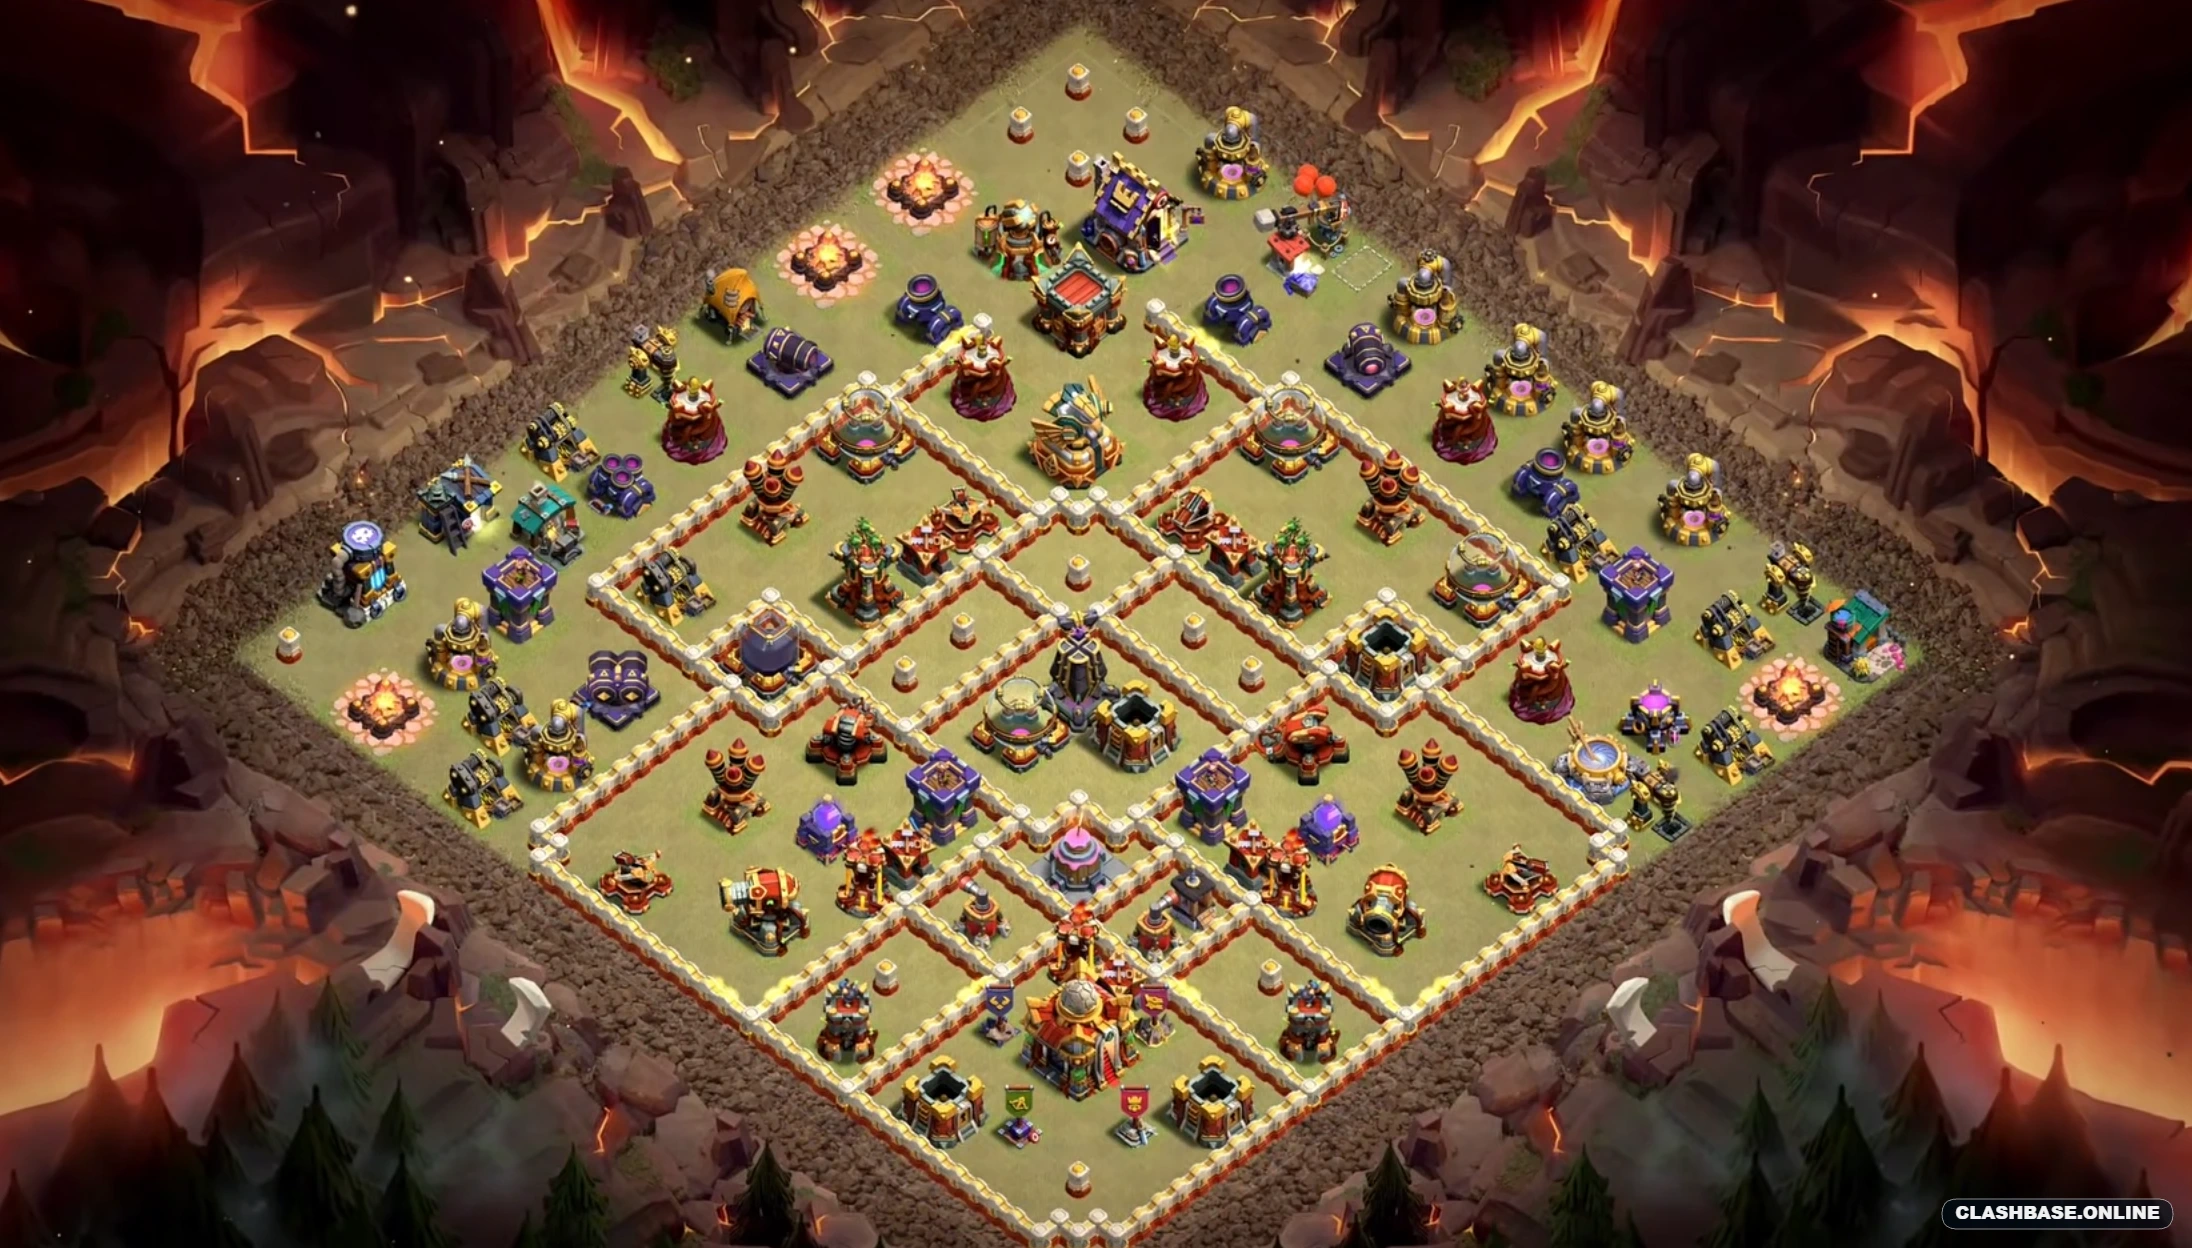
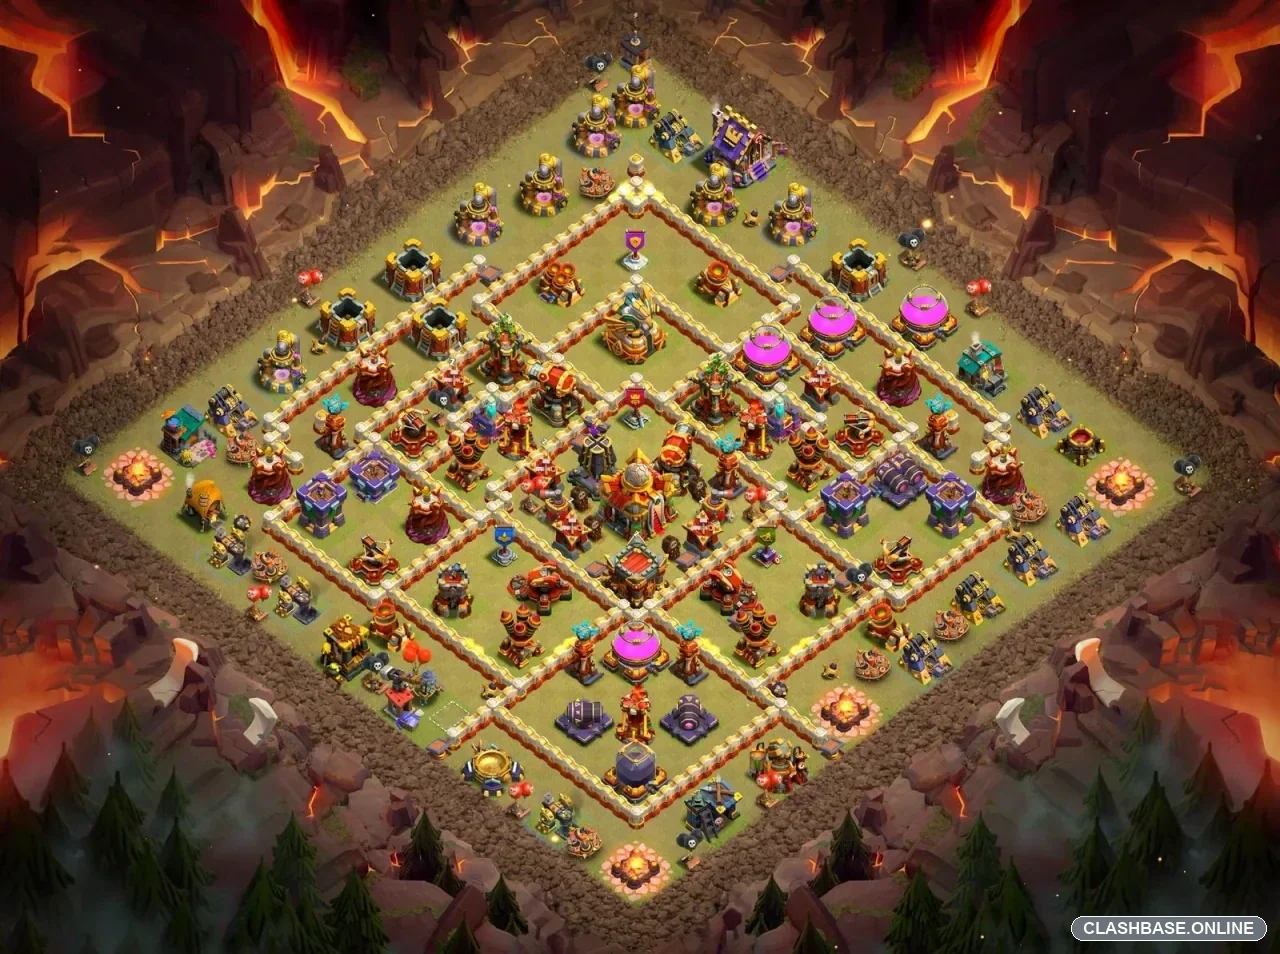
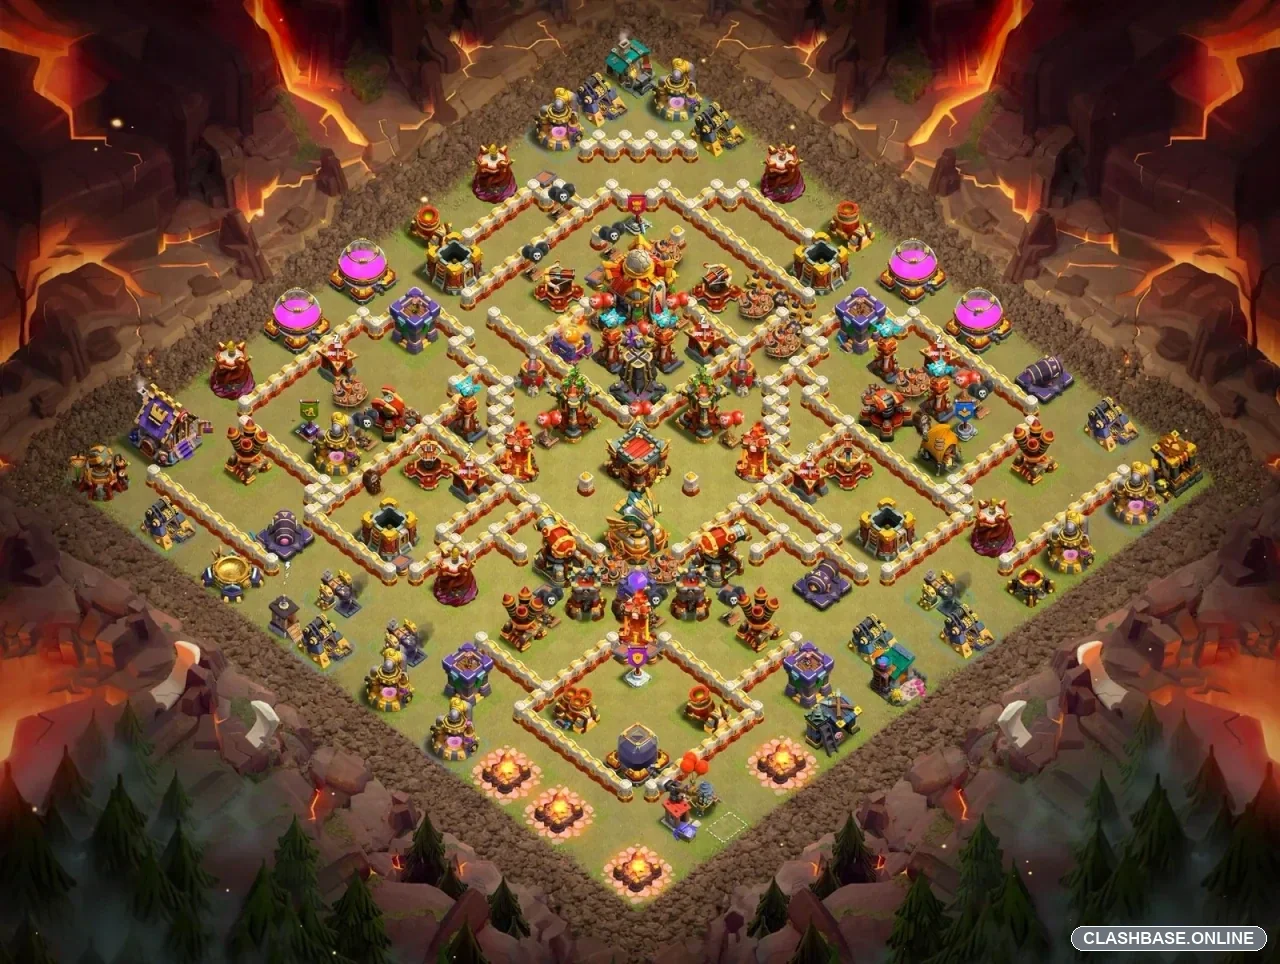
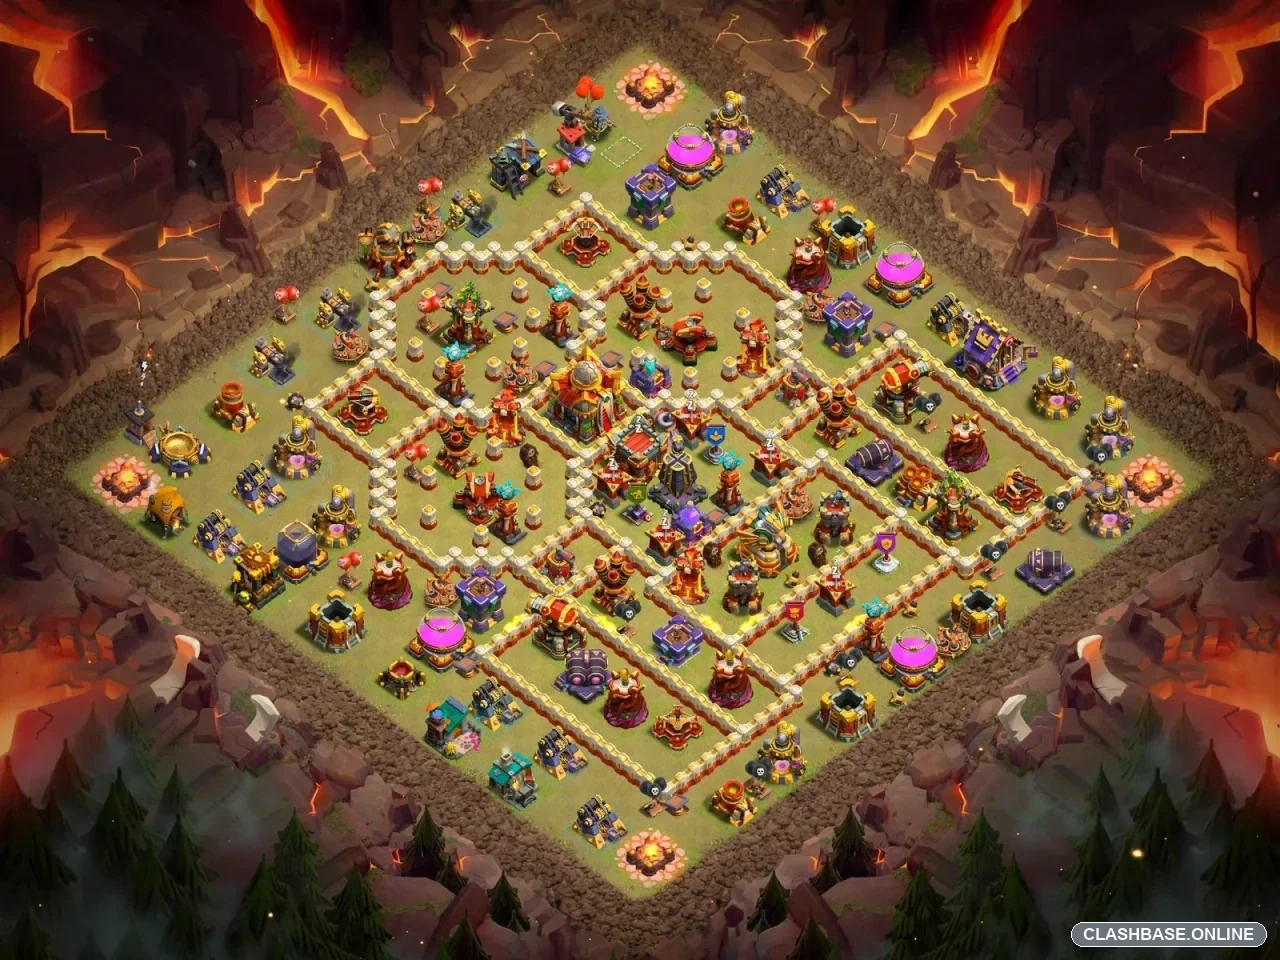
TH16 Clan War Base #30: Asymmetric Diamond with a Shorter Left-Side Route
Town Hall 16 Clan War Layout #30 uses an uneven diamond shape that makes the village feel more complicated than a standard symmetrical war base. The Town Hall sits near the edge of the inner core rather than being buried exactly in the middle, while the surrounding defenses are divided into several compartments with noticeably different depths. That setup creates a useful Clan War problem: reaching the Town Hall may be manageable, but the route that secures it does not necessarily leave the army in a good position for the rest of the base.
The left edge is the first area I would examine during scouting. Around eight or nine o’clock, the outer buildings can be trimmed without committing too many troops, and the wall structure appears to create one of the shorter diagonals toward the core. That makes the side attractive for a controlled attack, although clearing the entire edge would probably be a mistake.
A narrow funnel is likely to be much more dangerous.
If an attacker removes only the buildings needed to define the entry, Root Riders or another heavy ground army could travel through the shorter diagonal while remaining reasonably compact. The walls themselves are unlikely to stop that type of push for long. What matters more is whether the base can pull the heroes and supporting troops away from the main group before they reach the Town Hall section.
A wider deployment gives the layout more opportunities to do exactly that. Root Riders may continue inward while the Queen moves along a side compartment, or support troops may stop on nearby defenses instead of following the tanks. For a short period, the attack can still look excellent because multiple sections are falling at once. The weakness appears later, when the main army reaches the inner defenses and the supporting heroes are several tiles away.
That separation makes spell usage awkward. A Rage, Heal, Freeze, Overgrowth, or similar control spell delivers far more value when the whole attack is concentrated in one area. Once the formation stretches across neighboring compartments, the attacker has to decide which group deserves the spell.
The shorter left diagonal is therefore the most obvious weakness in Layout #30. Supporting defenses seem to have less room to overlap along this line than they do on the deeper side of the diamond. A well-prepared ground push could take advantage of that by removing several important targets before the opposite defensive section has much influence on the fight.
Queen Charge Hybrid looks like one of the cleaner ways to exploit the same opening. A Queen starting from the left could remove an outer defensive pocket, close one side of the funnel, and create a more predictable route for Miners and Hog Riders. If she follows the intended path, the attacker may enter the core without having to guess where the Hybrid troops will turn.
The plan is not automatic, though. A Queen that follows an outside structure or takes longer than expected on a high-hitpoint target could delay the main phase. That may still produce a safe Town Hall takedown, but the remaining defenses could become difficult to finish before the timer expires.
The Town Hall position itself creates another important choice. Because the objective sits near the edge of the inner core, an attacker may be tempted to secure it relatively early. That is sensible in Clan War, especially when protecting the two-star result matters. The problem is how much strength is spent doing it.
If several spells, hero abilities, or key troops are committed to guaranteeing the Town Hall, the far side can remain surprisingly healthy. A cautious attack may therefore finish with strong percentage but fall short of the triple. On the other hand, saving too much for the back end can make the Town Hall phase riskier than necessary.
That tradeoff is one of the reasons the layout works better as a war base than as a farming design.
Air attacks have their own pathing challenge. The Air Defenses are distributed across different inner sections rather than stacked into one obvious cluster. Inferno Towers also appear to support separate routes into the core, so an attacker is unlikely to solve the whole defensive network with one simple spell combination.
Dragons could still find a workable entry from the left after the funnel is prepared. A tighter deployment would probably keep more of them moving toward the inner core. Spread them across too much of the edge and some Dragons may circle around exterior buildings while the stronger group deals with the Town Hall area alone.
LavaLoon gives the attacker better control over individual targets, but target order becomes important. Removing the first Air Defense does not appear to unlock the whole base. The attacker still needs to plan the transition into the core, account for the separated Inferno coverage, and preserve enough Balloons for whichever compartment becomes the back end.
What makes this layout interesting is that the Town Hall route and the three-star route are not identical. An attacker may solve the objective early and still have a difficult cleanup. That is exactly the kind of pressure an anti-three-star base should try to create.
The base also rewards careful scouting. Simply identifying the easiest entry is not enough. The attacker needs to ask where the Queen is likely to walk, which compartment will attract the main force after the first wall break, and whether the surviving troops will exit the Town Hall section in a useful direction.