 CLASHBASE.ONLINEFarming
About this Town Hall 17 base
Copy this base to Clash of Clans
Tap the button below. Clash of Clans will open so you can place this layout in an available base slot.
Copy base to the gameClash of Clans must be installed on this device.Rate this layout
Share a useful, honest experience. One review is stored per visitor for this item.
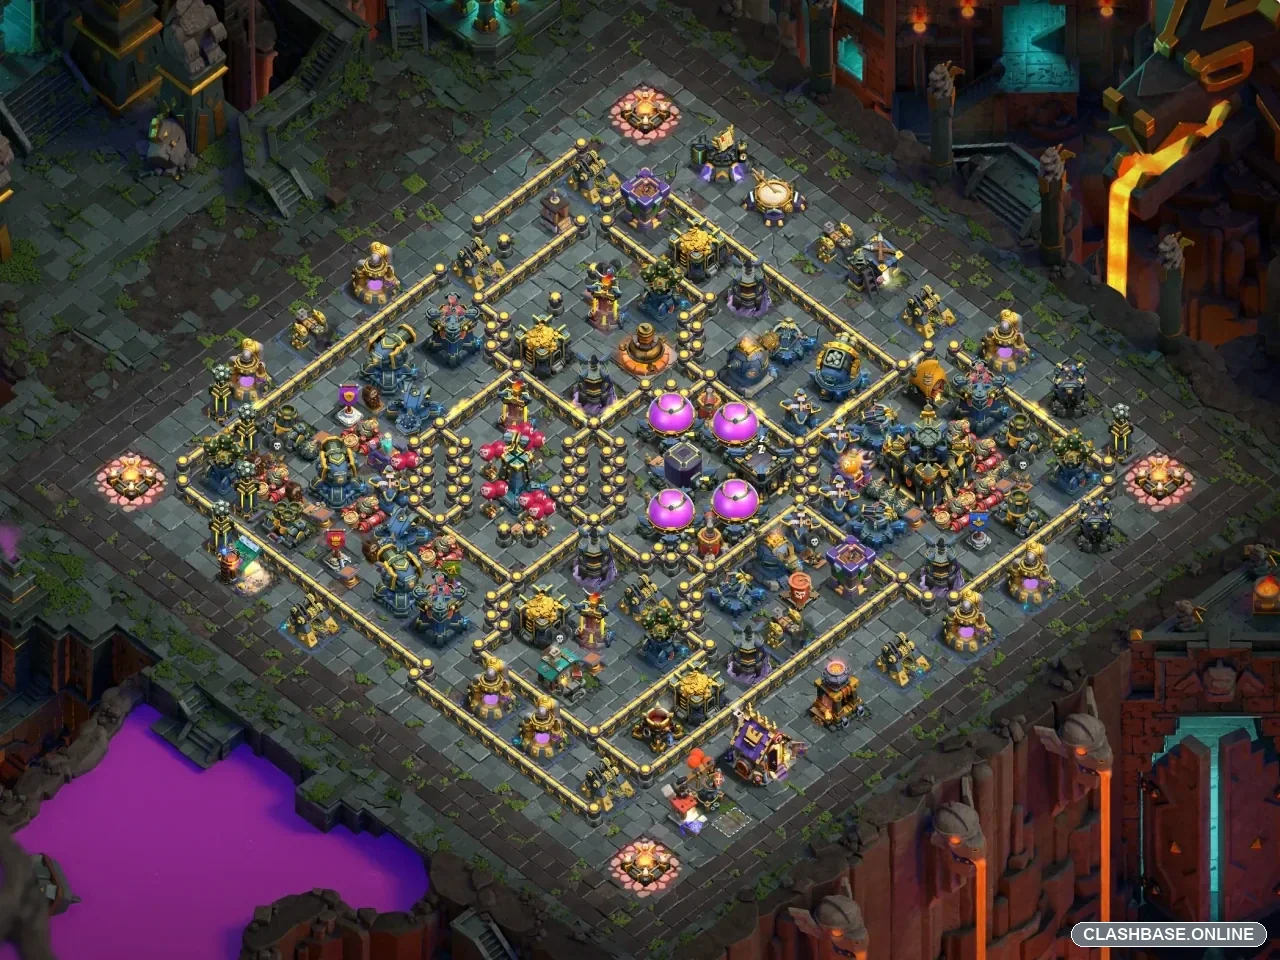
TH17 Farming Base #4: Layered Square with a Left-Side Funnel and Split Resource Paths
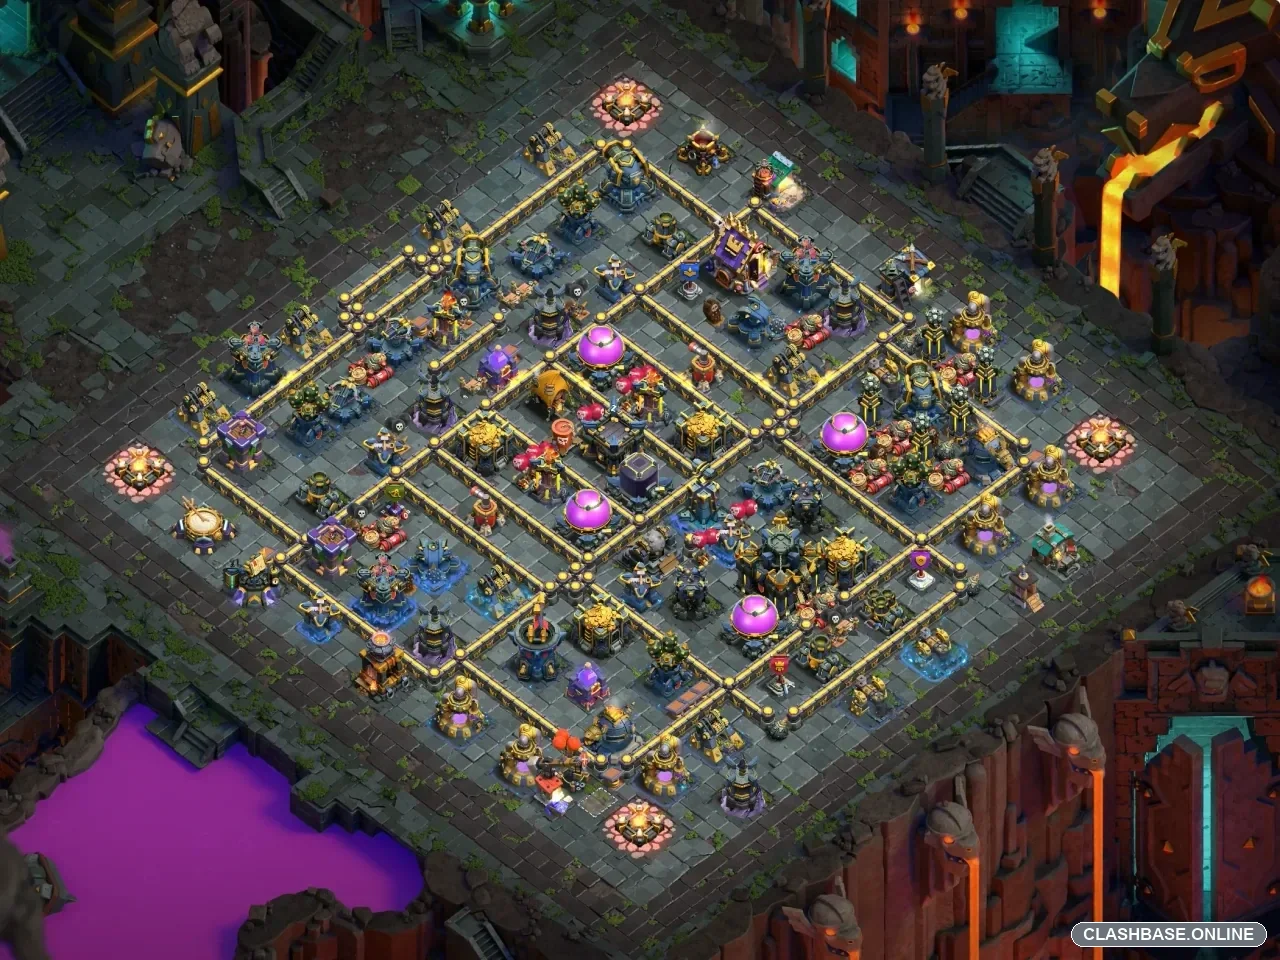
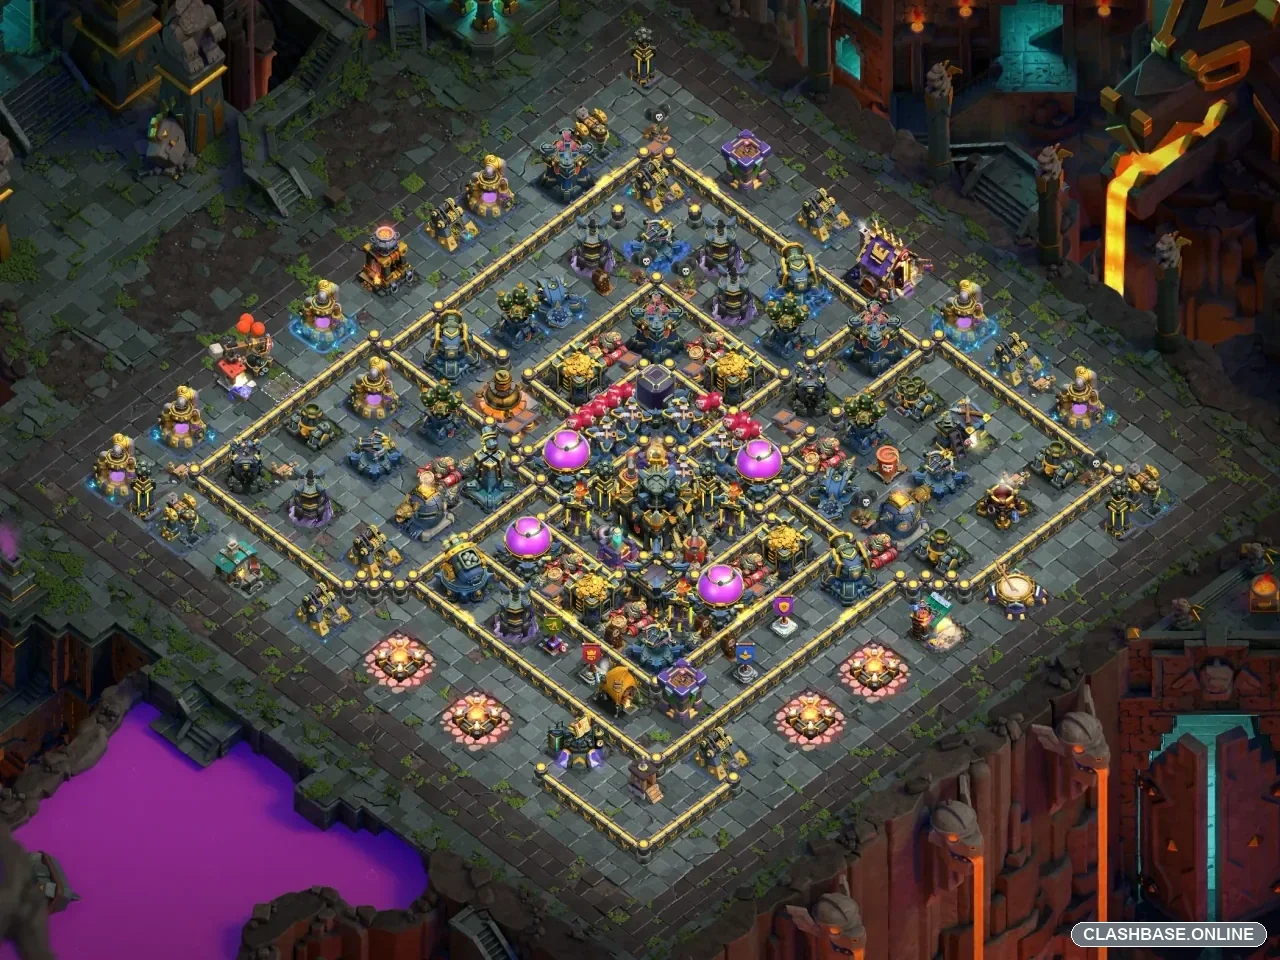
Town Hall 17 Farming Layout #4 uses a layered square structure, but the design is not as straightforward as the outer walls make it look. The Town Hall sits slightly below the visual center, while the main defensive buildings and resource pockets are spread across several inner sections. That arrangement gives the base a clear farming purpose: an attacker may break into one part of the village and collect useful loot, yet reaching the Town Hall and every remaining storage requires a much more complete attack.
The left edge is the side I would examine first. Around eight or nine o’clock, there is enough room to remove a few exterior buildings and shape a controlled funnel before committing the main army. From there, the wall structure creates what appears to be one of the shortest routes toward the inner compartments.
That route is also the most obvious weakness.
If an attacker clears the correct buildings and keeps the entry narrow, it may be possible to create a fairly straight line through two wall layers. Root Riders or another heavy ground smash army could take advantage of that opening because the first walls themselves are unlikely to slow a strong TH17 army for long. The more important question is what happens after those troops enter the second layer.
A compact push would be dangerous. Root Riders, heroes, healers, and support troops moving together can share the same Rage, Heal, Freeze, or other control spells. If that formation stays intact, the attacker may move from one defensive pocket into the next without losing much momentum.
A broad deployment is less convincing.
Imagine the main tanks turning toward the Town Hall while the Queen keeps clearing buildings along the outside. For the first part of the raid, that can actually look useful. Two areas are falling at once and percentage rises quickly. A little later, though, the central group reaches the stronger defenses without the Queen or some of the supporting troops nearby. What looked like extra value becomes a pathing problem.
That is where the layered structure starts doing real defensive work. The base is not relying entirely on walls to keep troops out. Instead, each section creates another decision about where the army moves next.
Queen Charge Hybrid may be one of the cleaner ways to attack this layout. A Queen starting from the left could remove one defensive pocket, close off part of the outside path, and prepare a more predictable lane for Miners and Hog Riders. That would reduce the chance of the Hybrid troops splitting between neighboring compartments.
The drawback is timing. If the Queen spends too long on a high-hitpoint building or takes an unexpected path around the edge, the Hybrid phase may start later than planned. The Town Hall can still fall, but a storage on the opposite side might survive simply because the army reaches it too late. For a farming base, that is still a useful defensive result.
The Town Hall’s slightly lower placement adds another layer to the attack. A player entering from the left can move toward the core without necessarily passing through every valuable resource section. Going directly for the Town Hall may leave loot elsewhere. Chasing storages first may improve the resource haul, but it costs additional movement and can weaken the main push.
That tradeoff is one of the stronger reasons this layout fits Farming play.
The air defense network appears spread across opposite sections, while the Inferno Towers support different routes into the middle. There is no single obvious defensive cluster where one spell solves everything. Dragons could still attack from the left after a careful funnel, but deployment width would matter. Spread the army too far across the edge and some Dragons may follow outside buildings while the stronger group heads inward.
LavaLoon offers more precise control over target order, although it would need a clear second phase. Removing one Air Defense does not appear to open the entire village. The attacker still has to think about the Town Hall route, remaining Inferno coverage, and which storage compartment will become the back end.
From a farming perspective, the biggest strength of Layout #4 is the separation between quick loot and complete loot. A hurried attacker may collect one storage, outside resources, and perhaps the Town Hall. That does not automatically mean every resource building falls. Reaching the remaining pockets requires another wall transition, more troop movement, or extra cleanup time.
The left-side funnel remains the area I would watch most closely. A disciplined attack that cuts through two wall layers while keeping the army together could open the core much faster than intended. Still, that requires better execution than simply dropping everything along one edge.