 CLASHBASE.ONLINEFarming
About this Town Hall 17 base
Copy this base to Clash of Clans
Tap the button below. Clash of Clans will open so you can place this layout in an available base slot.
Copy base to the gameClash of Clans must be installed on this device.Rate this layout
Share a useful, honest experience. One review is stored per visitor for this item.
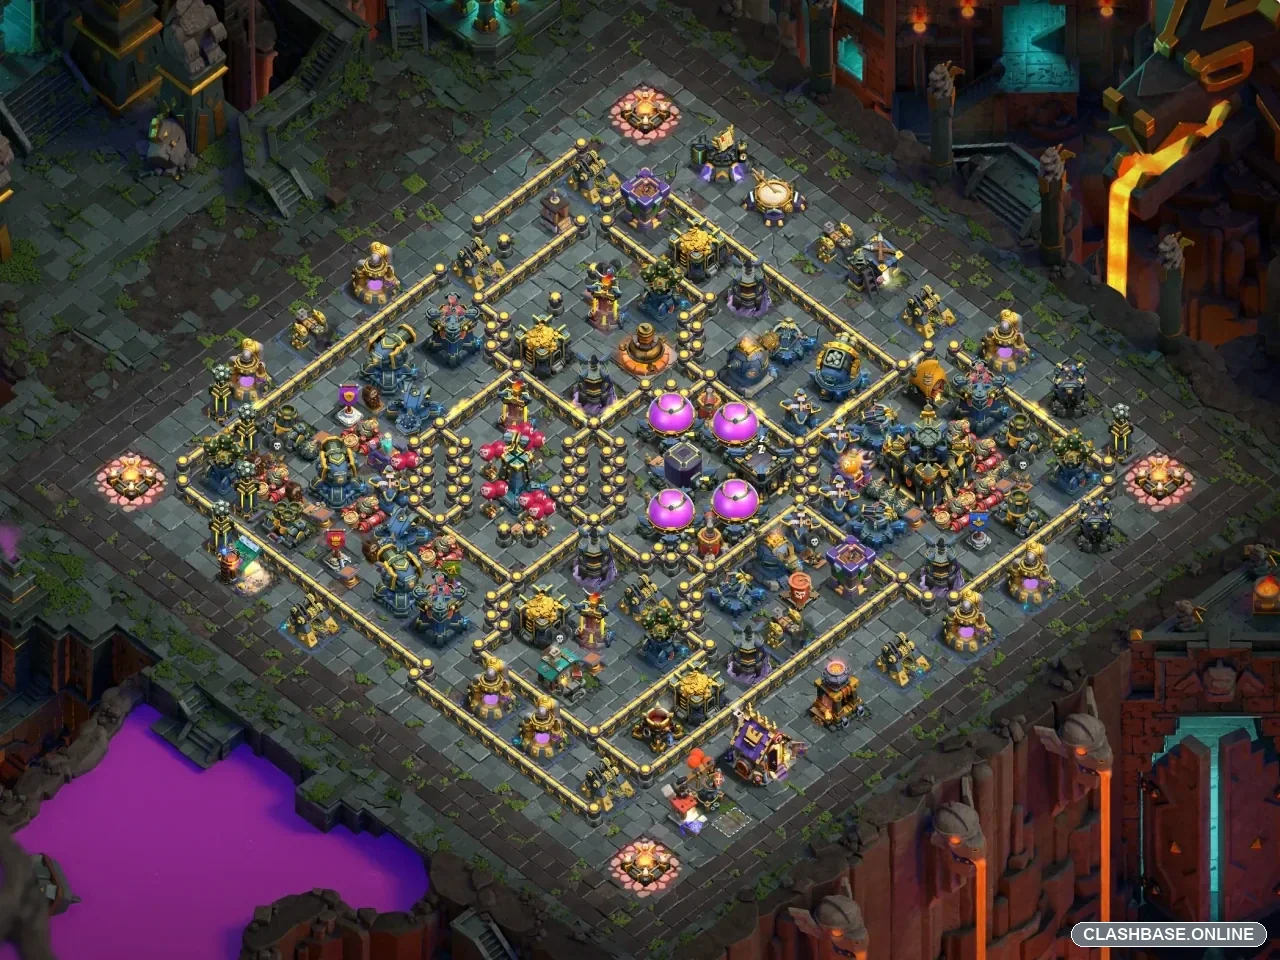
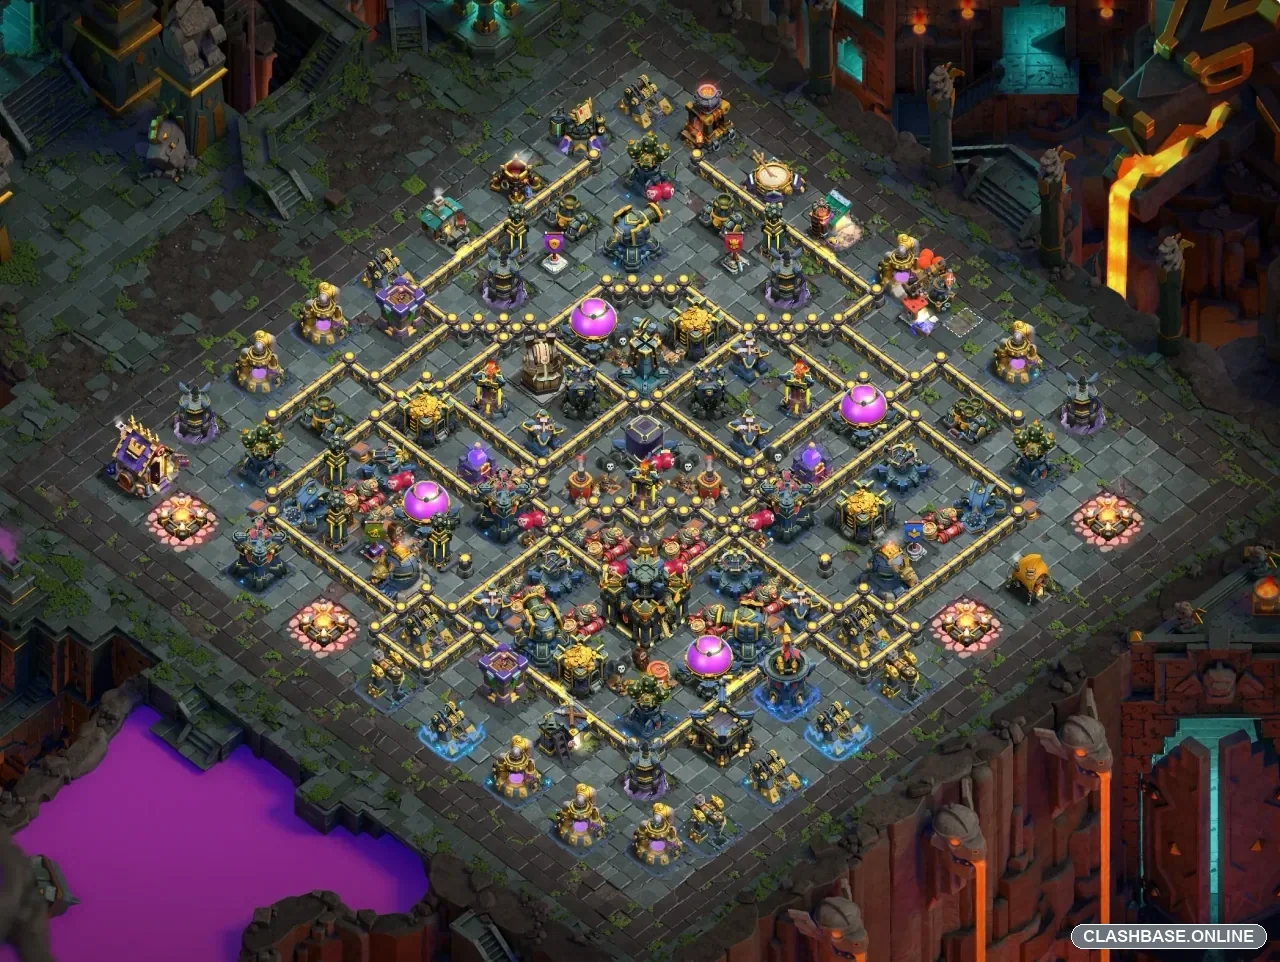
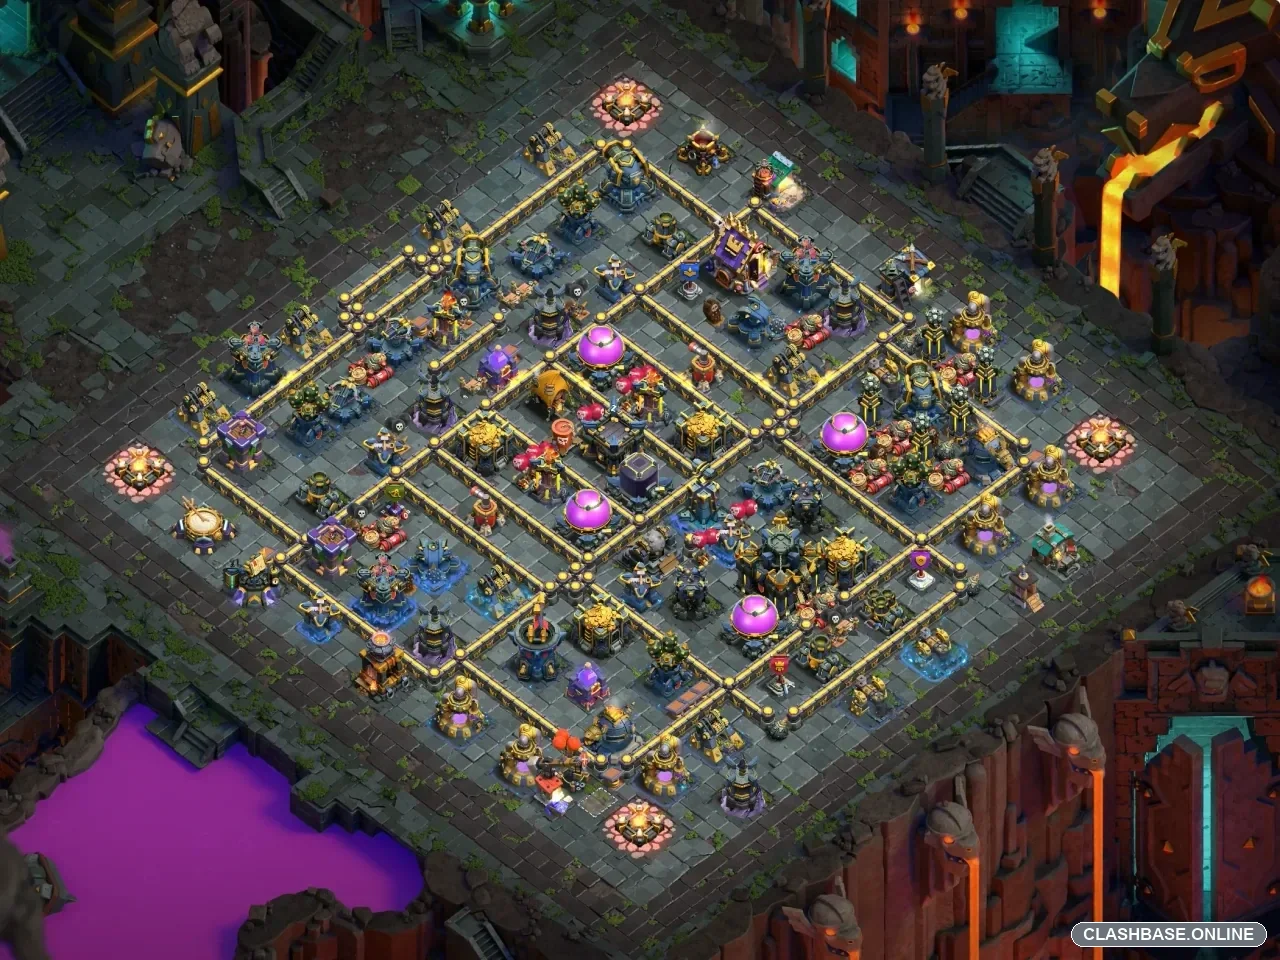
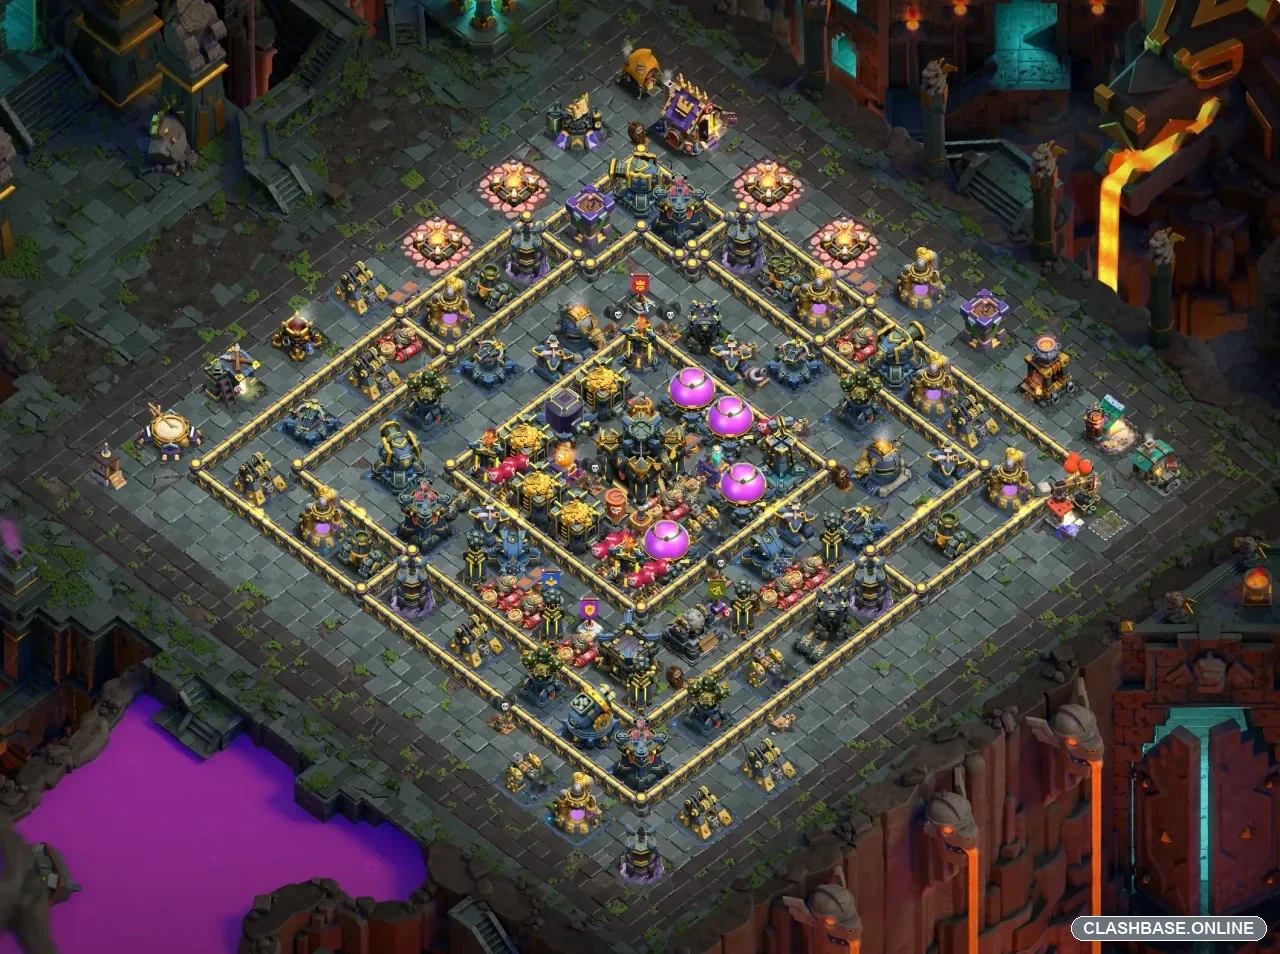
TH17 Farming Base #9: Multi-Compartment Core with a Bottom-Side Funnel
Town Hall 17 Farming Layout #9 is built around a fairly compact center, but the resource path is deliberately broken into several smaller sections rather than one easy storage corridor. The Town Hall sits close to the middle of the village behind the main storage line, while Gold and Elixir value is distributed across multiple compartments. That arrangement gives the layout a genuine farming purpose: reaching one valuable target does not automatically open the next one.
The first thing I notice is how many wall transitions an attacker may have to deal with. The base does not rely on a single heavy wall ring. Instead, it uses several connected compartments around the core, each containing a mix of defenses and resource buildings. That may create awkward troop movement once the first section falls. An attack can enter cleanly, then suddenly split because two nearby compartments offer equally attractive targets.
The bottom edge, around six o’clock, looks like the most comfortable place to begin. There is enough space there to trim a few exterior buildings and build a funnel toward the inner layers. It is probably the side most attackers will inspect first because the route toward the central resource area is relatively easy to understand.
Still, I would avoid opening the entire bottom side at once.
A very wide funnel may actually help the defense. Imagine a Root Rider army entering from six o’clock. The leading troops could move toward the Town Hall, while the Queen or other support units turn into a neighboring compartment. For the first part of the attack, both groups may look productive. Buildings are falling, percentage is climbing, and nothing seems obviously wrong. The problem becomes noticeable later, when the main force reaches the stronger central defenses without all of its support nearby.
That is where the layout’s biggest weakness and strength meet: time pressure.
If the funnel stays narrow, a well-organized ground army could move through the core efficiently. Root Riders or another heavy smash composition should have enough strength to break through the walls, especially if heroes and support troops remain together. A Rage, Heal, Freeze, or another control spell can then support most of the army at once.
When the funnel becomes too wide, however, the same army can split between adjacent sections. The attacker may still destroy a large percentage of the base, but cleanup becomes slower because surviving troops finish in different parts of the village. One storage on the far side may stay untouched simply because the army runs out of time reaching it.
Queen Charge Hybrid looks like another practical counter. A Queen starting from the bottom could remove one defensive pocket and close part of the funnel before Miners and Hog Riders enter. That may give the attacker more control over which compartment becomes the main route toward the Town Hall.
The downside is timing. A Queen that spends too long on a storage or takes an unexpected path can delay the Hybrid phase. The attack may still secure the Town Hall, but the remaining storages could end up spread too far apart for comfortable cleanup. On a farming base, that is not necessarily a failure for the defender. Protecting one or two major resource buildings can still make the layout useful over repeated raids.
Air attackers have a different problem. The Air Defenses are staggered around the core rather than grouped into one obvious section, while the Inferno Towers act as separate high-value targets. That reduces the chance of one spell sequence solving the entire middle.
Dragons may still find a workable route from the bottom after the funnel has been prepared, but deployment width would matter. A tight line should keep more Dragons heading toward the Town Hall and central storages. Spread them across too much of the edge and several may begin circling the perimeter, leaving the core group to deal with the strongest defenses alone.
LavaLoon offers more control over target selection, although the attack needs a clear second phase. Removing one Air Defense does not appear to expose every important building. The player still has to decide how to cross the core, when to pressure the Town Hall, and which storage compartment will become the final target.
What makes Layout #9 feel like a real farming base is the extra travel required between resource pockets. The first storage may be reachable without much trouble. The next one can require another wall transition. A third may sit on the opposite side of the core, forcing the attacker to spend more troops and more time.
That is a practical defensive goal. No TH17 farming layout should be treated as impossible to clear against a well-planned army. The more useful question is whether a rushed raid can collect the Town Hall and every major storage efficiently. Here, that does not appear guaranteed.
The bottom-side entry is still the route I would consider most vulnerable. A disciplined attacker who keeps the funnel tight and creates one clean line through the inner compartments may be able to open the base faster than intended. But a loose deployment can produce exactly the opposite result: split troops, weaker spell coverage, and a rushed finish.