 CLASHBASE.ONLINERanked
About this Town Hall 17 base
Copy this base to Clash of Clans
Tap the button below. Clash of Clans will open so you can place this layout in an available base slot.
Copy base to the gameClash of Clans must be installed on this device.Rate this layout
Share a useful, honest experience. One review is stored per visitor for this item.
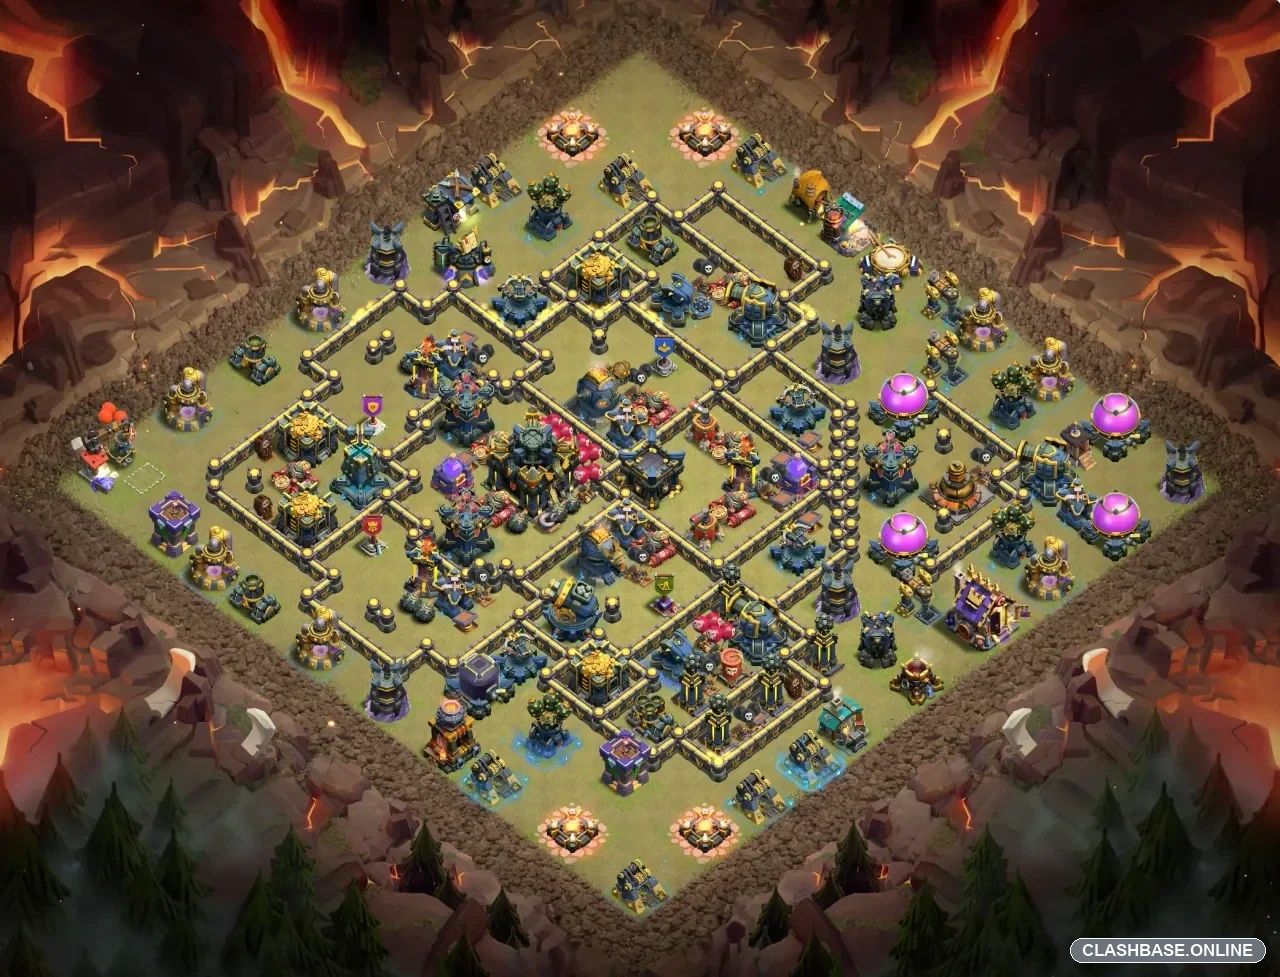
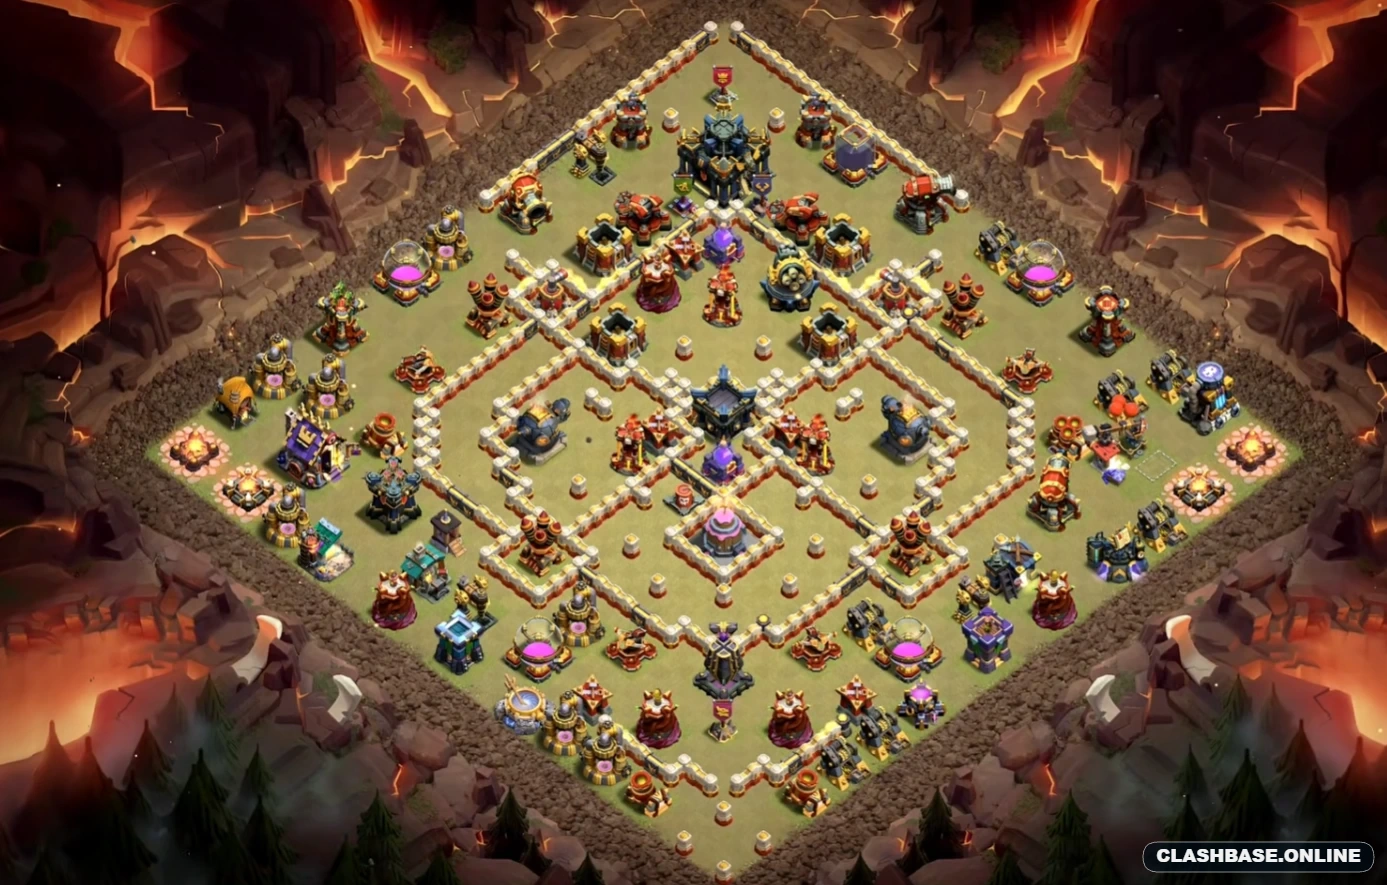
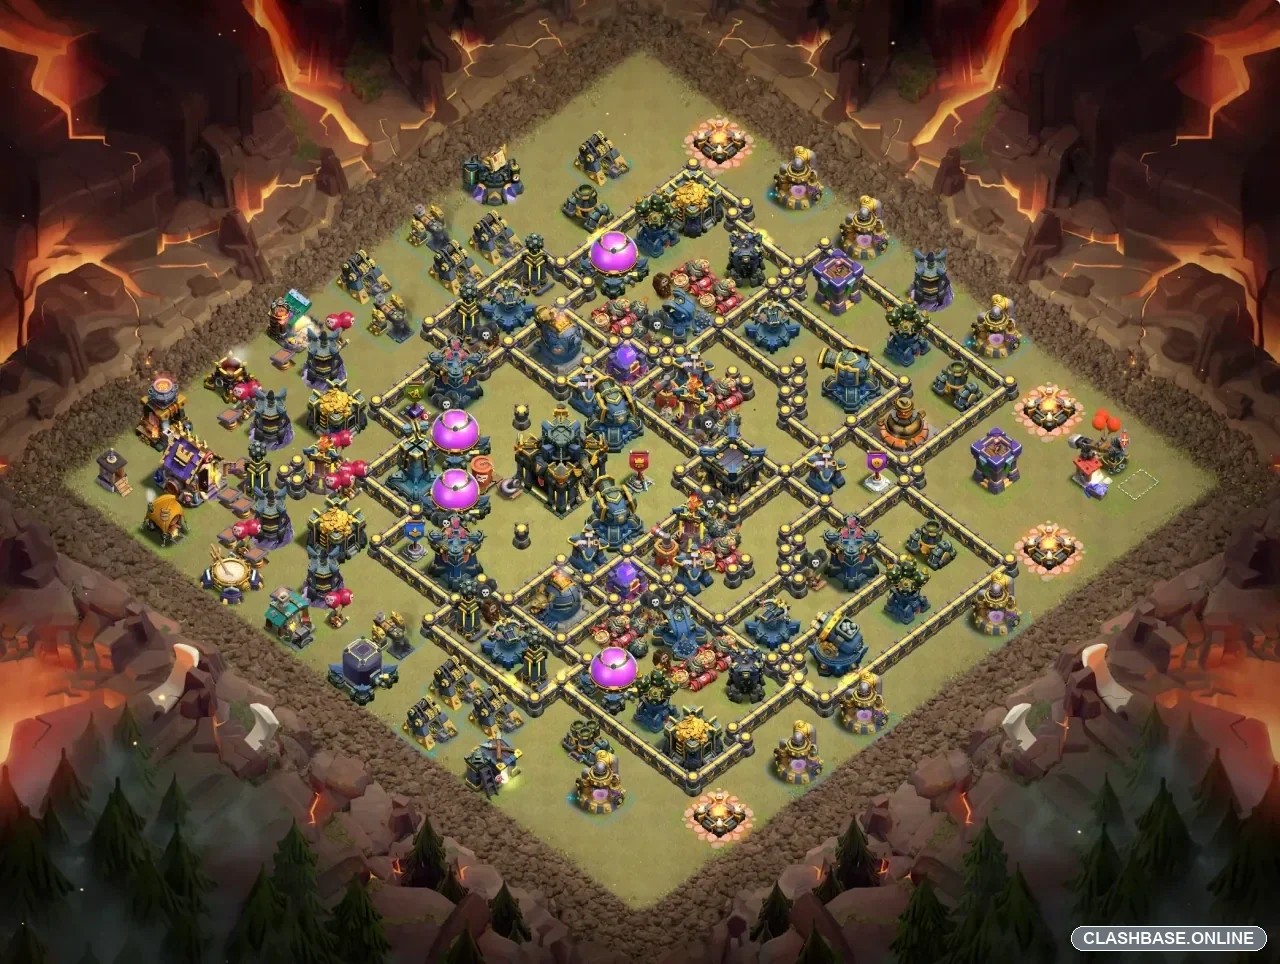
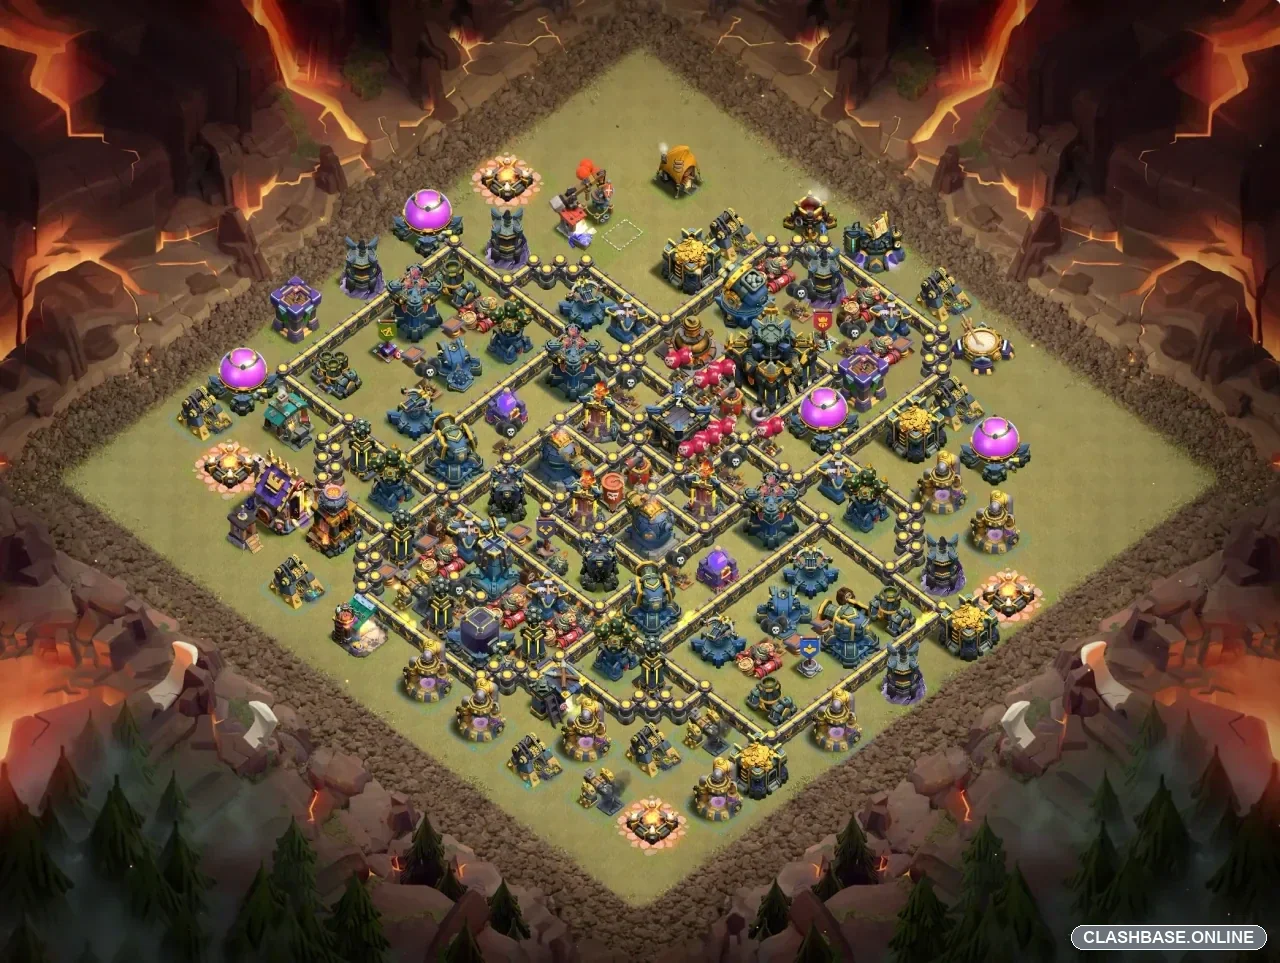
TH17 Ranked Base #11: Offset Diamond with a Lower-Right Entry and Awkward Cleanup
Town Hall 17 Ranked Layout #11 looks slightly chaotic at first, but that is part of what makes the design interesting. The Town Hall is positioned a little left of the core rather than sitting perfectly in the middle, and the walls form an offset diamond with several uneven compartments around it. There is no single straight corridor that obviously solves the whole village. An attacker can find a workable entry, but turning that opening into a clean finish may take more planning than the first glance suggests.
The lower-right edge, around four or five o’clock, appears to be the most comfortable place to start. There is enough space there to remove a few exterior buildings and create a diagonal route toward the central compartments. That side also gives a hero a reasonable chance to take one corner before the main force enters.
Still, I would not open the entire lower-right edge.
This layout seems most vulnerable to a precise funnel rather than a huge deployment. If an attacker removes only the buildings needed to create one narrow lane, troops can move toward the core with much less uncertainty. Clear too much, and suddenly several compartments become available at the same time. Root Riders may go inward while the Queen or supporting troops continue around the edge. Both groups can survive for quite a while, which makes the mistake deceptively hard to notice.
A Queen Charge could be especially useful here. Starting from the lower-right gives the Queen a chance to remove one defensive section and cut away part of the offset diamond before Miners and Hog Riders are released. If the charge stays on track, that could shorten the route toward the Town Hall and reduce the number of side targets competing for troop attention.
The plan is not foolproof, though. One unexpected Queen turn can change the entire attack. A building left outside the funnel might pull her farther around the edge, and a slow wall break could cost enough time to make the final cleanup uncomfortable. Ranked attacks often look excellent for the first minute and then fail because the army spends the last twenty seconds travelling between surviving buildings.
Root Rider and other heavy ground smash armies are another obvious threat. They have enough power to cross the wall network, so this base cannot depend on walls alone. Its defense is more about controlling where those troops go after the first compartment opens. Keeping the entire army together is important. When the front line, heroes, and support troops move through the same lane, the attacker gets much more value from Rage, Heal, Freeze, or other control spells.
A broad smash may actually give the base more opportunities to defend. If one part of the army heads toward the Town Hall while another group turns into a nearby compartment, spell coverage becomes awkward. The attacker then has to decide which group is worth saving.
The air setup creates a separate problem. Air Defenses are spread around different parts of the inner base instead of being grouped into one convenient section, while the Inferno Towers are separated enough to reduce simple multi-target spell value. That means a Dragon or LavaLoon attack probably needs a planned sequence rather than one obvious opening move.
Dragons could approach from the lower-right after a good funnel, but the deployment should stay reasonably tight. A wide Dragon line may send several units toward outside targets while the main group travels toward the core. That can leave the strongest defenses fighting only part of the army.
LavaLoon gives better control over individual targets, although it also requires more careful route planning. Removing one Air Defense does not appear to open the entire base immediately. The attacker still has to decide which defensive pocket comes next and how the Town Hall fits into the path.
What makes this layout suitable for Ranked play is the way it separates the main objective from comfortable percentage. Going directly toward the Town Hall may secure the objective faster, but the opposite side can remain relatively healthy. Taking a wider route for percentage first sounds attractive, yet that leaves the Town Hall active longer and can introduce time pressure.
That balance matters more here than one obvious “killer” defense. The base is asking the attacker to make several small decisions correctly: where to enter, how much of the corner to clear, when to commit the main army, and how much strength to preserve for cleanup.
The lower-right diagonal remains the biggest concern. A controlled Queen or hero entry that removes the corner and forces troops inward could make the base much easier to read. If that setup succeeds, the attacker may gain a short route through the offset diamond and reach the Town Hall with plenty of army left.
But a rushed attack could play directly into the layout’s strengths. One loose funnel is enough to create separate groups, and once that happens, percentage and cleanup become much less predictable.