 CLASHBASE.ONLINERanked
About this Town Hall 17 base
Copy this base to Clash of Clans
Tap the button below. Clash of Clans will open so you can place this layout in an available base slot.
Copy base to the gameClash of Clans must be installed on this device.Rate this layout
Share a useful, honest experience. One review is stored per visitor for this item.
TH17 Ranked Base #13: Offset Diamond with a Lower-Right Pressure Point
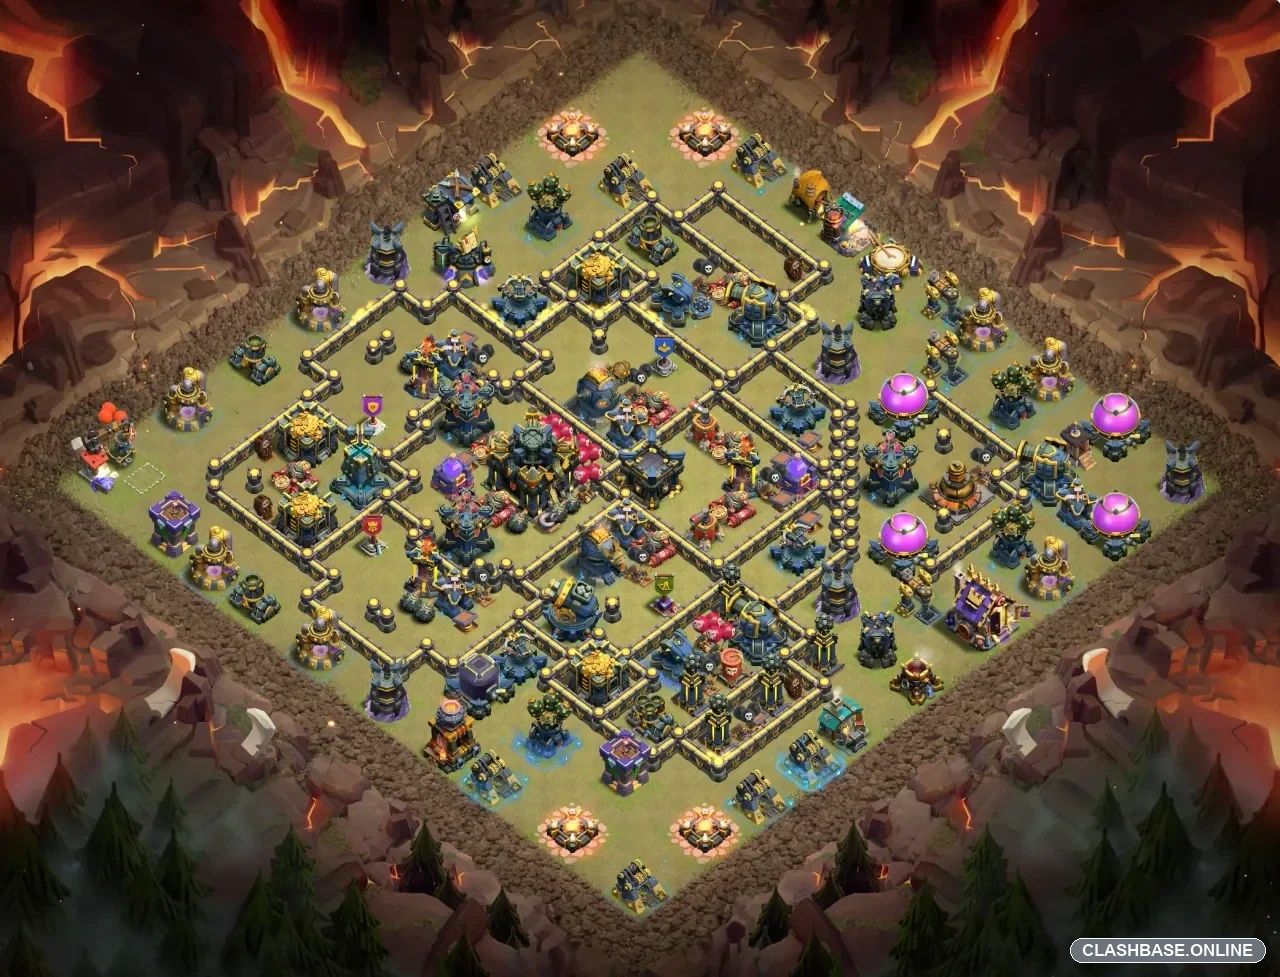
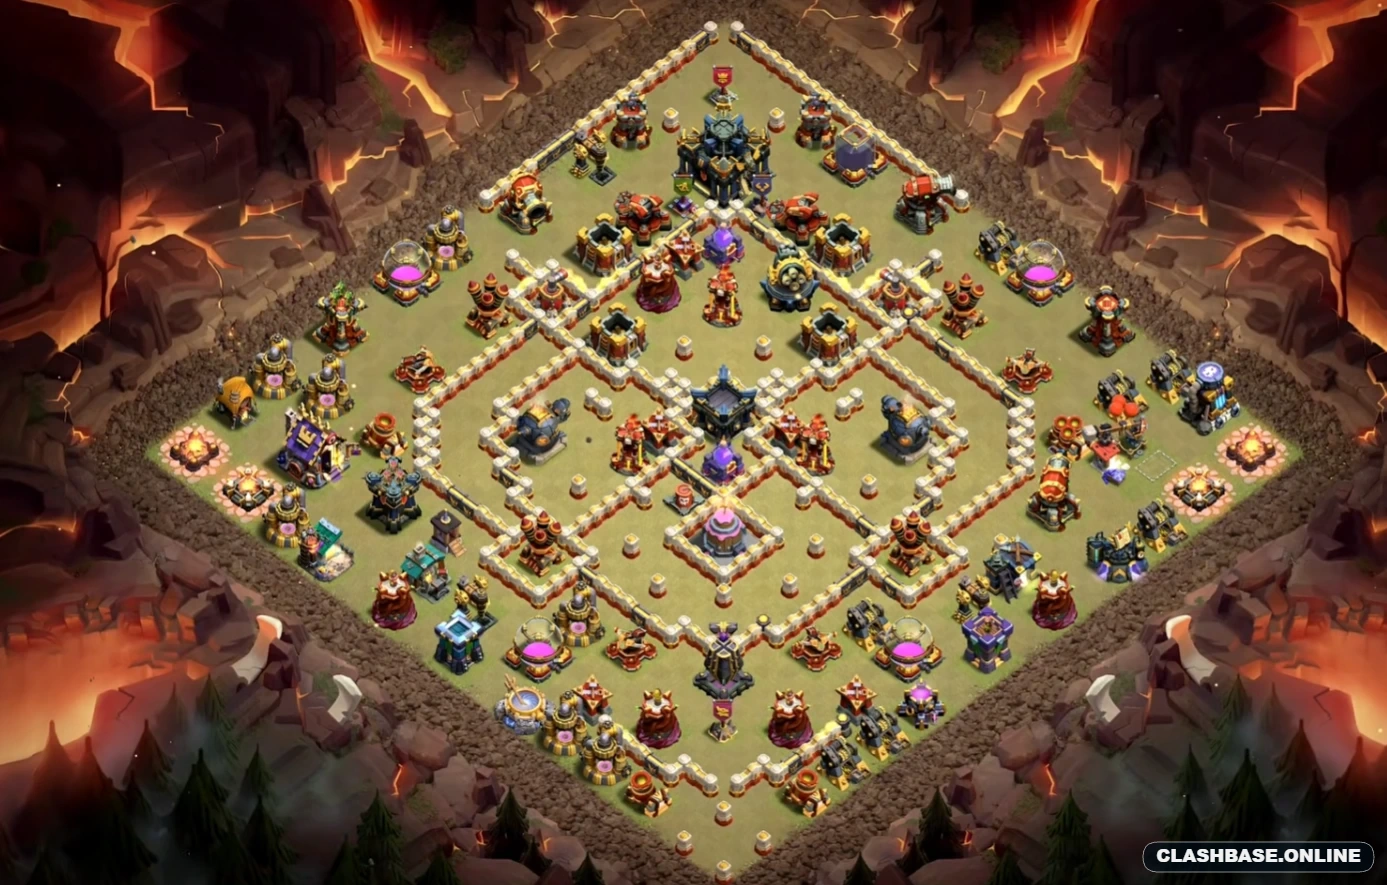
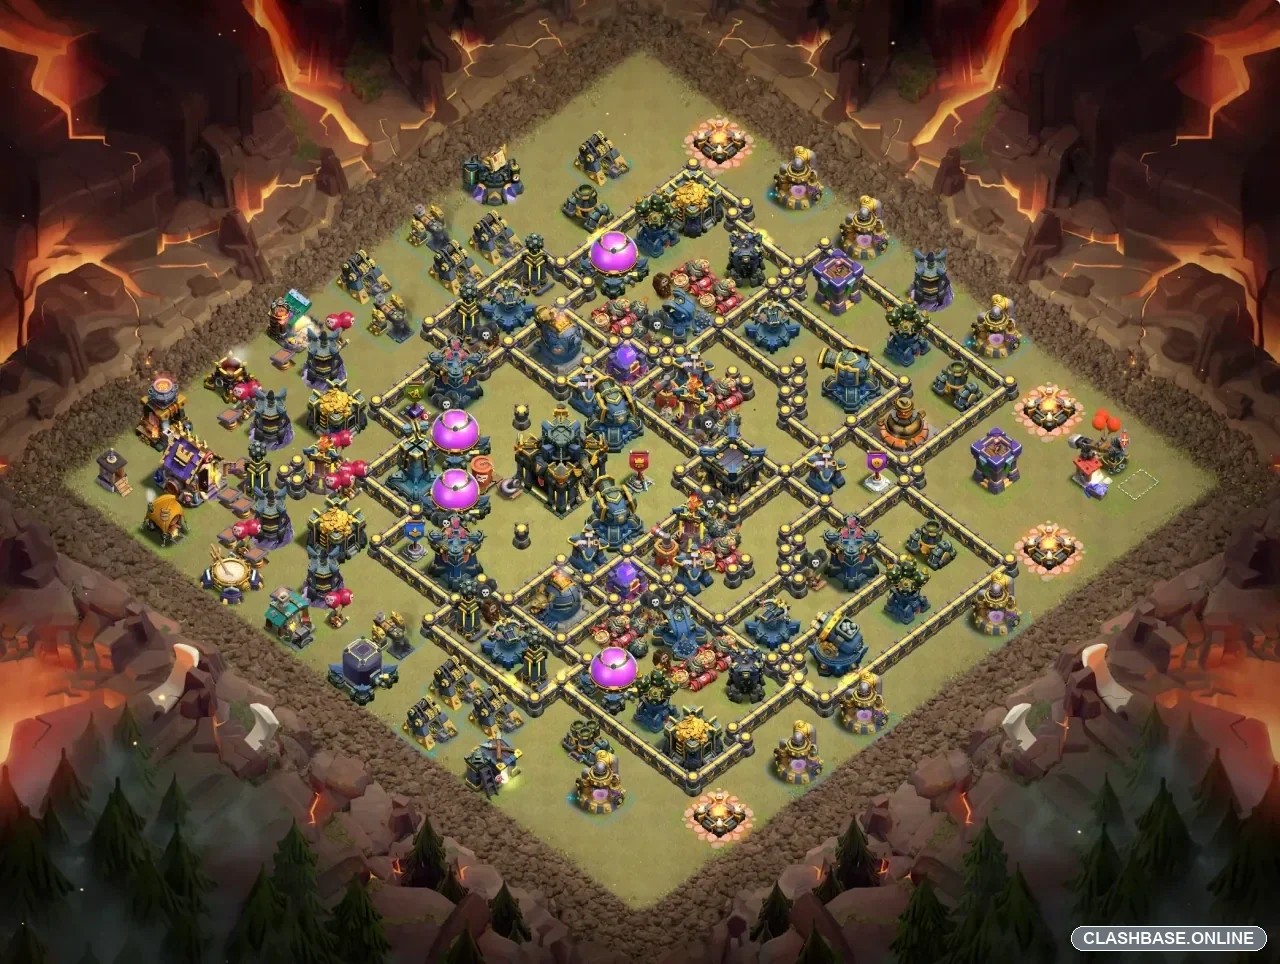
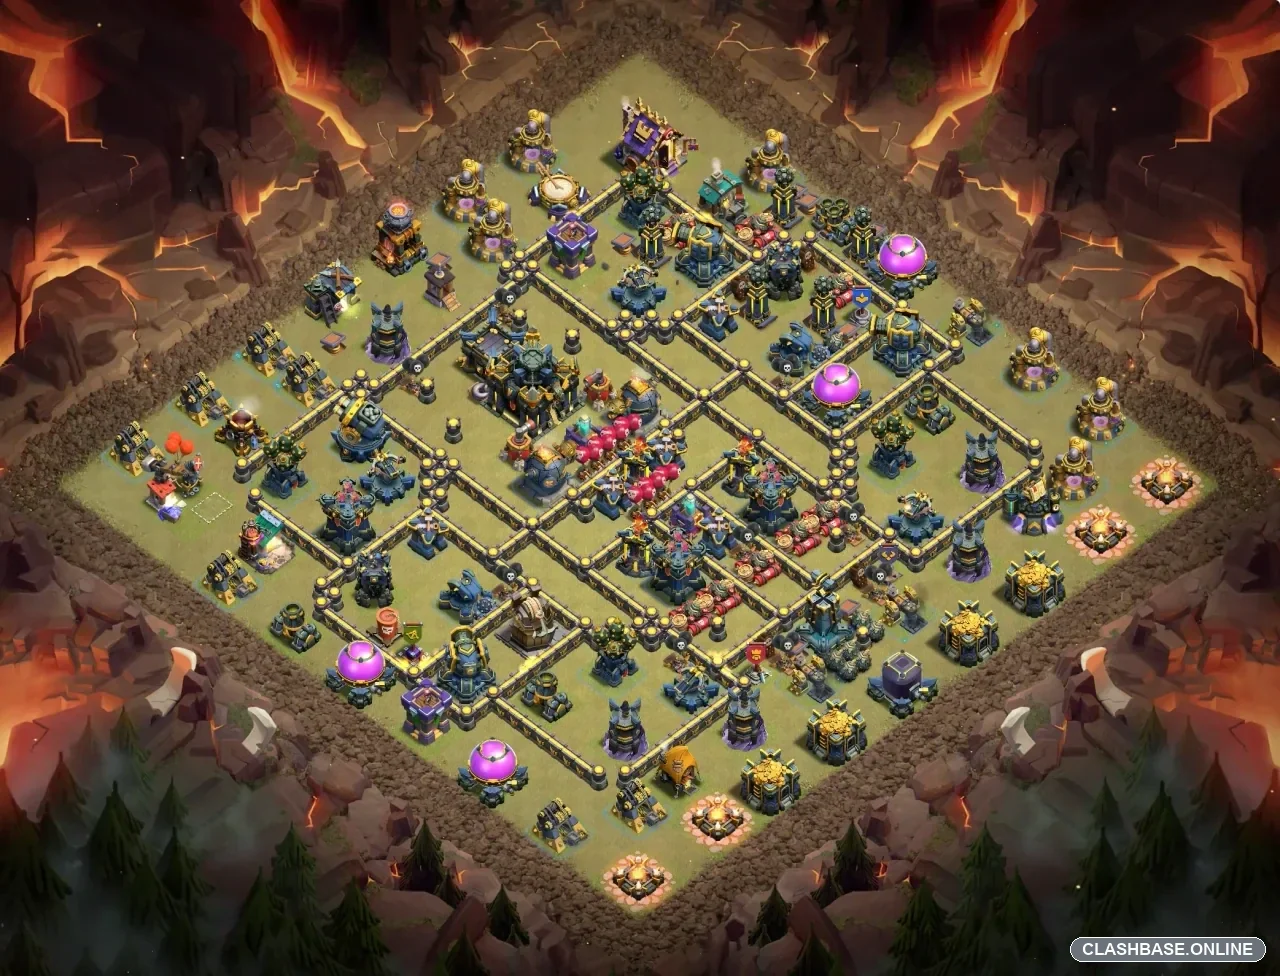
Town Hall 17 Ranked Layout #13 has a slightly awkward shape, and that is probably where most of its defensive value comes from. The Town Hall is not sitting perfectly in the middle. Instead, it is shifted toward the left side of the core, while the surrounding walls create an offset diamond with several uneven compartments. From a quick scouting view, the village looks fairly open. Once you start planning an actual route through it, though, the choices become less comfortable.
The lower-right edge, around four or five o’clock, appears to be the easiest place to begin. There is enough room to remove a few outside buildings and build a diagonal funnel toward the center. That route also gives a hero a realistic chance to remove one corner before the main army is committed. It looks tempting, but I would not treat it as a guaranteed safe entry.
The main weakness is probably a carefully controlled Queen or hero push from that lower-right side. If the attacker removes the correct buildings, one compartment can disappear early and create a shorter route toward the Town Hall. A Queen Charge could be particularly useful because it allows the attacker to shape the base before Miners, Hog Riders, Root Riders, or another main group is deployed.
The challenge is keeping that setup under control. A Queen that walks farther along the edge than expected can completely change the attack. The same thing may happen if one outside defense remains standing and pulls support troops away from the intended lane. What looked like a neat diagonal entry can suddenly become two separate pushes.
Root Riders and other heavy ground smash armies should also have a reasonable chance against this layout. The wall network itself is unlikely to stop them for very long. Pathing is the more interesting problem. Once troops enter the offset diamond, they can see several defensive targets in different compartments. Tanks may move toward the Town Hall while heroes or supporting units stay on the right side.
That split does not necessarily ruin the attack immediately. In fact, the first thirty seconds may still look excellent. Buildings are falling, percentage is climbing, and the main group appears healthy. The problem shows up when the attacker starts needing concentrated spell value. Rage, Heal, Freeze, or other control spells become much harder to use efficiently when half of the army is fighting several tiles away from the rest.
A narrow funnel therefore seems more dangerous to this base than a broad spam-style deployment. If the attacker can keep the main force moving through one lane, the offset Town Hall becomes more manageable. Spread the army too widely and the base gains more opportunities to pull units away from the objective.
Air armies face a different puzzle. The Air Defenses are split around the inner compartments instead of being stacked into one obvious section. The Inferno Towers also appear separated enough that a single spell is unlikely to solve both threats at once. That spacing may force a Dragon or LavaLoon attacker to choose which part of the base deserves attention first.
Dragons could potentially enter from the lower-right after the funnel is shaped. A tight line should keep more of them moving toward the core. A wide deployment, on the other hand, may cause several Dragons to follow buildings around the outside while the main group heads toward the Town Hall. That kind of split is especially frustrating late in the attack because the remaining troops often finish in completely different areas.
LavaLoon gives the attacker more control over individual targets, but it also requires a clearer plan for the second half of the raid. Removing the first Air Defense does not appear to open the entire village. The attacker still has to deal with the offset Town Hall, surviving Inferno coverage, and whatever remains on the opposite side.
What makes Layout #13 feel appropriate for Ranked play is the balance between objective security and percentage. A player can focus heavily on reaching the Town Hall, but that route may leave too much of the base untouched. Clearing more percentage first sounds safer, yet it keeps the main objective alive longer and may create time pressure later.
The base does not seem designed around one surprise trick. Its defense is more subtle: awkward pathing, uneven routes, and a Town Hall that is close enough to tempt a direct push without being placed on the cleanest percentage line.
There is an obvious concern. If the lower-right corner is removed efficiently and the attacker keeps the Queen or main army on the intended diagonal, the core may open faster than expected. That is probably the first route an experienced player will test.
Even so, a strong opening does not guarantee a strong finish. The attacker still needs enough troops and spells to move from the Town Hall section into the remaining compartments without losing percentage or time.