 CLASHBASE.ONLINEClan War
About this Town Hall 12 base
Copy this base to Clash of Clans
Tap the button below. Clash of Clans will open so you can place this layout in an available base slot.
Copy base to the gameClash of Clans must be installed on this device.Rate this layout
Share a useful, honest experience. One review is stored per visitor for this item.
TH12 Clan War Base #3: Asymmetric Diamond Defense Built Around Three-Star Denial
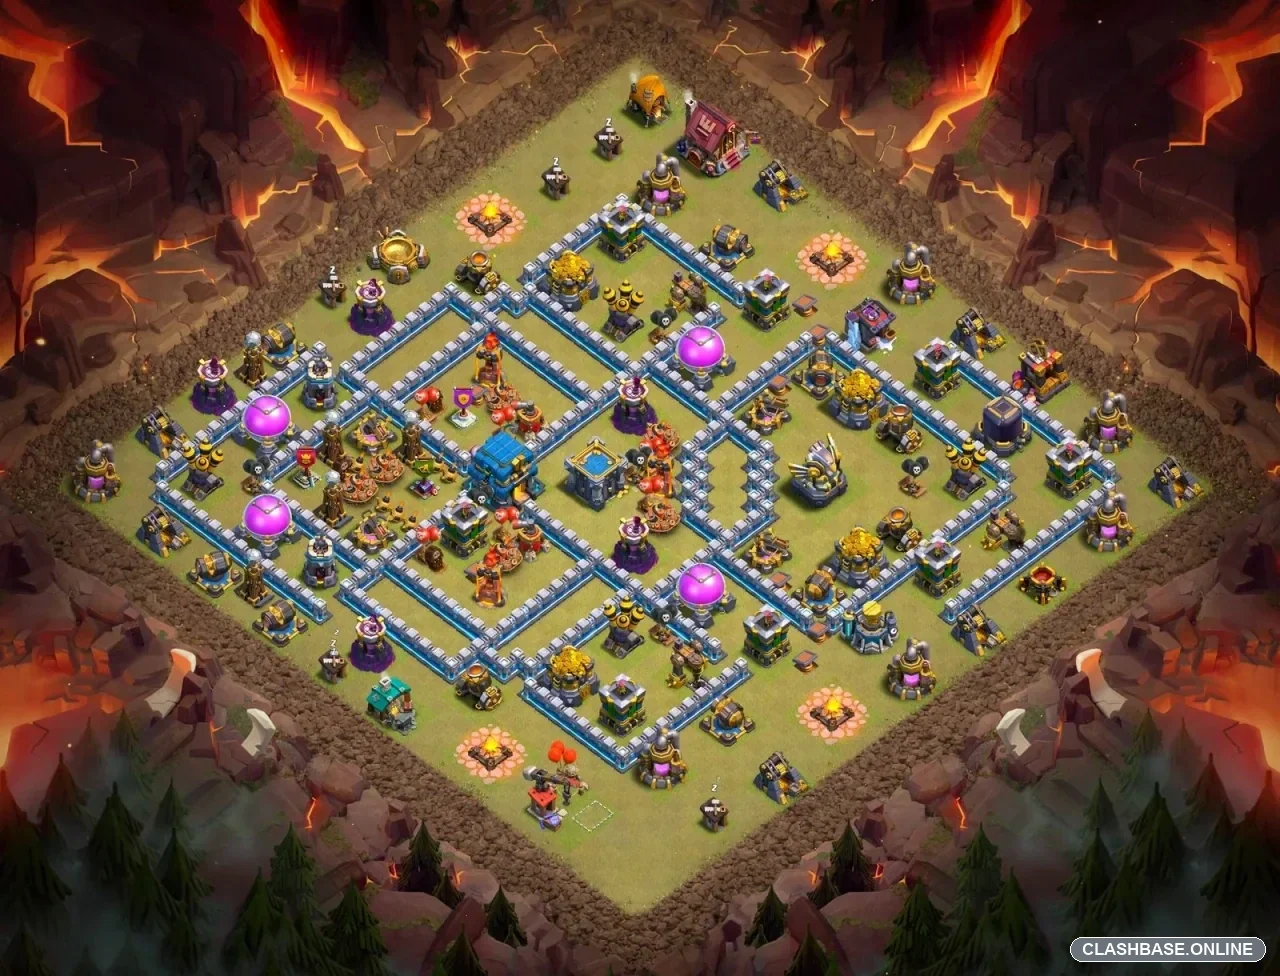
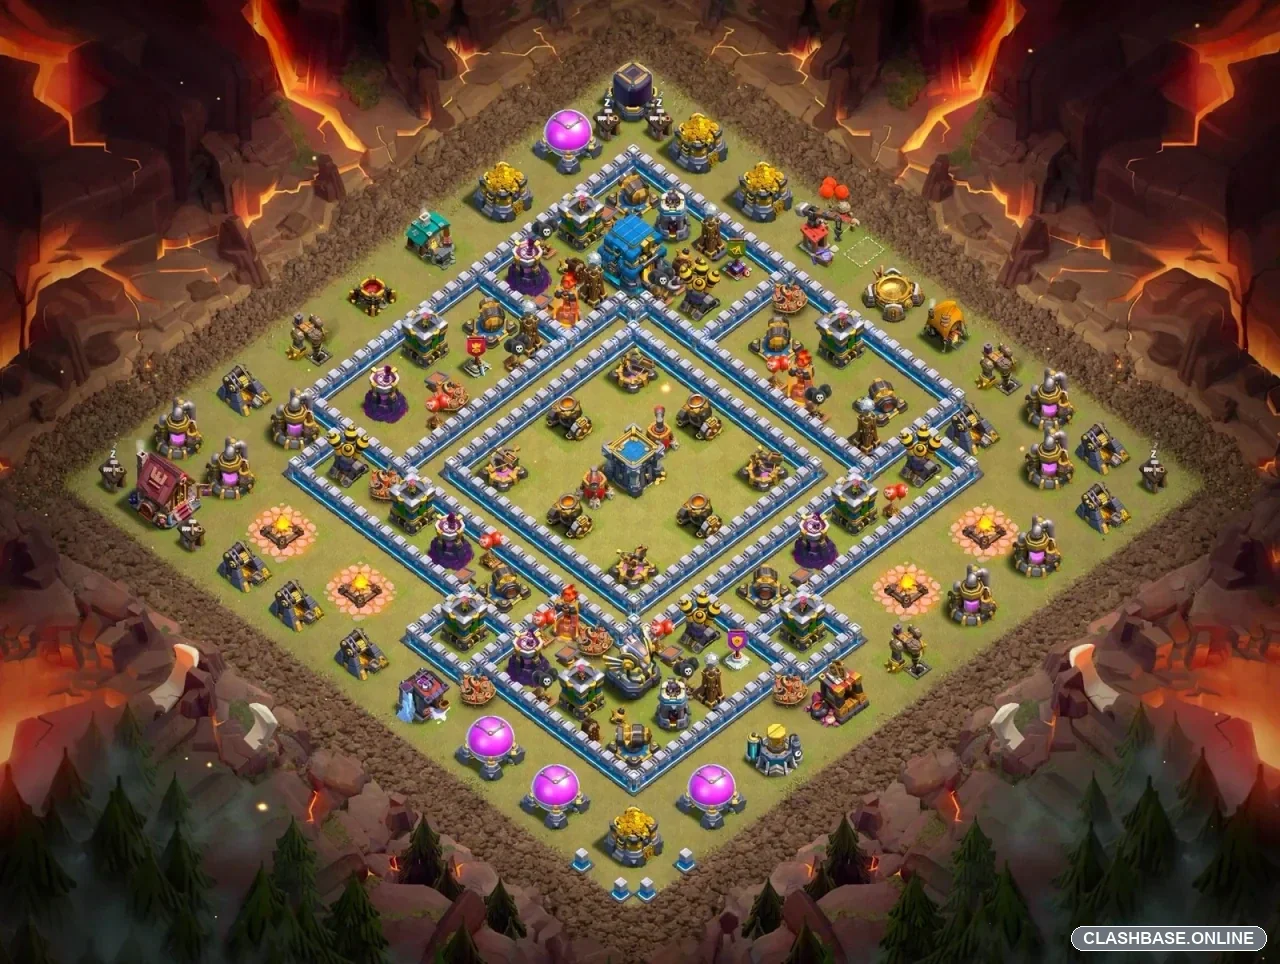
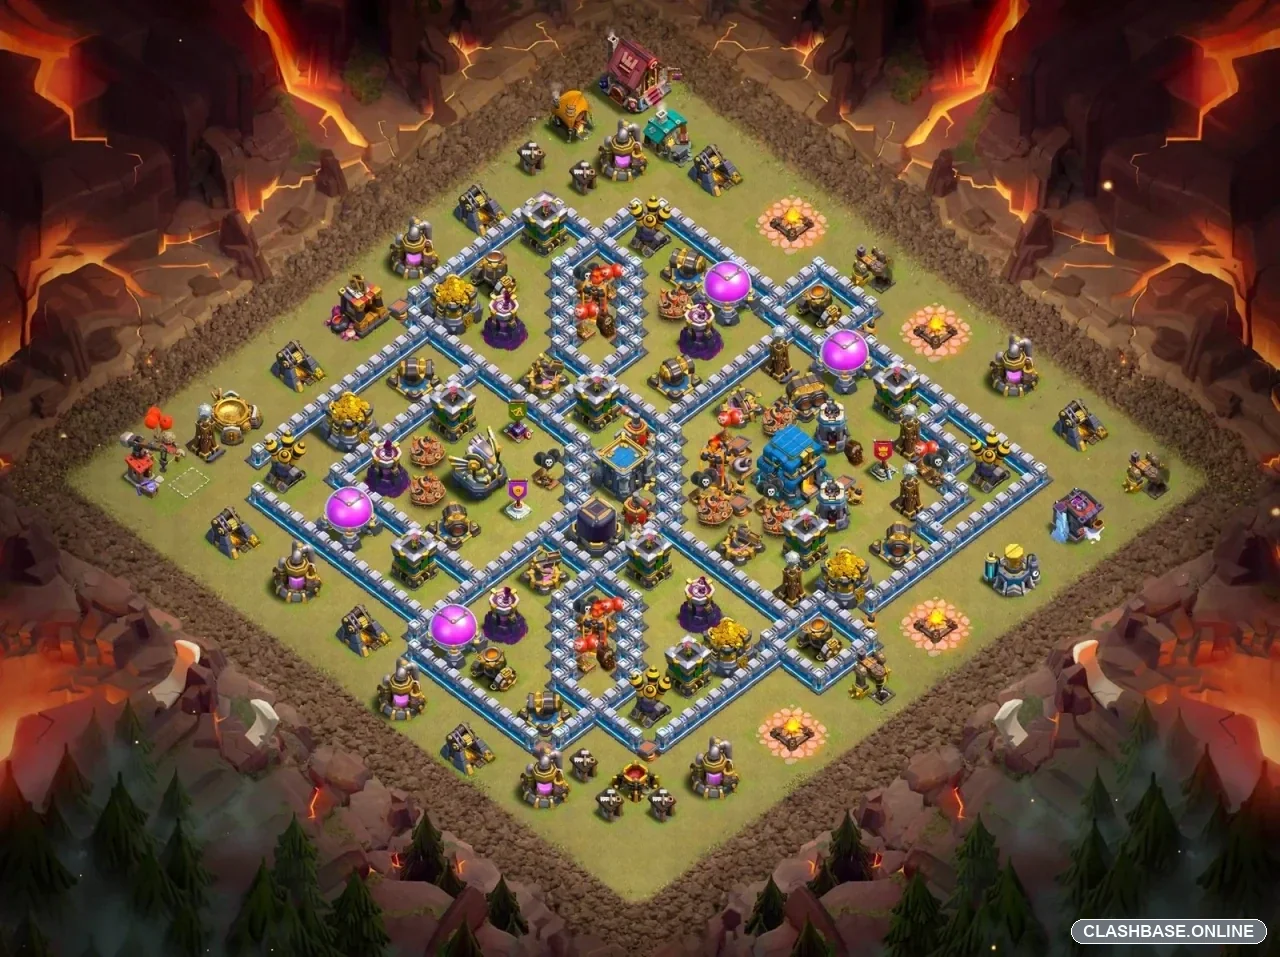
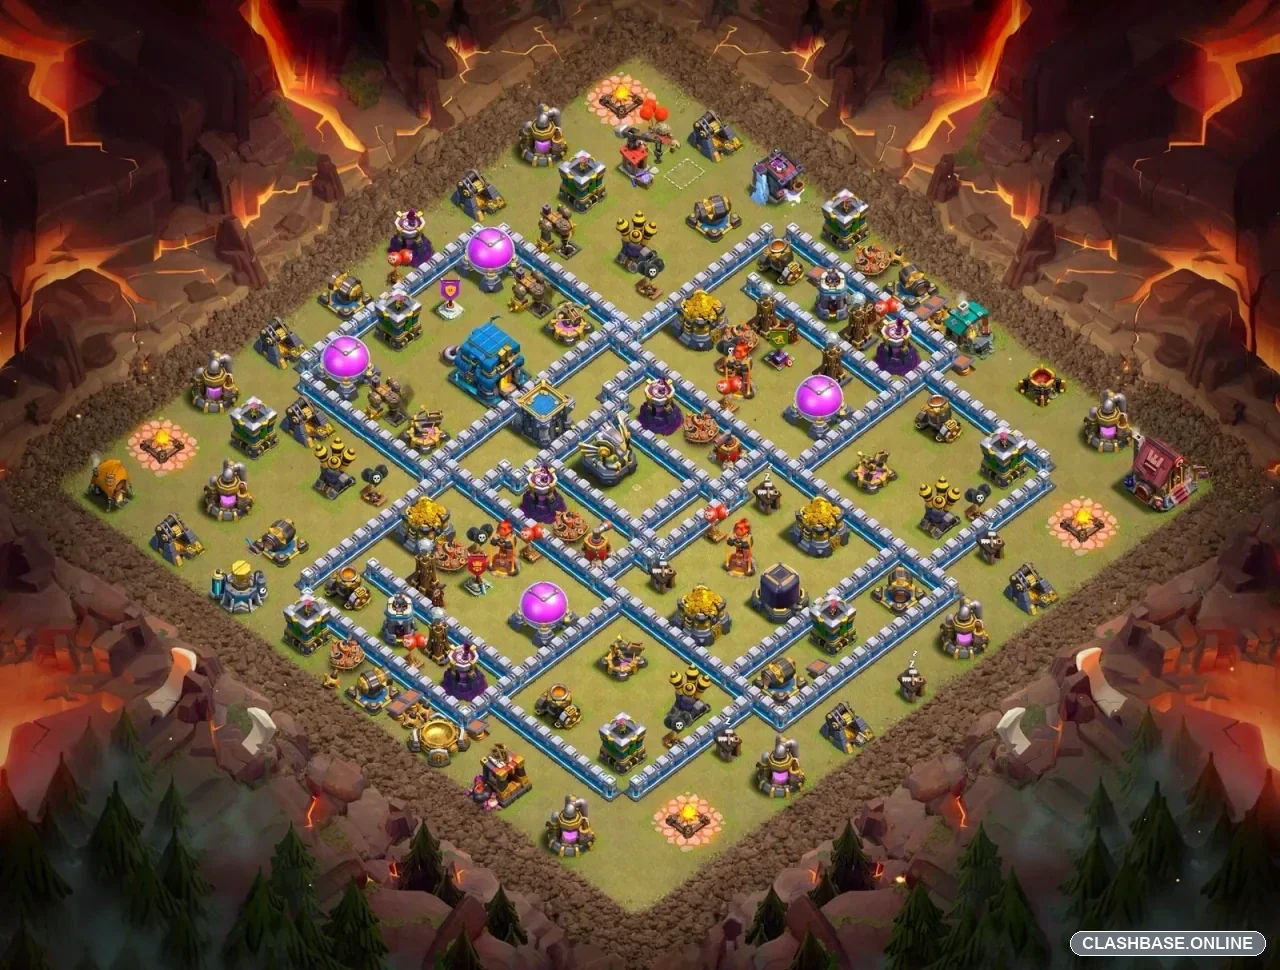
TH12 Clan War Layout #3 uses an asymmetric diamond structure with the Town Hall placed near the edge of the inner core. Looking at the base itself, the defensive idea seems fairly clear: do not concentrate every important building in one place. Instead, the Town Hall, Eagle Artillery, Inferno Towers, Air Defenses, X-Bows, and supporting defenses occupy different sections of the village.
That makes this much more of an anti-three-star design than a simple Town Hall bunker. One objective may fall, but the rest of the base is arranged to stay relevant afterward.
The Town Hall creates an early defensive decision
The Town Hall sits toward the upper-left portion of the inner structure rather than directly in the geometric center.
From a defensive perspective, that separation is useful. A force committed heavily around the Town Hall does not automatically remove the Eagle Artillery, both Infernos, and every other important defense at the same time.
This creates a useful war trade. The Town Hall may eventually be taken, but if that process costs hero health, abilities, support troops, or time, the remaining compartments become considerably more difficult to finish.
The layout is essentially protecting the third star by keeping valuable defensive strength alive beyond the Town Hall phase.
The asymmetric diamond keeps troop movement uncertain
The wall network is probably the most interesting feature of Layout #3.
Compartments are not mirrored perfectly from side to side. Some are deeper, others connect at awkward angles, and several defensive targets sit away from the most natural path toward the center.
That irregularity can help the defense break troop concentration.
Once an attacking formation spreads between neighboring compartments, its damage becomes less focused. Heroes may finish in one section while supporting troops drift somewhere else. Meanwhile, surviving defensive buildings get longer firing windows.
This kind of pathing uncertainty is especially useful against heavier ground formations that perform best when the entire group stays together.
Air and Inferno coverage stays divided
The Air Defenses and Inferno Towers are deliberately separated rather than forming one clean central cluster.
That spacing appears designed to reduce easy spell value and preserve defensive pressure across different parts of the raid.
One section can weaken without making the entire village safe. Air-heavy pressure may remove one coverage lane, yet another remains active farther across the base. Ground troops face a similar defensive problem: dealing with one Inferno does not automatically neutralize the next important compartment.
This gives Layout #3 defensive endurance rather than one short burst of damage.
The right edge is the structural pressure point
The right edge appears to be the most approachable side of the base.
The main concern is the shorter diagonal from this direction. Because that route is more direct, supporting defenses have less room to overlap their fire before troops threaten important inner areas.
If that side collapses too quickly, some of the asymmetric pathing advantage disappears.
Defensively, this section needs to make progress expensive through trap pressure, overlapping fire, hero damage, or simple delay. It does not necessarily need to stop the raid immediately.
Why Layout #3 fits Clan War
The strongest quality of TH12 Clan War Base #3 is that it protects the final star through objective separation, uneven pathing, defensive spacing, and back-end pressure.