 CLASHBASE.ONLINEClan War
About this Town Hall 12 base
Copy this base to Clash of Clans
Tap the button below. Clash of Clans will open so you can place this layout in an available base slot.
Copy base to the gameClash of Clans must be installed on this device.Rate this layout
Share a useful, honest experience. One review is stored per visitor for this item.
TH12 Clan War Base #7: Asymmetric Diamond Defense Built for Three-Star Denial
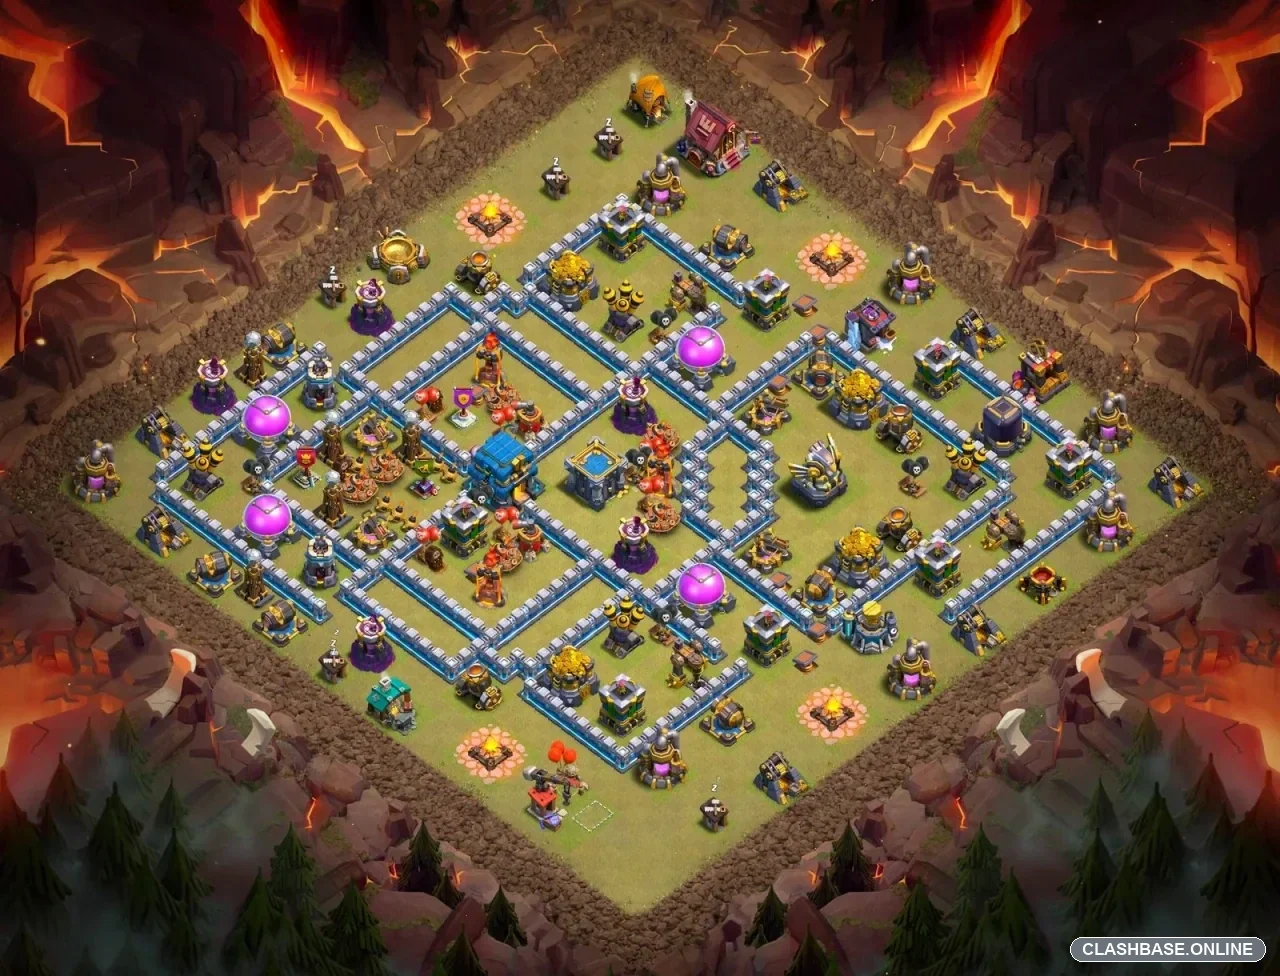
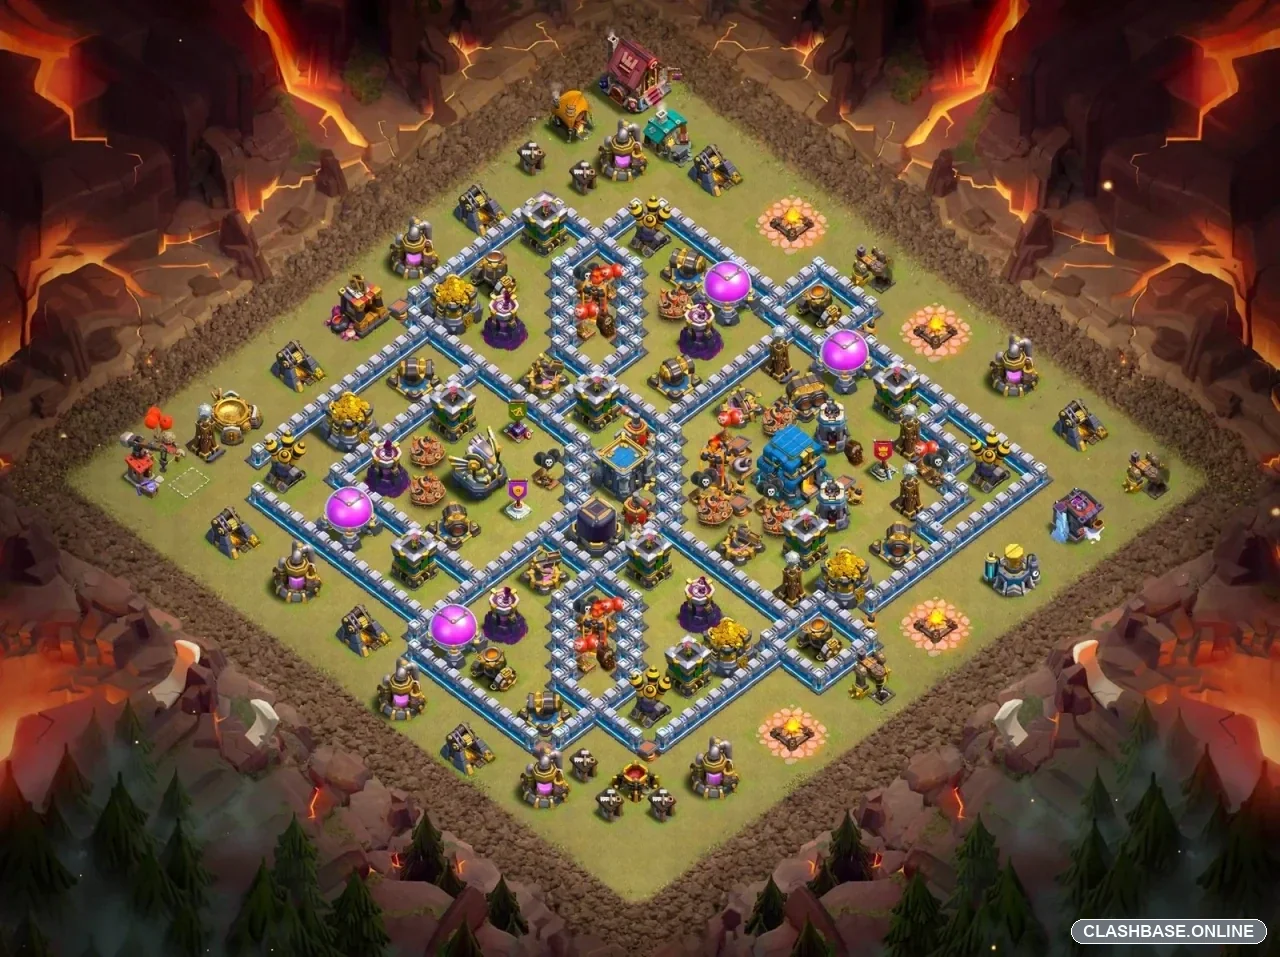
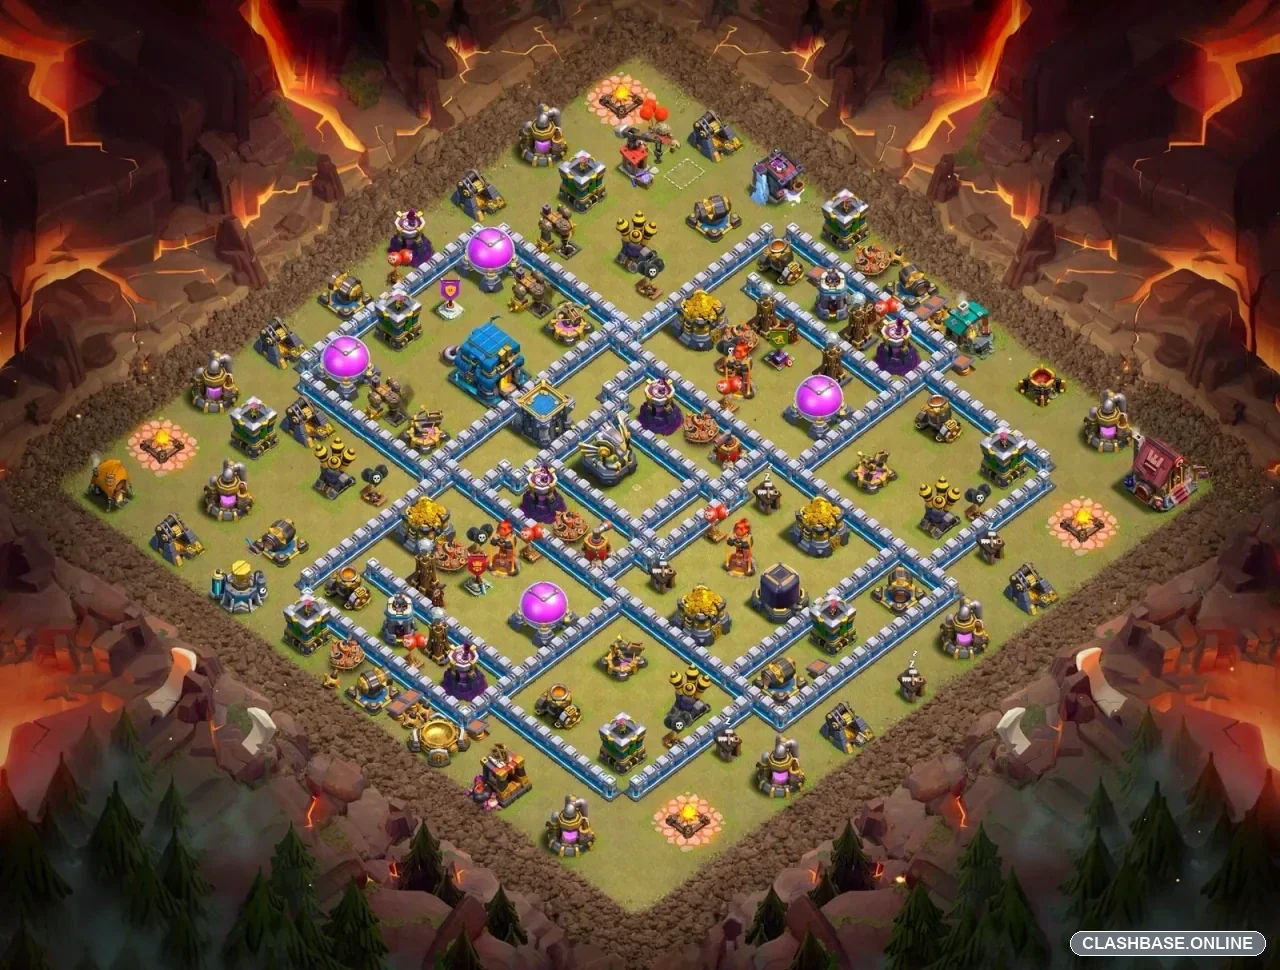
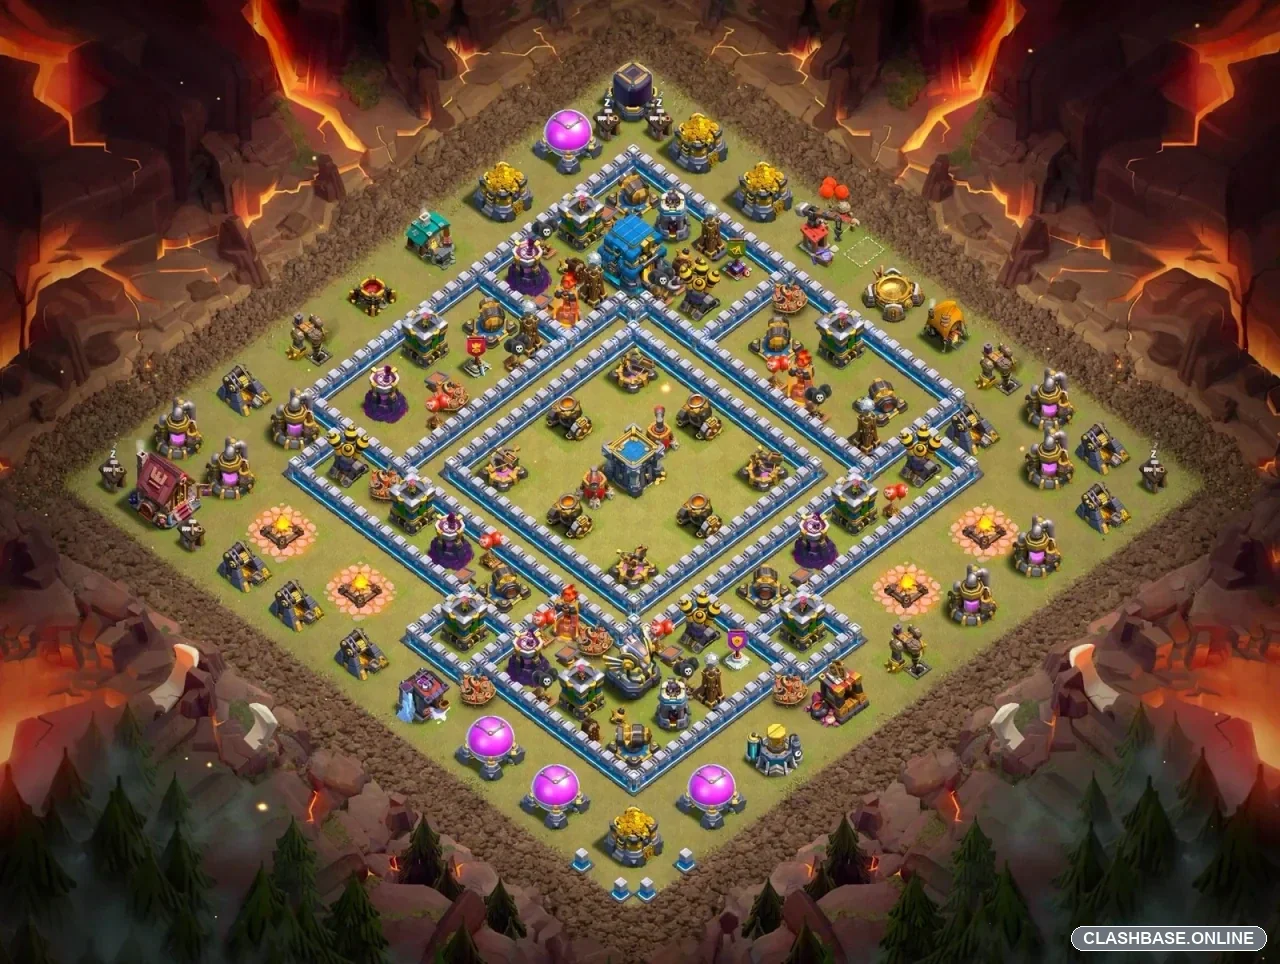
TH12 Clan War Layout #7 uses an asymmetric diamond structure with the Town Hall positioned near the edge of the inner defensive core. Looking at the layout itself, the defensive idea seems intentionally different from a compact box base. The Town Hall is important, but much of the village's defensive value is positioned elsewhere, forcing the raid to deal with several dangerous sections rather than one central cluster.
That gives Layout #7 a strong Clan War identity. Its purpose appears to be protecting the third star through defensive separation, pathing pressure, and awkward late-raid positioning.
The Town Hall works as a commitment point
The Town Hall sits toward the upper portion of the base instead of directly in the geometric center.
Defensively, that separation is useful. The Town Hall can be pressured without automatically removing the Eagle Artillery, Inferno Towers, X-Bows, Air Defenses, and other valuable defenses elsewhere.
This means the base does not collapse simply because one important objective falls.
The Town Hall effectively becomes a commitment point. If enough attacking strength is spent dealing with that section, the remaining compartments have a better chance of controlling the later percentage.
The asymmetric diamond keeps defensive value separated
The most interesting feature here is the uneven diamond shape.
Different sections have different depths, and the large central opening separates the upper Town Hall zone from the heavier defensive pockets below. That spacing may force troops to change direction repeatedly rather than moving through one continuous line.
From a defensive perspective, this is valuable because troop separation weakens concentrated pushes.
Instead of relying on walls to stop everything outright, Layout #7 uses them to influence where surviving troops finish. One group ending near the Town Hall while another remains trapped in a lower compartment can create the kind of inefficient cleanup an anti-three-star base wants.
Air Defenses and Infernos remain dangerous independently
The Air Defenses form staggered coverage around the important inner routes, while the Inferno Towers sit apart as individual defensive anchors.
That spacing helps reduce the chance that several major threats lose their value at the same moment.
If one defensive section is compromised, another can remain active from a different angle. Against air pressure, this keeps multiple coverage zones relevant. Ground-heavy pressure faces the same defensive principle: one successful compartment does not automatically make the next section harmless.
The result is sustained defensive pressure rather than one short central damage burst.
The right edge is the clearest structural weakness
The right edge appears to offer the shortest diagonal toward the important inner areas.
This matters because defensive buildings on a shorter route have less space to overlap their fire before the core is threatened. If this side breaks too quickly, the asymmetric structure becomes easier to manage and some of its pathing value disappears.
For the defense, this area benefits most from trap placement, overlapping fire, and anything that forces extra time or reduces troop strength before the central compartments are reached.
Why Layout #7 works for Clan War
The strongest feature of TH12 Clan War Base #7 is that it keeps the Town Hall and the rest of the defensive value from becoming one problem.
Its asymmetric diamond, separated defensive anchors, staggered air coverage, and compartment spacing are all aimed at three-star denial rather than simple objective protection.