 CLASHBASE.ONLINEClan War
About this Town Hall 12 base
Copy this base to Clash of Clans
Tap the button below. Clash of Clans will open so you can place this layout in an available base slot.
Copy base to the gameClash of Clans must be installed on this device.Rate this layout
Share a useful, honest experience. One review is stored per visitor for this item.
TH12 Clan War Base #9: Asymmetric Diamond Defense Built to Protect the Third Star
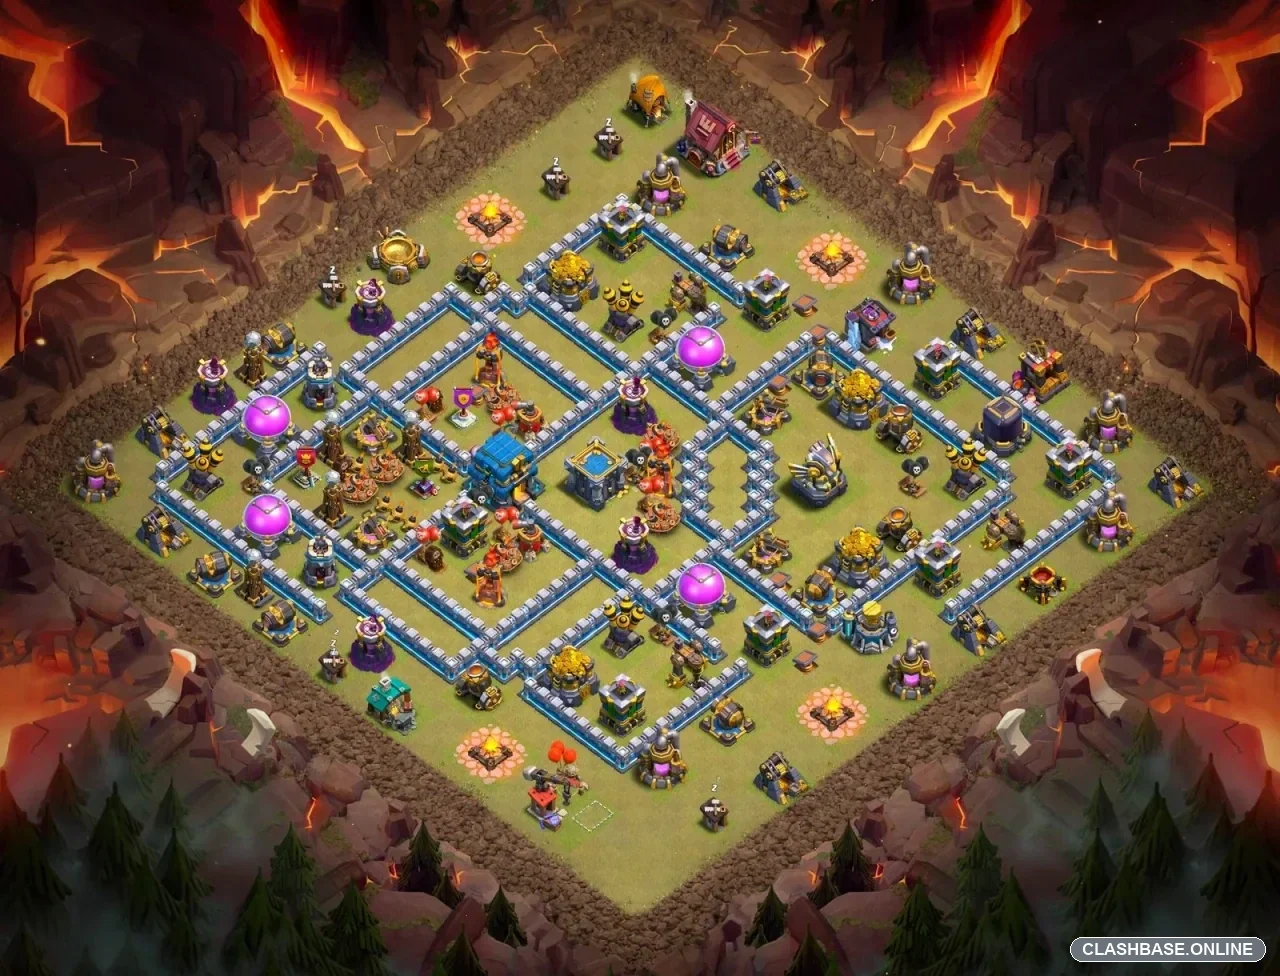
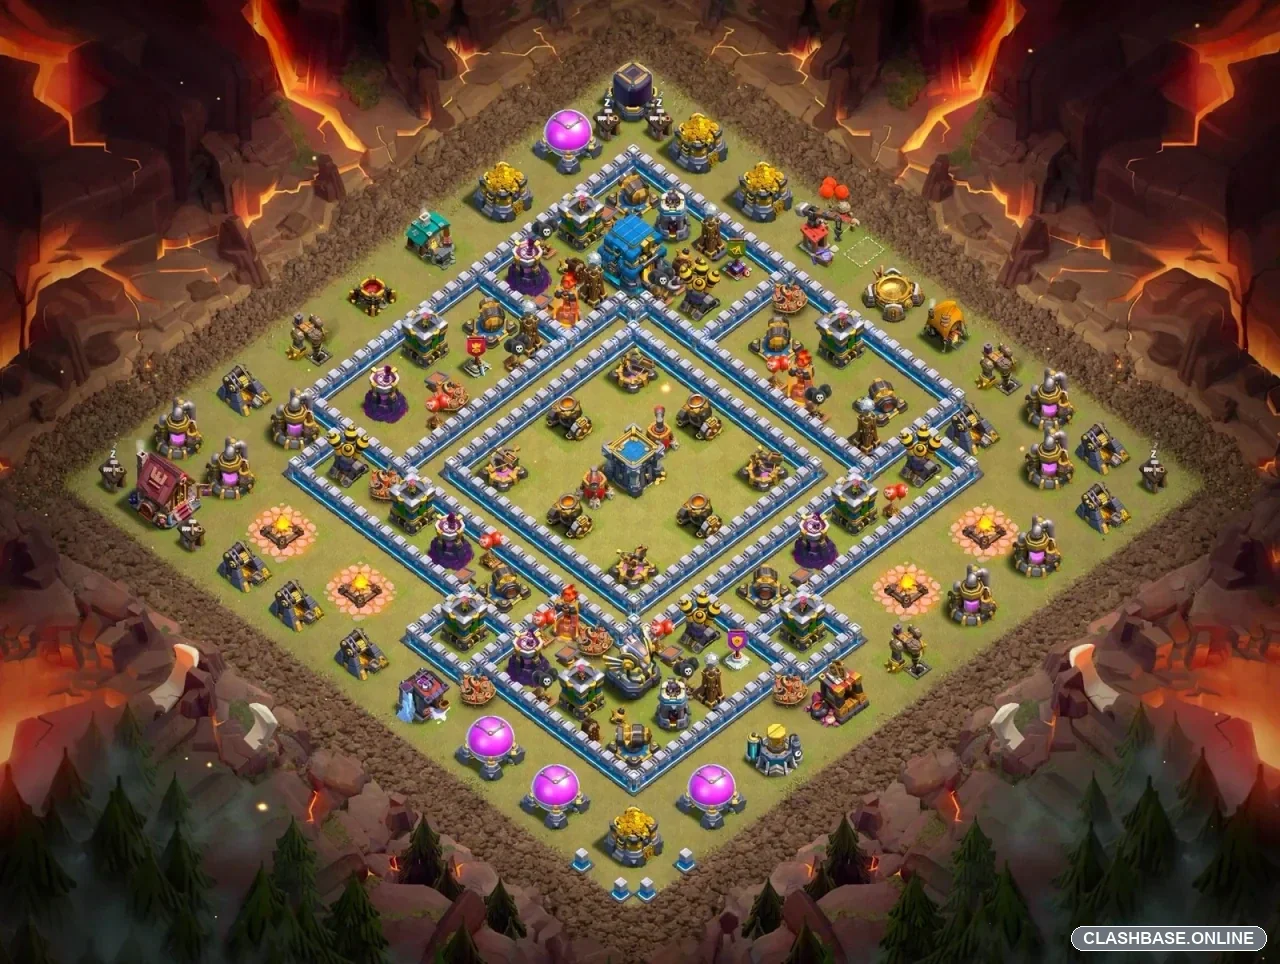
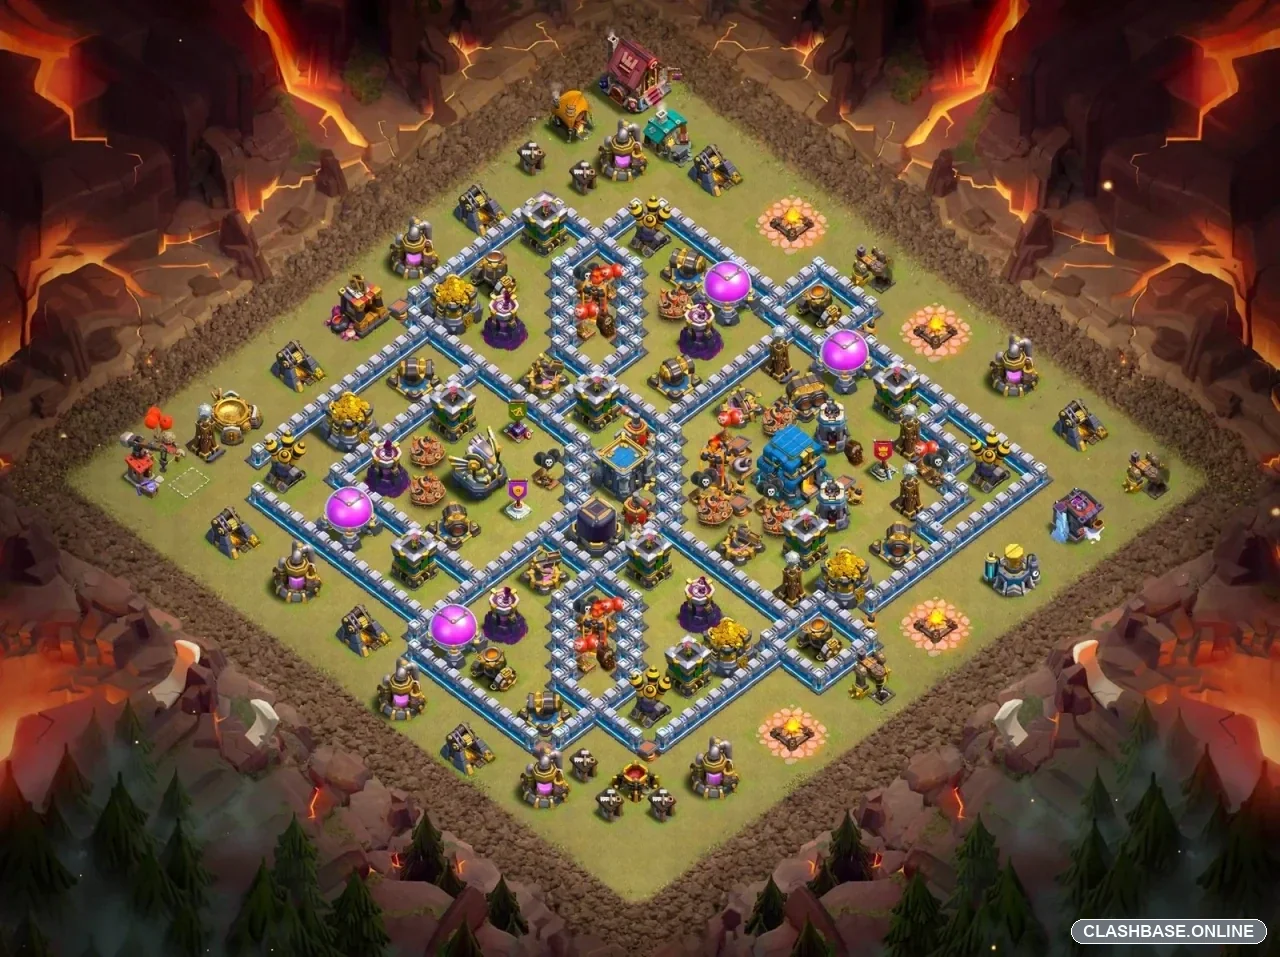
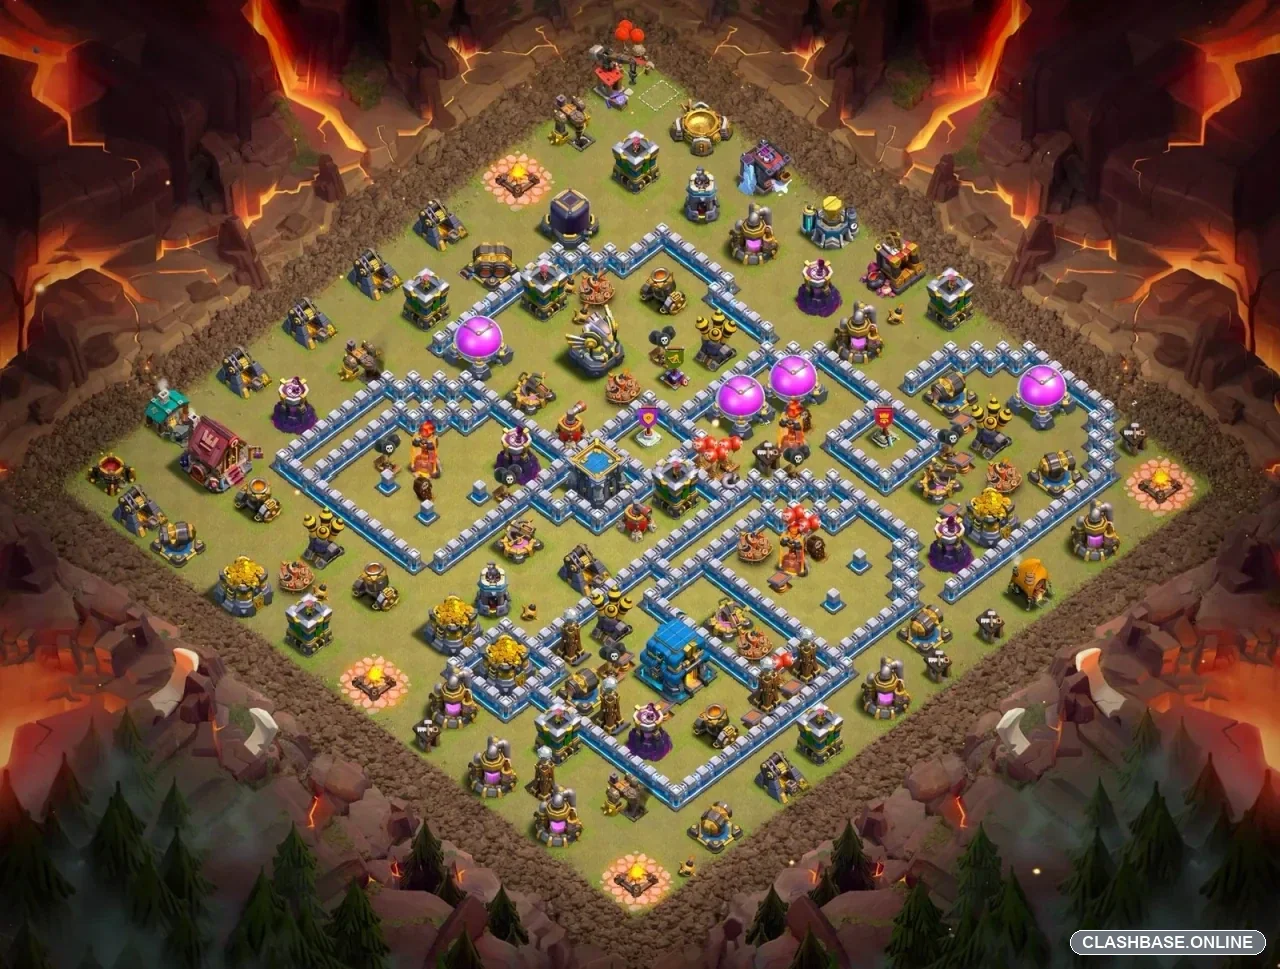
TH12 Clan War Layout #9 uses an asymmetric diamond structure with the Town Hall placed near the edge of the inner defensive core. Looking at the actual layout first, the base is clearly not trying to build one perfectly centered fortress. Its important defenses are spread through several compartments, while the Town Hall sits far enough from other key targets that one successful push should not automatically dismantle the whole village.
That separation is what gives this layout its Clan War identity. The defense appears willing to risk one objective if doing so leaves enough firepower alive to make the third star difficult.
The Town Hall is only one part of the defensive plan
The Town Hall sits in the lower portion of the inner network rather than directly in the geometric center.
From a defensive point of view, this is useful. A force committed heavily toward the Town Hall may still leave the Eagle Artillery, Inferno Towers, X-Bows, Air Defenses, and other important structures active in separate sections.
So even if the Town Hall eventually falls, the raid is not finished.
That is a sensible anti-three-star trade. The base is effectively asking the attacker to spend troops, hero health, abilities, or time on the objective while preserving enough defensive strength elsewhere to punish the remaining army.
The asymmetric compartments disrupt clean troop movement
The wall layout is probably the strongest feature of Base #9.
The compartments are not perfectly mirrored, and several defensive pockets sit at slightly different depths. This can make troop movement less predictable once the first layer is breached.
From the defender’s perspective, that matters because separated troops are easier to handle than one concentrated force. If heroes move toward one compartment while support troops drift somewhere else, Infernos and X-Bows gain longer firing windows.
The defense is therefore using pathing uncertainty as part of its protection, not merely adding walls for extra hit points.
Air and Inferno coverage stays divided
The anti-air network is spread across opposite sections of the base, while the Inferno Towers support different routes into the core.
That spacing reduces easy spell value and helps the layout keep pressure alive in stages.
One defensive section may begin to collapse, yet another can remain active farther across the village. Against air-heavy pressure, that means the defense does not disappear after one successful entry. Ground-heavy formations face the same idea: clearing one compartment does not automatically make the next section harmless.
The left edge is the main structural concern
The left edge appears to be the most approachable side of the layout.
The bigger concern is the shorter diagonal from this direction. Supporting defenses have less distance to overlap their fire before the inner structure comes under pressure. If that lane opens too cheaply, the asymmetric shape becomes easier to read.
Defensively, this side needs to consume something valuable—time, hero health, abilities, or troop strength—before the main core is threatened.
Why Layout #9 works for Clan War
The strongest quality of TH12 Clan War Base #9 is the separation between the main objective and the defensive value beyond it.