 CLASHBASE.ONLINERanked
About this Town Hall 13 base
Copy this base to Clash of Clans
Tap the button below. Clash of Clans will open so you can place this layout in an available base slot.
Copy base to the gameClash of Clans must be installed on this device.Rate this layout
Share a useful, honest experience. One review is stored per visitor for this item.
TH13 Ranked Base #3: Offset-Diamond Defense Built Around Core Control and Percentage Pressure
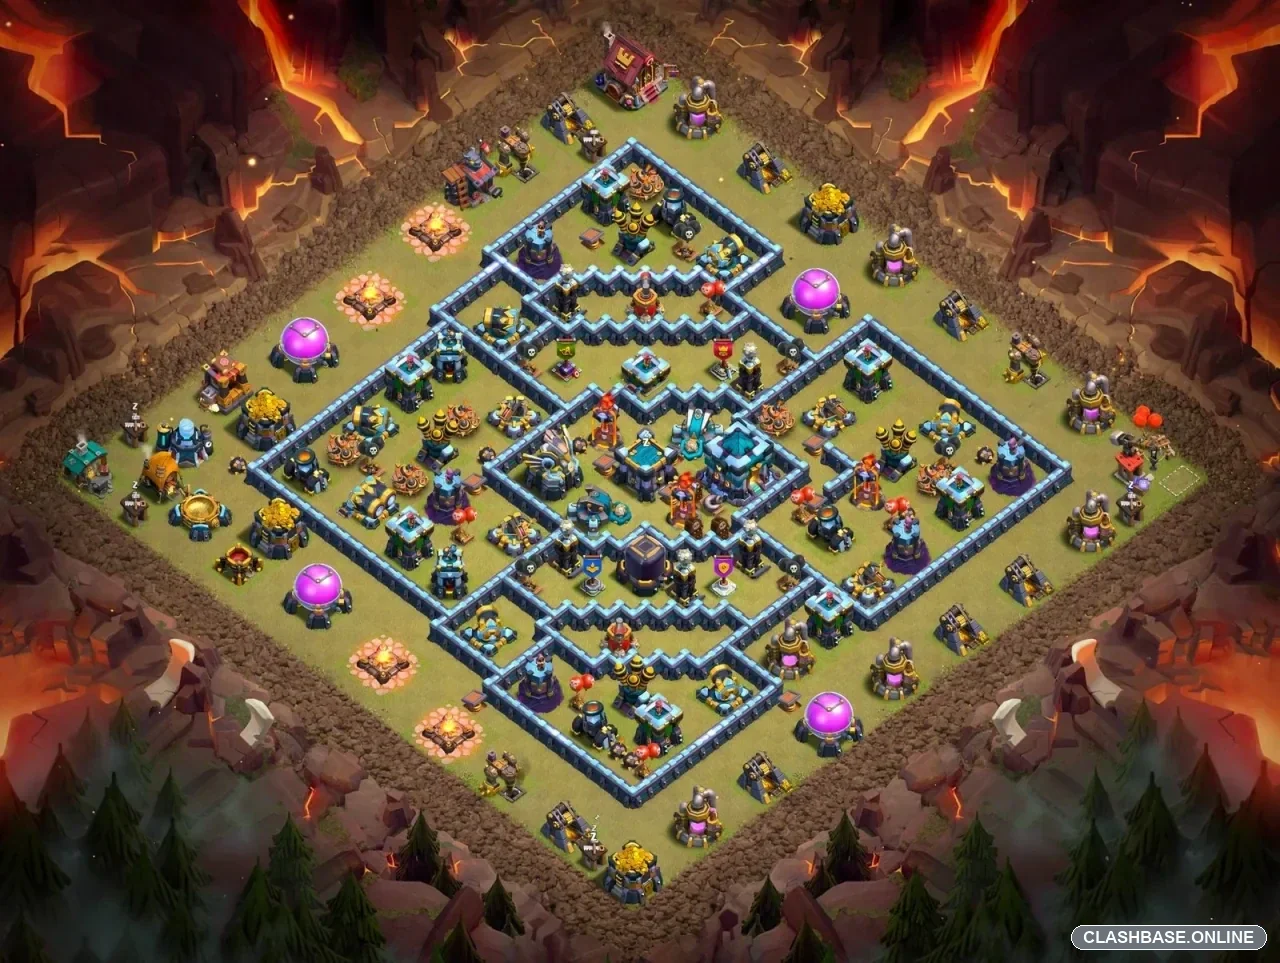
TH13 Ranked Layout #3 uses a central Town Hall inside an offset-diamond defensive structure, and the actual base shows a fairly deliberate defensive plan. The middle is heavily compartmentalized, but the village does not feel like one giant bunker. Instead, strong defenses are spread across several connected pockets, with enough distance between them to keep different sections useful even after part of the base has fallen.
For Ranked play, that matters. Layout #3 appears designed to make an attacker choose between safe outside percentage and a more committed push toward the Town Hall. Neither route necessarily solves the whole village.
The Town Hall anchors the primary defensive core
The Town Hall sits centrally inside the strongest part of the base, surrounded by several wall layers and supporting defenses.
What makes this setup useful is that not every high-value defense is stacked directly beside the Town Hall. Inferno Towers, X-Bows, Air Defenses, and other damage sources remain distributed through neighboring compartments.
That gives the defense several chances to slow the raid.
One section may fall without completely opening the next. By the time troops reach the Town Hall, the defense may already have forced hero abilities, removed support units, or simply burned enough time to make the remaining percentage uncomfortable.
The offset diamond creates uneven troop routes
The wall network is probably the most important feature of Layout #3.
Several compartments meet at diagonal angles around the center. This creates multiple routes for troops once they enter the inner base, which can lead to small but important splits in movement.
From the defender’s perspective, that is valuable.
A tightly grouped Yeti or Bowler Smash is much harder to contain than the same formation stretched across two compartments. If tanks move one way while heroes or support troops drift elsewhere, the defense gets longer firing windows and attacking spells cover fewer units.
Queen Charge Hybrid can create different pressure, but it faces the same basic defensive problem: clearing one pocket does not automatically remove the pressure protecting the next.
Defensive spacing keeps several zones dangerous
The Air Defenses appear positioned to cover crossing routes through the base rather than concentrating everything toward one side. The Inferno Towers are also separated enough to behave as independent defensive anchors.
That spacing reduces easy spell value.
Against Dragons or LavaLoon, one air-defense section may collapse while another remains active farther across the village. The defense therefore keeps pressure alive in stages instead of depending on one compact anti-air zone.
For Ranked defense, this can be important because a few surviving defenses late in the raid may protect valuable percentage even after the Town Hall is gone.
The upper-left corner is the main structural concern
The upper-left edge appears to be the clearest pressure point.
A disciplined diagonal hero entry from that side could remove one corner and shorten the path toward the center. If that happens too cheaply, part of the offset-diamond pathing advantage disappears.
That makes the upper-left section especially important defensively. It needs to cost the attacker something—time, hero health, abilities, troop strength, or trap value—before the central structure is fully exposed.
Why Layout #3 fits Ranked
The strength of TH13 Ranked Base #3 is the tension it creates between percentage and direct objective pressure.