 CLASHBASE.ONLINERanked
About this Town Hall 13 base
Copy this base to Clash of Clans
Tap the button below. Clash of Clans will open so you can place this layout in an available base slot.
Copy base to the gameClash of Clans must be installed on this device.Rate this layout
Share a useful, honest experience. One review is stored per visitor for this item.
TH13 Ranked Base #23: Open-Ring Defense Built Around Core Pressure and Percentage Control
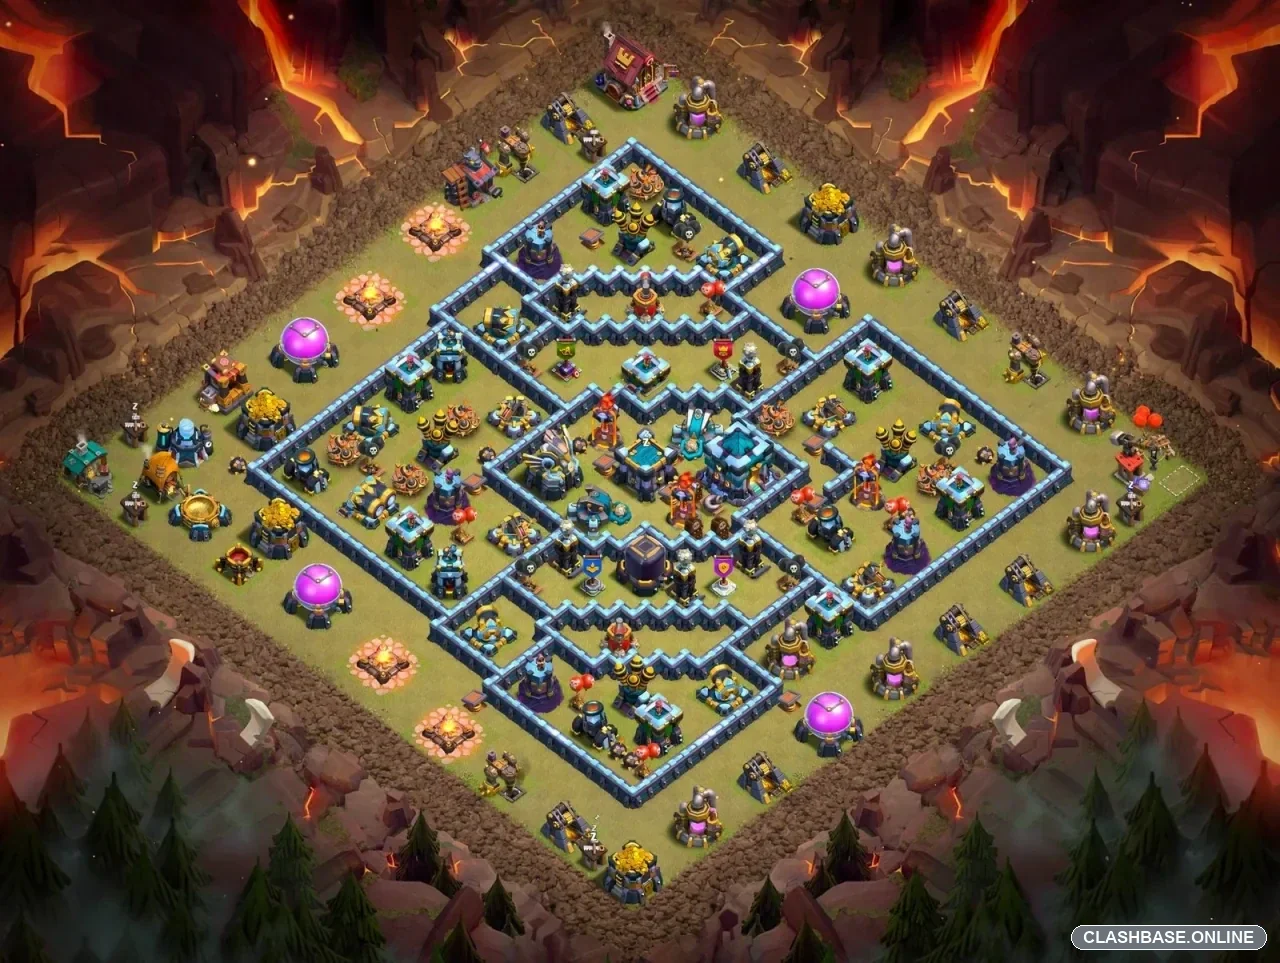
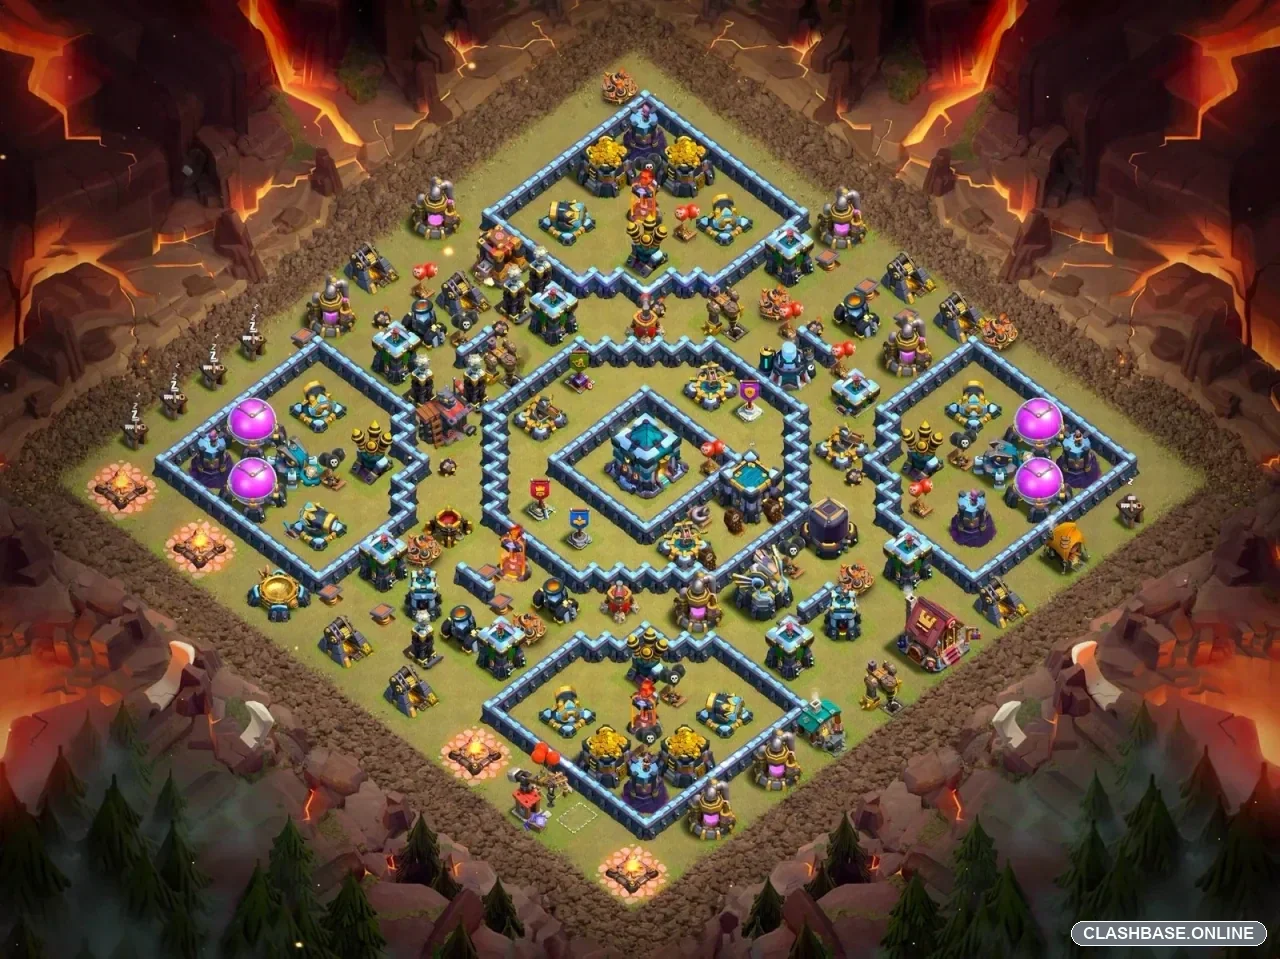
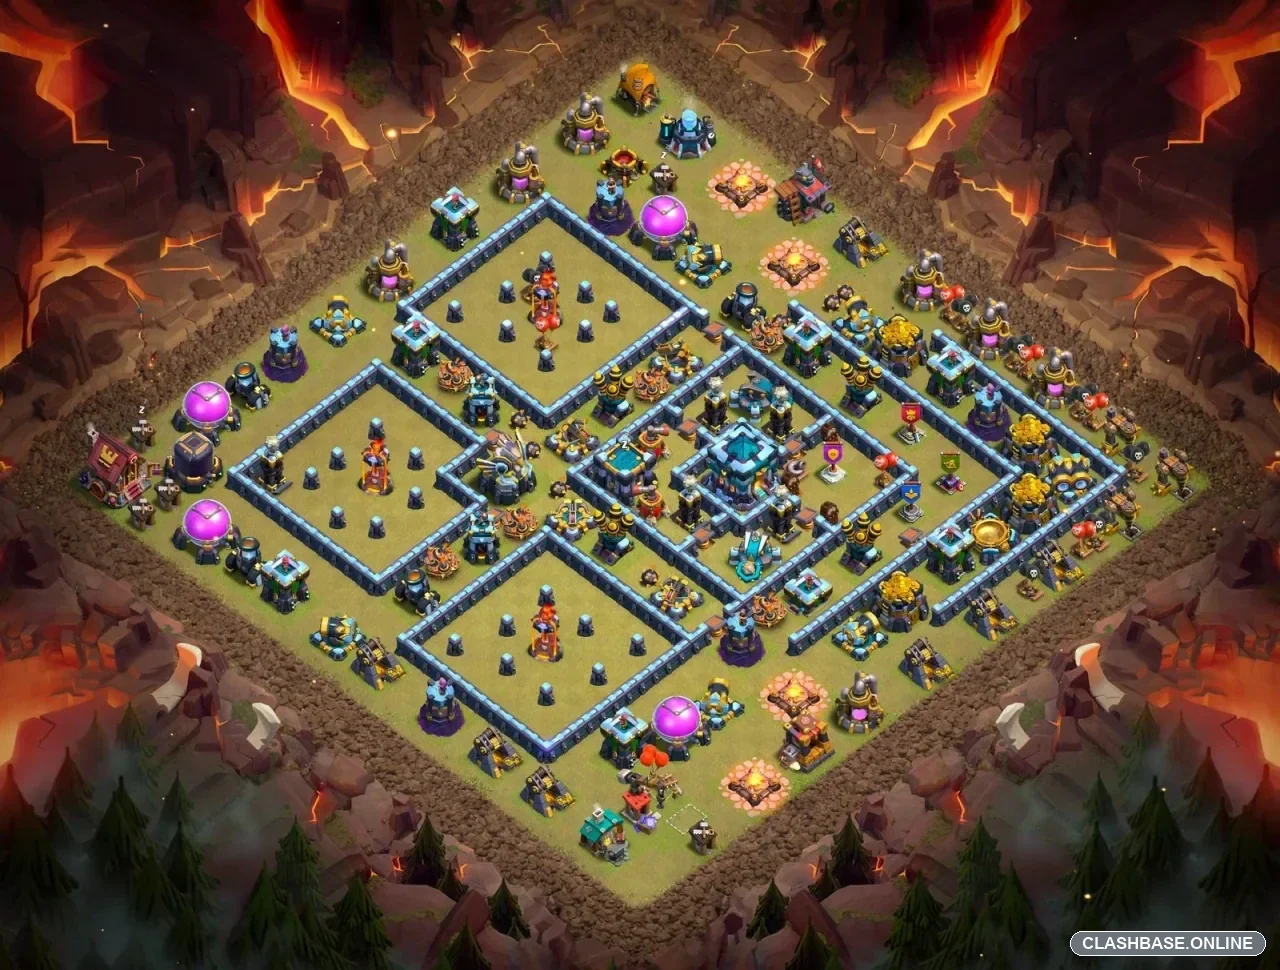
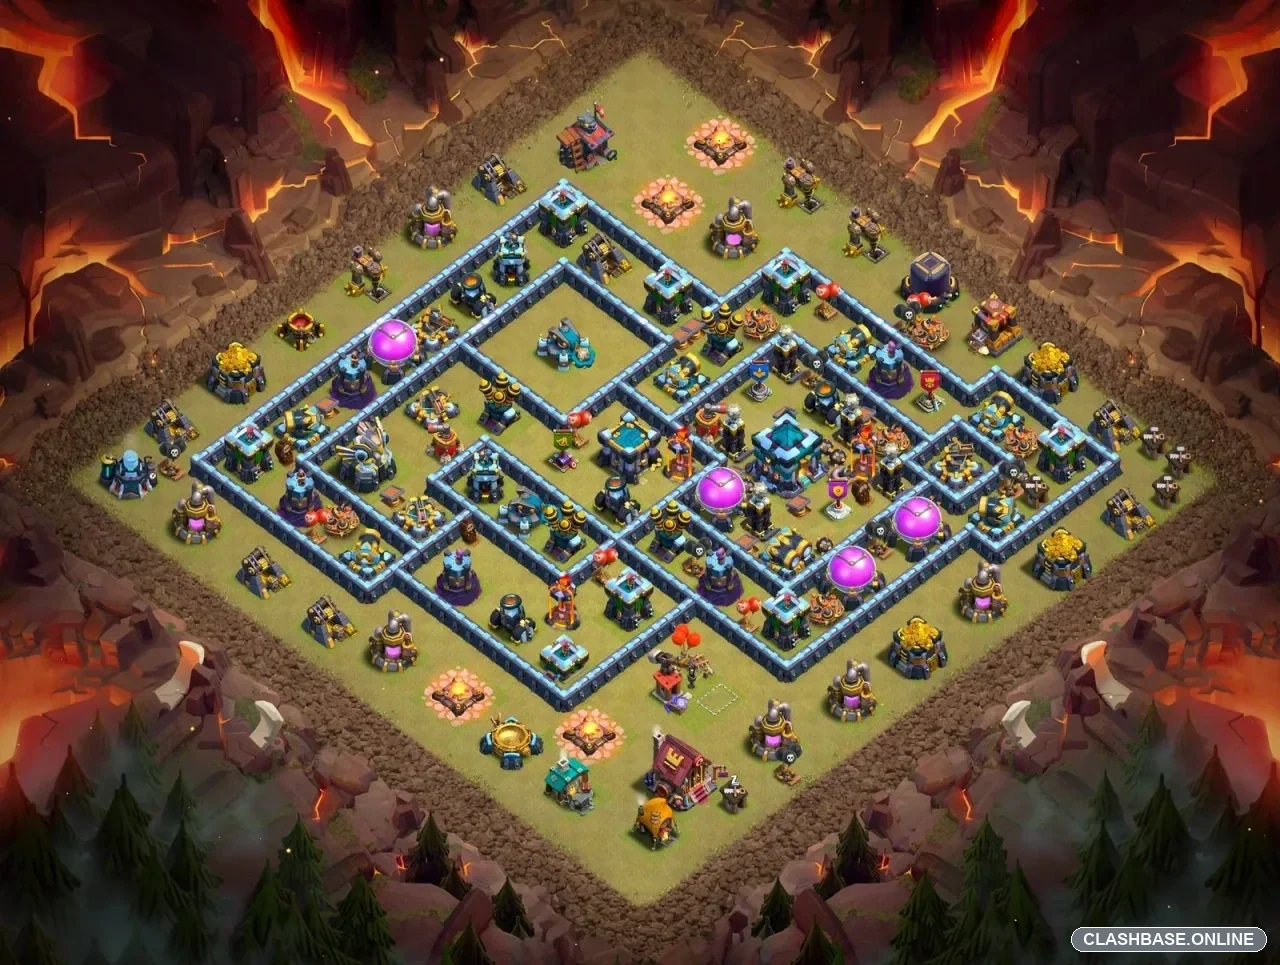
TH13 Ranked Layout #23 uses an open-ring structure with the Town Hall positioned centrally inside the primary defensive core. Looking closely at the actual base, the layout appears designed to make the outside feel easier than the middle. Several perimeter buildings can be reached without immediately challenging the strongest defenses, while the Town Hall and high-value defensive zones remain protected behind multiple compartments.
That contrast gives the base a clear Ranked identity. It is not only trying to protect the Town Hall. The layout also seems focused on slowing percentage, breaking troop concentration, and making cleanup increasingly uncomfortable.
The Town Hall anchors the hardest defensive section
The Town Hall sits deep inside the central structure rather than being pushed toward an edge.
Around it, several important defenses remain active from different compartments. This gives the core more defensive endurance because losing one wall section does not automatically expose everything nearby.
The design appears to favor gradual pressure. Troops may look healthy while clearing the first few compartments, but the defense has several opportunities to remove support units, weaken heroes, and force abilities before the Town Hall zone is fully threatened.
For Ranked defense, that gradual loss of attacking strength can be just as valuable as an immediate stop.
The open ring is designed to disrupt pathing
The most interesting feature of Layout #23 is probably the open ring surrounding the core.
Several defensive targets sit along different branches of that ring. Once troops enter, one group may continue around the outside of the central structure while another gets pulled inward.
From the defender's perspective, that is an ideal split.
Yeti or Bowler Smash formations become considerably less efficient when tanks, heroes, and supporting troops stop travelling together. The same general problem can affect Queen Charge Hybrid: if different parts of the army reach separate compartments at different times, defensive towers receive longer firing windows.
The ring therefore acts less like a wall barrier and more like a pathing-control tool.
Air and Inferno coverage stays separated
The Air Defenses appear to cover different crossing lanes rather than concentrating all their strength on one side. The Inferno Towers are also separated enough to behave as independent defensive anchors.
That spacing reduces easy spell value.
Against Dragons or LavaLoon, one section may begin to collapse while another Air Defense remains active farther across the base. The layout can continue applying air pressure rather than losing most of its defensive power during one short engagement.
This distributed coverage is especially useful in Ranked, where preserving another five or ten percent can meaningfully improve the defensive result.
The upper-right edge is the main pressure point
The upper-right edge looks like the most accessible section of the structure.
Defensively, the danger is not simply losing those outer buildings. The bigger concern is an entry that keeps troop movement perfectly controlled. If the attacker prevents the ring from creating a split, the central structure becomes easier to pressure.
That matches the layout's main weakness: pathing manipulation can work against the defense if one group is deliberately kept around the ring while another reaches the core.
For Layout #23, this upper-right zone therefore needs to create disruption through defensive overlap, trap pressure, or simple delay before the central area is fully engaged.