 CLASHBASE.ONLINEClan War
About this Town Hall 14 base
Copy this base to Clash of Clans
Tap the button below. Clash of Clans will open so you can place this layout in an available base slot.
Copy base to the gameClash of Clans must be installed on this device.Rate this layout
Share a useful, honest experience. One review is stored per visitor for this item.
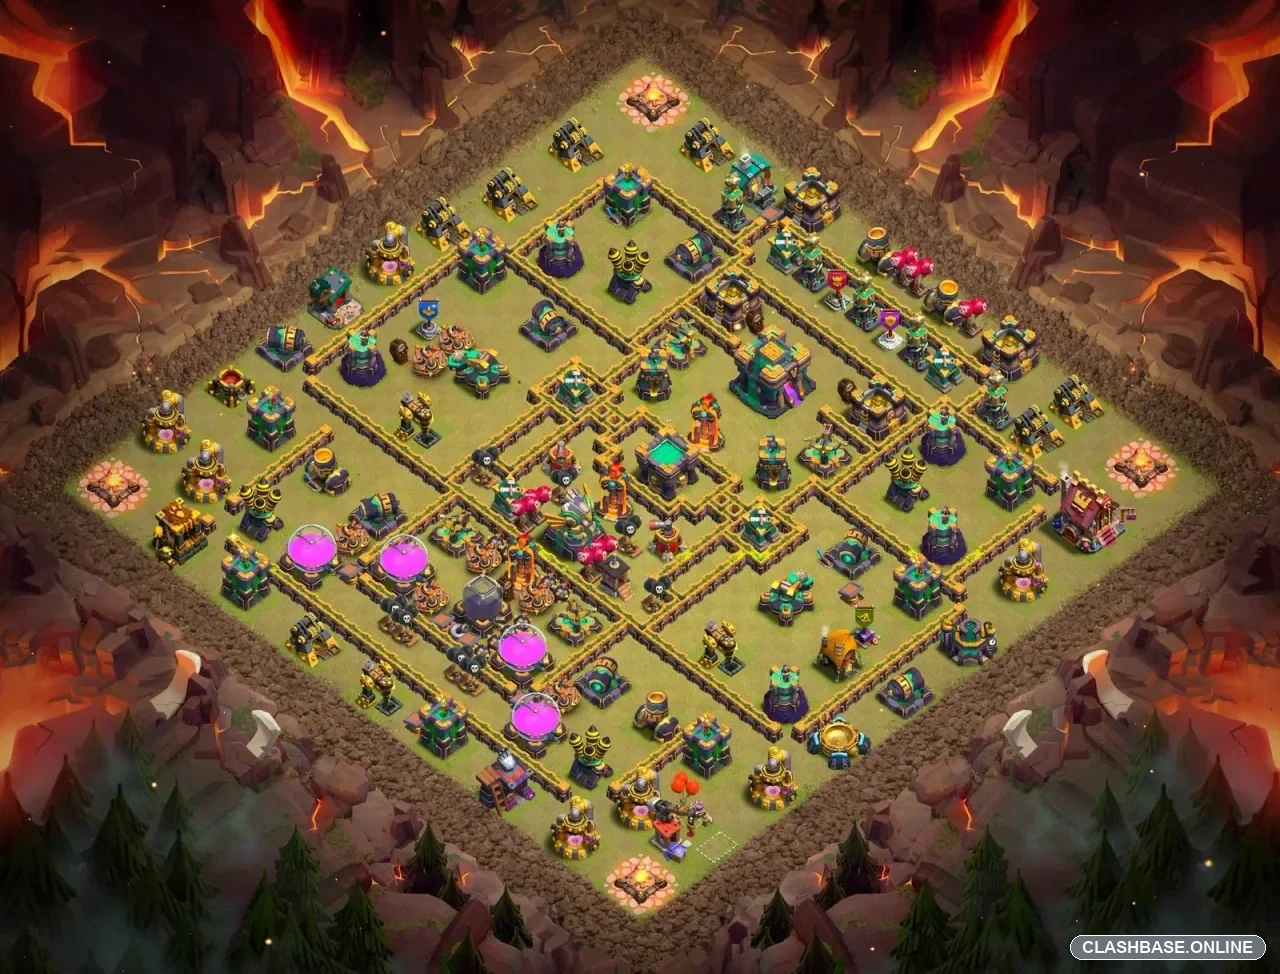
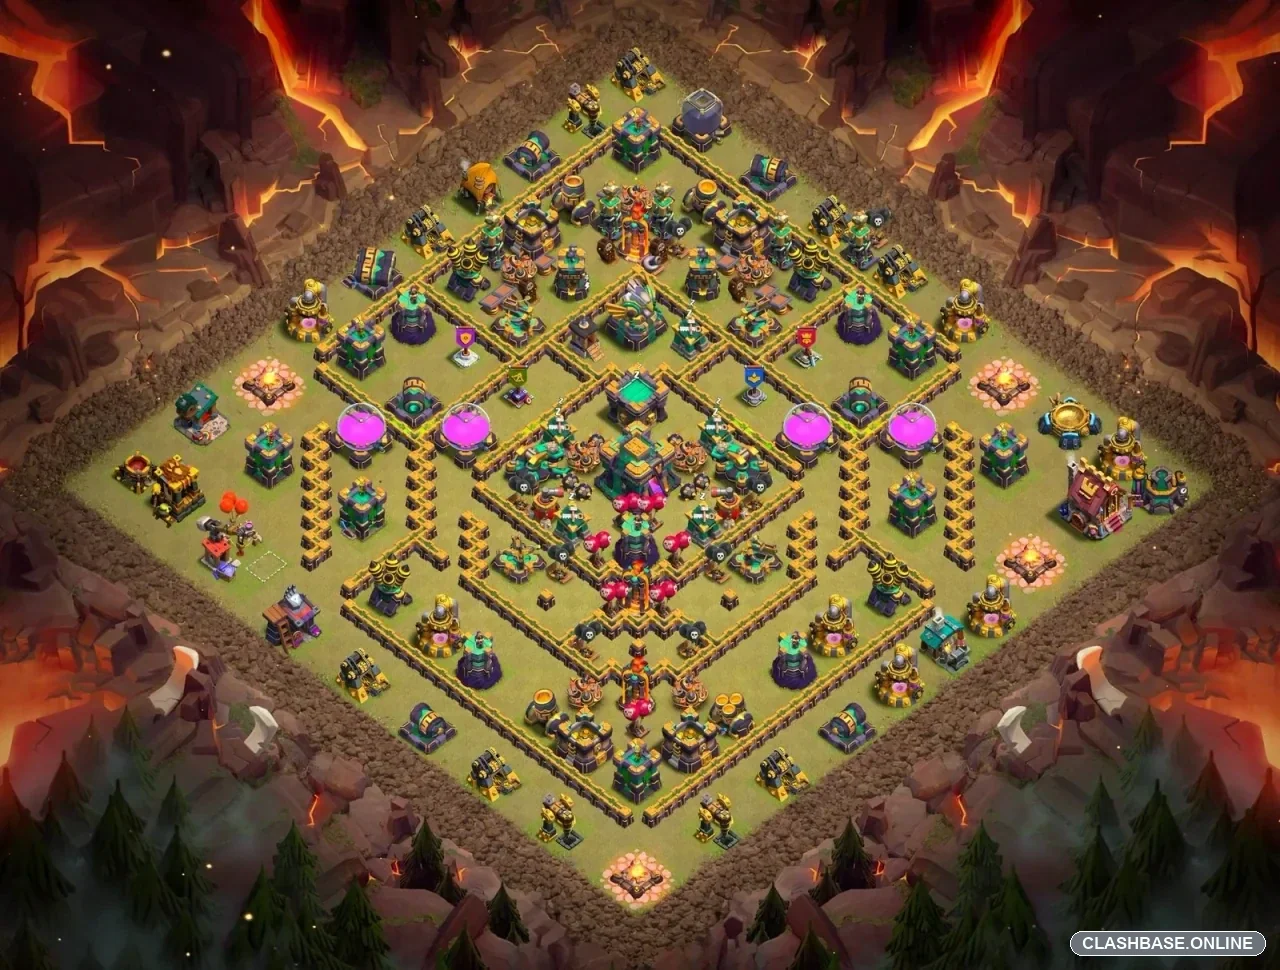
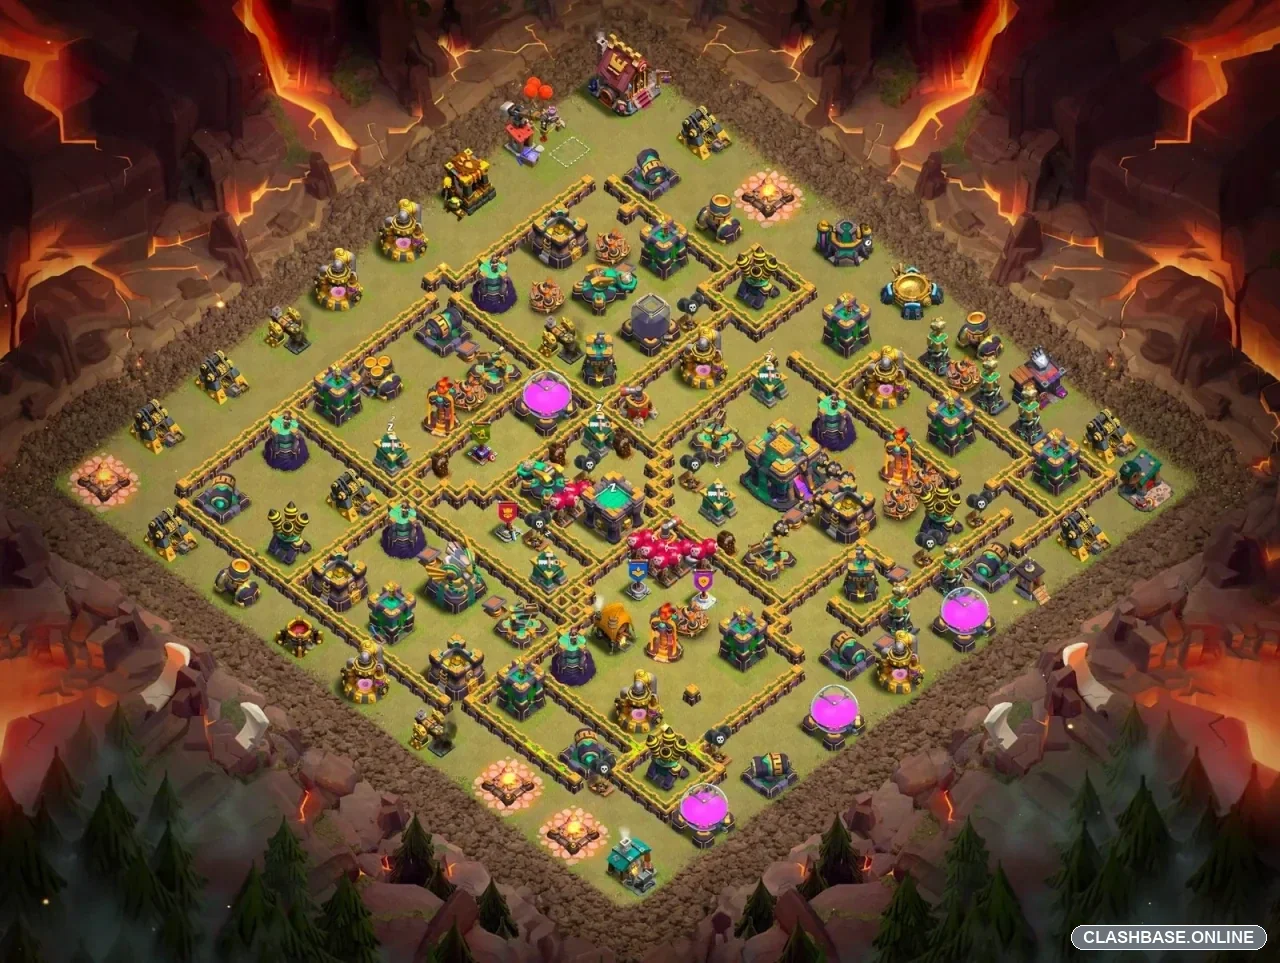
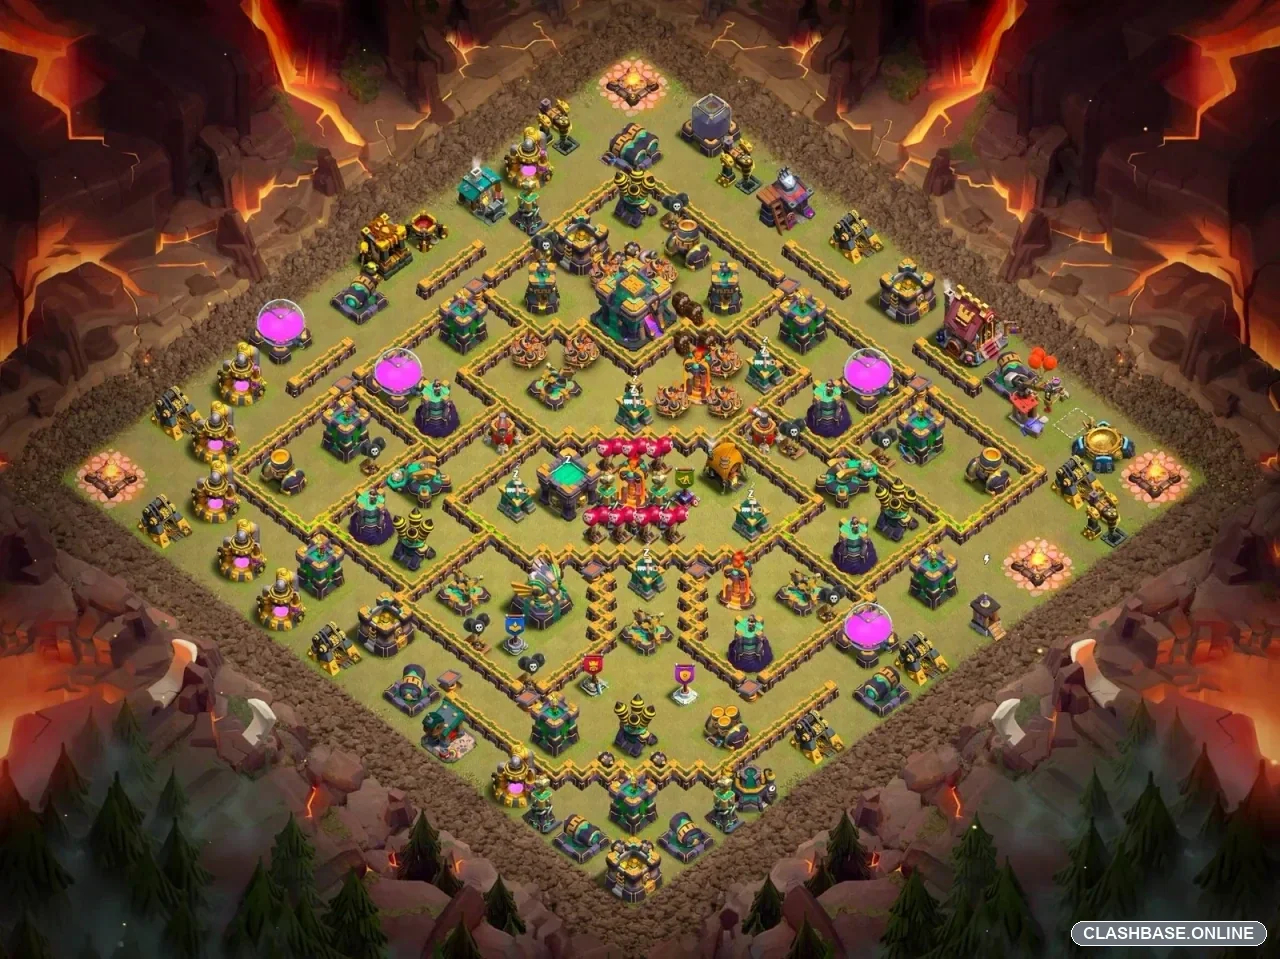
TH14 Clan War Base #1: Multi-Compartment Defense Built for Star Prevention
TH14 Clan War Layout #1 uses a multi-compartment structure with the Town Hall shifted slightly toward the right side of the inner defensive network. After examining the actual base, the design appears to be built around survival in stages. The Town Hall is important, but it is not surrounded by every major defense in one oversized core.
Instead, the village spreads its defensive value across several compartments. That gives the layout a clear war purpose: even when one section is lost, enough pressure may remain elsewhere to protect the third star.
The Town Hall does not carry the whole defense
The Town Hall sits away from the exact geometric center, which makes a straight route through the village less predictable.
This separation also prevents the main objective from sharing one small area with every Inferno, Air Defense, X-Bow, and other high-value structure. From the defender's point of view, that is useful. Losing the Town Hall section should not automatically mean losing the entire defensive network.
The base appears willing to trade some objective security for a stronger back end.
That is a sensible anti-three-star idea. A successful war defense does not always need to keep the Town Hall untouched; sometimes it only needs the surviving army to reach the final compartments weaker, scattered, or short on time.
The compartment network is designed to break troop shape
The walls divide Layout #1 into several medium-sized defensive zones.
This is probably where much of its defensive value comes from. Troops crossing into the interior can find attractive targets in neighboring compartments, which may gradually stretch the attacking formation.
That matters against Yeti or Bowler Smash-style armies. Those formations are far more dangerous when tanks, heroes, and supporting troops remain together. Once different groups begin fighting in separate sections, defensive towers receive longer firing windows and shared spell support becomes less efficient.
Queen Charge Hybrid creates a different threat, but the base follows the same principle: one successful compartment should not make every remaining section harmless.
Air and Inferno pressure stays separated
The Air Defenses form staggered coverage around different parts of the core, while the Inferno Towers work as separate defensive anchors.
That spacing helps prevent one spell or one successful push from removing too much defensive value at once.
Against Dragons or LavaLoon, the base can keep air pressure alive through several stages. One defensive section may collapse, yet another remains capable of protecting the opposite side.
The result is sustained pressure rather than one brief defensive clash.
The bottom edge is deliberately important
The bottom edge appears to be the most accessible section of Layout #1.
Defensively, that side does not necessarily need an immediate stop. Its job is to make the opening awkward enough that the attacking formation loses time or begins spreading before the strongest sections are reached.
A wide entry can actually help the base if troops split between adjacent compartments.
The danger is the opposite: if the bottom section disappears very cleanly while the main army stays compact, the inner defense may face too much concentrated strength at once.