 CLASHBASE.ONLINEClan War
About this Town Hall 14 base
Copy this base to Clash of Clans
Tap the button below. Clash of Clans will open so you can place this layout in an available base slot.
Copy base to the gameClash of Clans must be installed on this device.Rate this layout
Share a useful, honest experience. One review is stored per visitor for this item.
TH14 Clan War Base #3: Multi-Compartment Defense Built Around Split Pathing
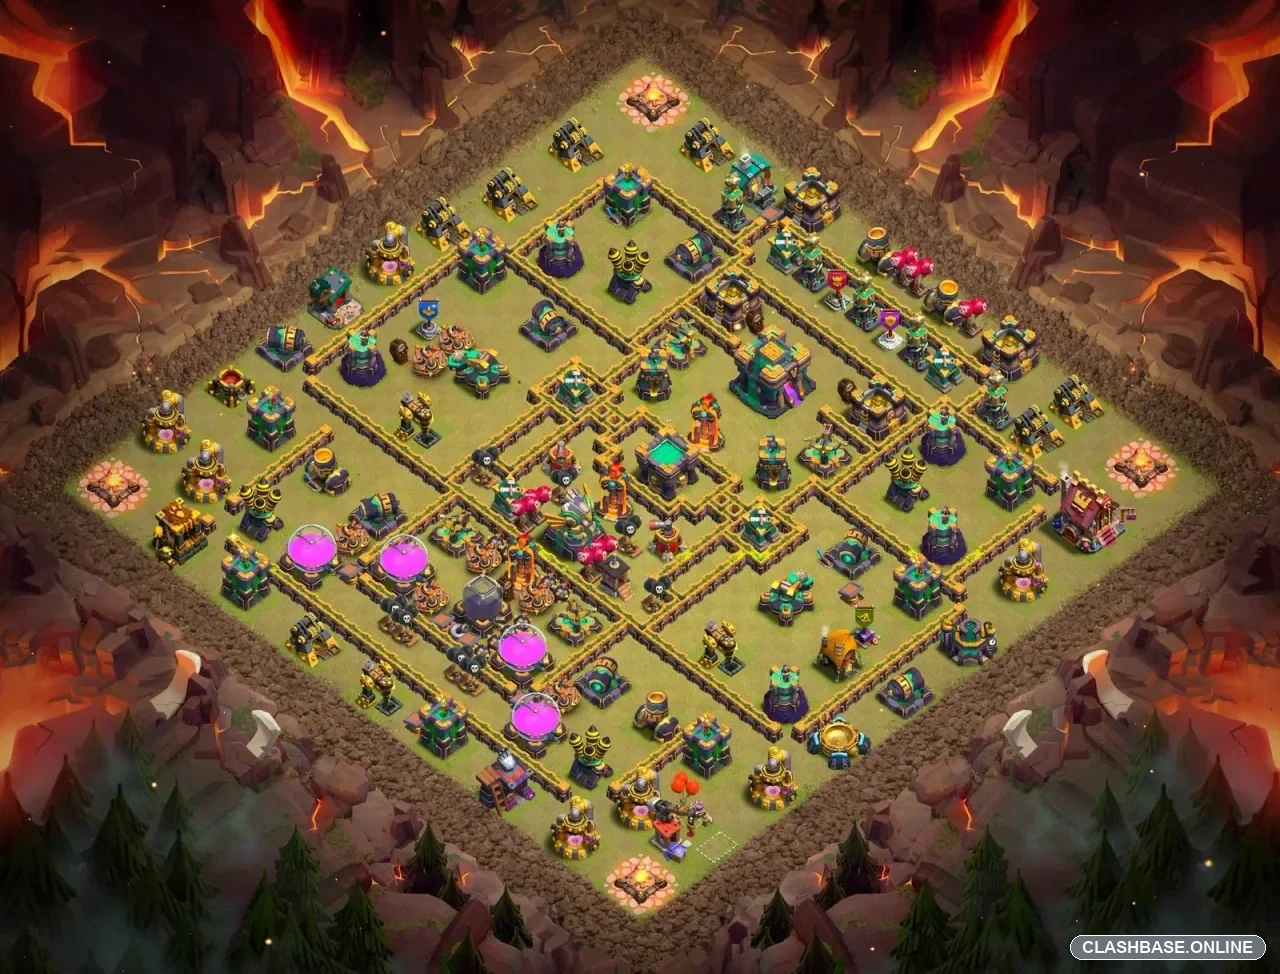
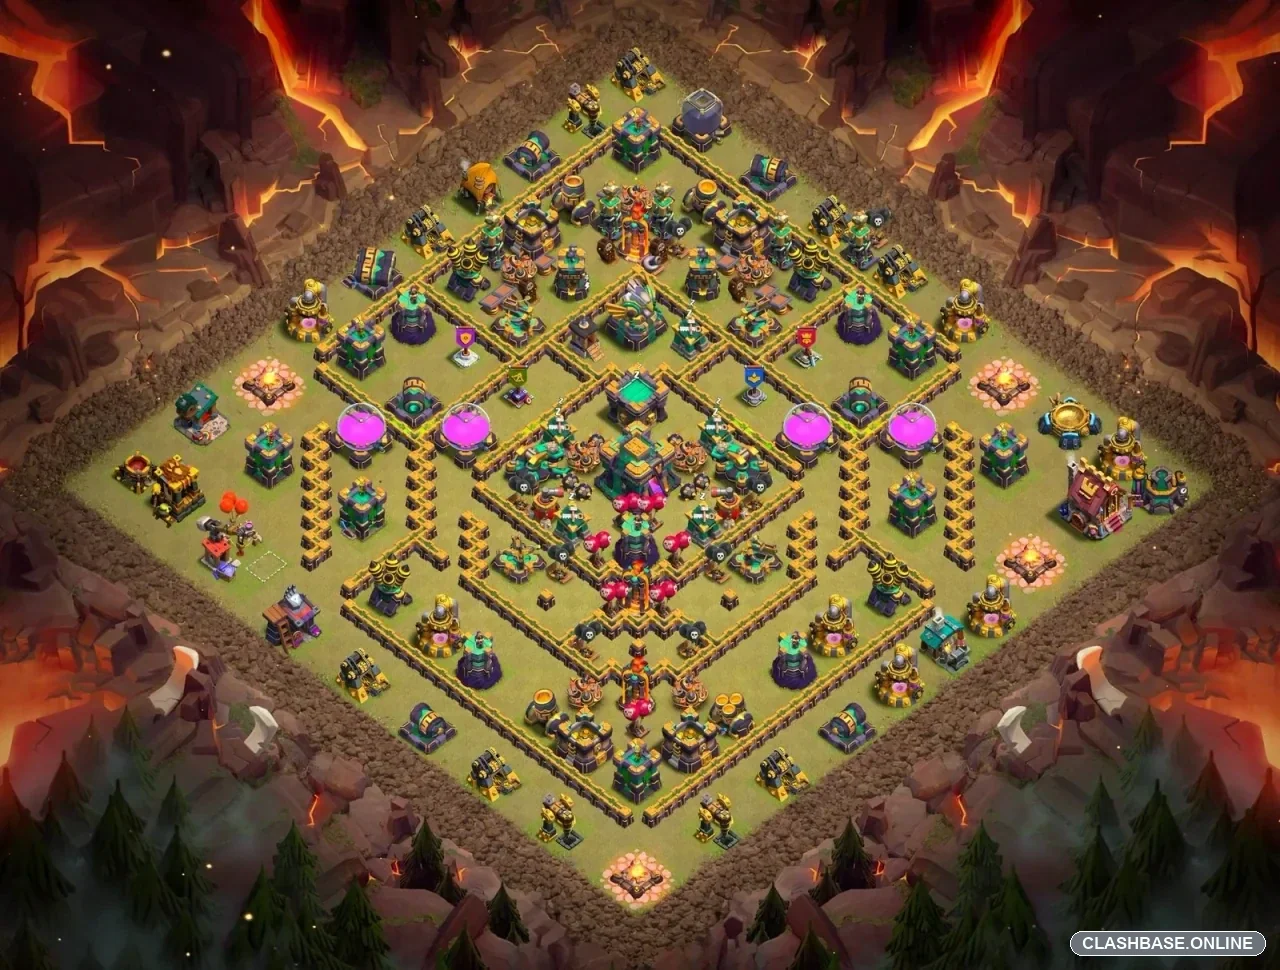
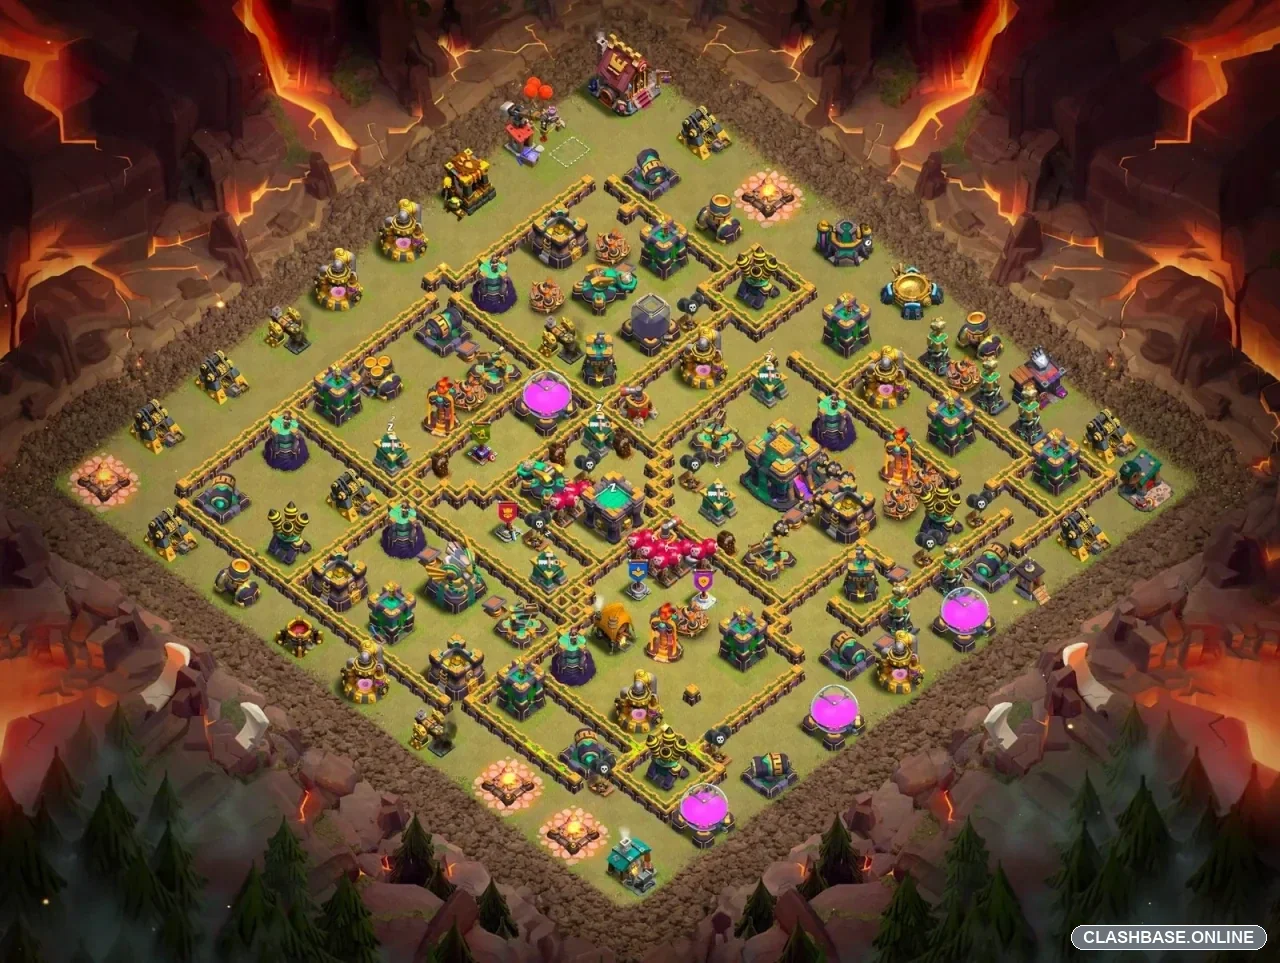
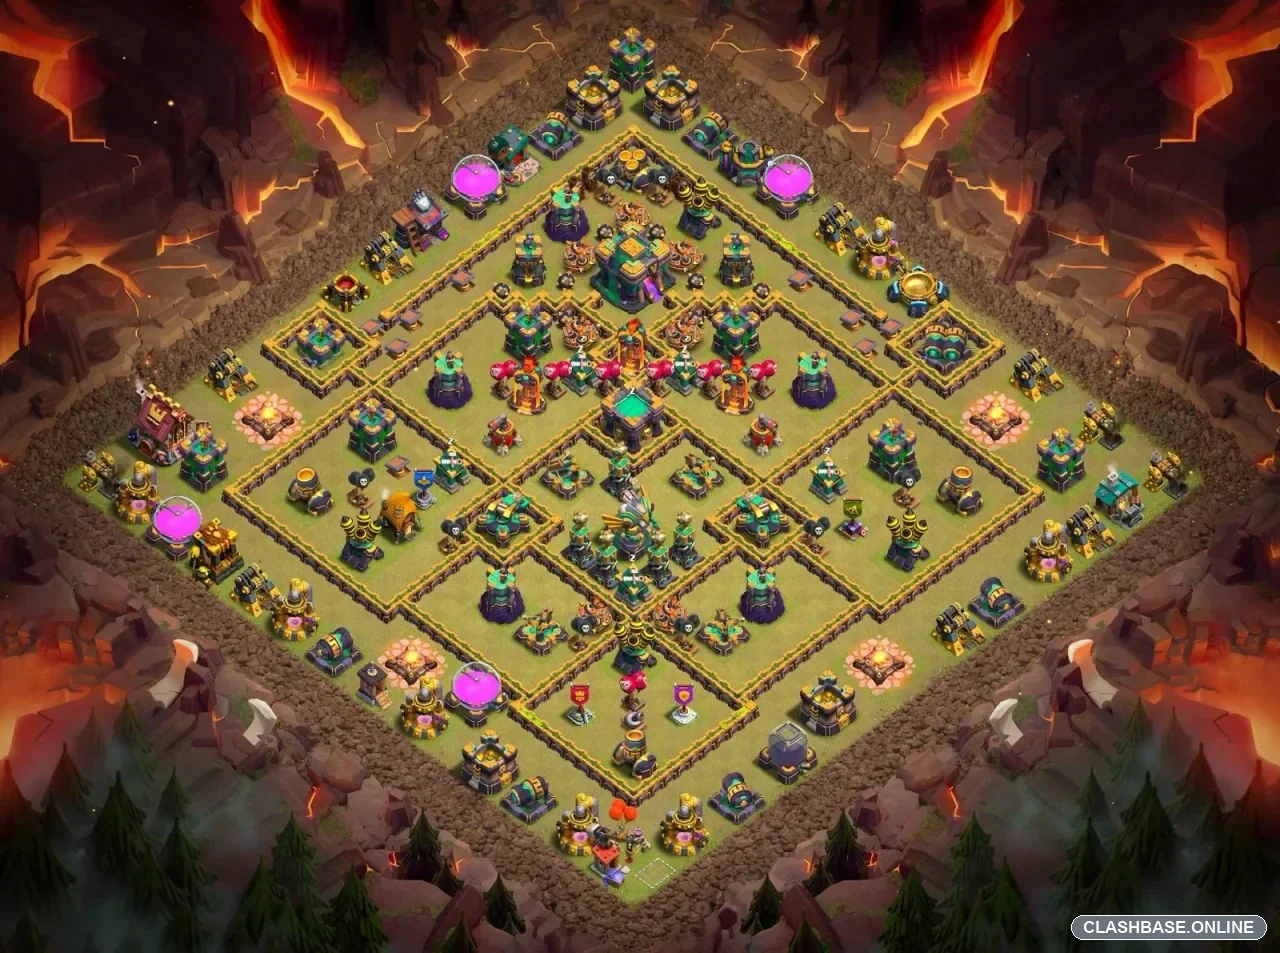
TH14 Clan War Layout #3 uses a multi-compartment defensive structure with the Town Hall shifted toward the right side of the inner base. Looking closely at the layout itself, the defensive plan seems to be based on separation. The Town Hall, Inferno Towers, Air Defenses, and other important targets are spread through different sections rather than bundled into one overloaded core.
That makes sense for Clan War. The base may allow progress in one area, but the remaining defensive pockets are positioned to keep the third star difficult.
The offset Town Hall separates objective value
The Town Hall sits away from the exact geometric center, which helps prevent one central push from collecting every important target at once.
From the defender's perspective, this is useful. Even if the Town Hall section eventually falls, several high-value defenses can remain active elsewhere. An attacking army that spends too much strength on the objective may reach the later compartments with weaker heroes, fewer spells, or reduced support.
So the Town Hall is not carrying the entire defense. It is one part of a larger anti-three-star structure.
Multiple compartments are designed to break formation
The wall network is probably the strongest defensive feature visible in Layout #3.
The village is split into numerous medium-sized sections, with several defensive targets available once troops move through the first wall layers. That can encourage attacking units to take slightly different routes.
For the defense, troop separation is valuable.
Yeti or Bowler Smash-style formations are much harder to stop when tanks, heroes, and supporting troops stay together. If one group turns toward a side compartment while another continues inward, the attacking force loses some of its concentrated power.
Queen Charge Hybrid can create different pressure, but the same defensive principle remains: clearing one compartment should not automatically make the rest of the village easy.
Air and Inferno pressure stays spread out
The anti-air network appears distributed across opposite sections, while the Inferno Towers protect different paths through the core.
That spacing helps avoid one obvious spell target.
Against Dragons or LavaLoon, one defensive lane may weaken while another remains active farther across the base. Ground armies face a similar problem with the Infernos: controlling one high-value threat does not immediately silence the rest of the defensive network.
This gives Layout #3 sustained pressure across several stages of the raid rather than relying on one short damage burst.
The top edge needs to create disruption
The top edge looks like the most approachable side of the layout, which gives it an important defensive role.
A wide formation from this side may begin splitting between neighboring compartments. That can actually benefit the defense by reducing concentrated damage and making troop movement less predictable.
The danger is a very clean opening where the main army stays perfectly together.
If the top section disappears too cheaply without creating pathing problems, too much attacking strength may survive for the core. The defense therefore needs this side to consume something—time, hero health, abilities, spells, or troop strength.