 CLASHBASE.ONLINEClan War
About this Town Hall 14 base
Copy this base to Clash of Clans
Tap the button below. Clash of Clans will open so you can place this layout in an available base slot.
Copy base to the gameClash of Clans must be installed on this device.Rate this layout
Share a useful, honest experience. One review is stored per visitor for this item.
TH14 Clan War Base #19: Asymmetric Diamond Defense Built for Three-Star Denial
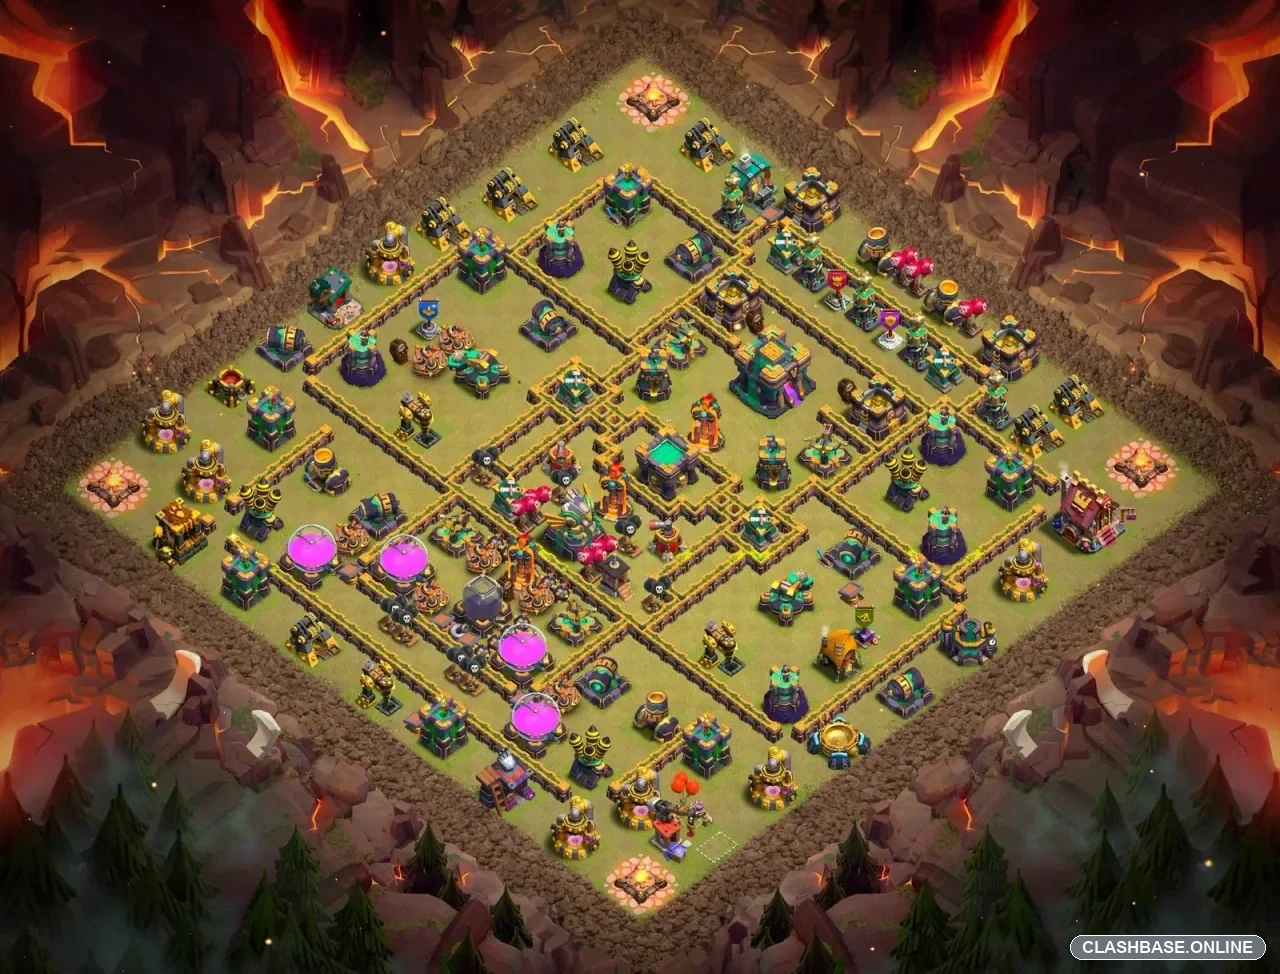
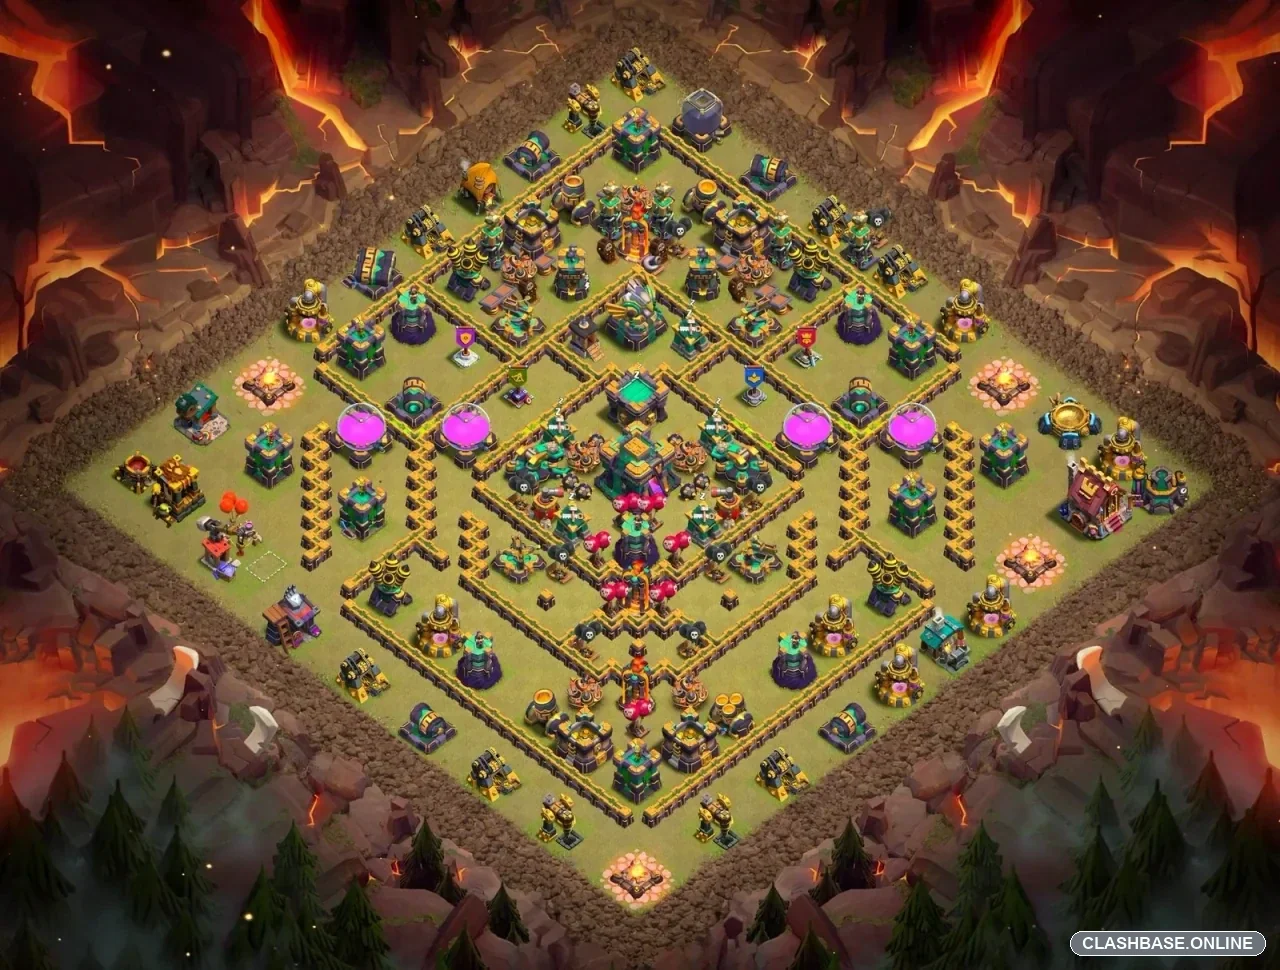
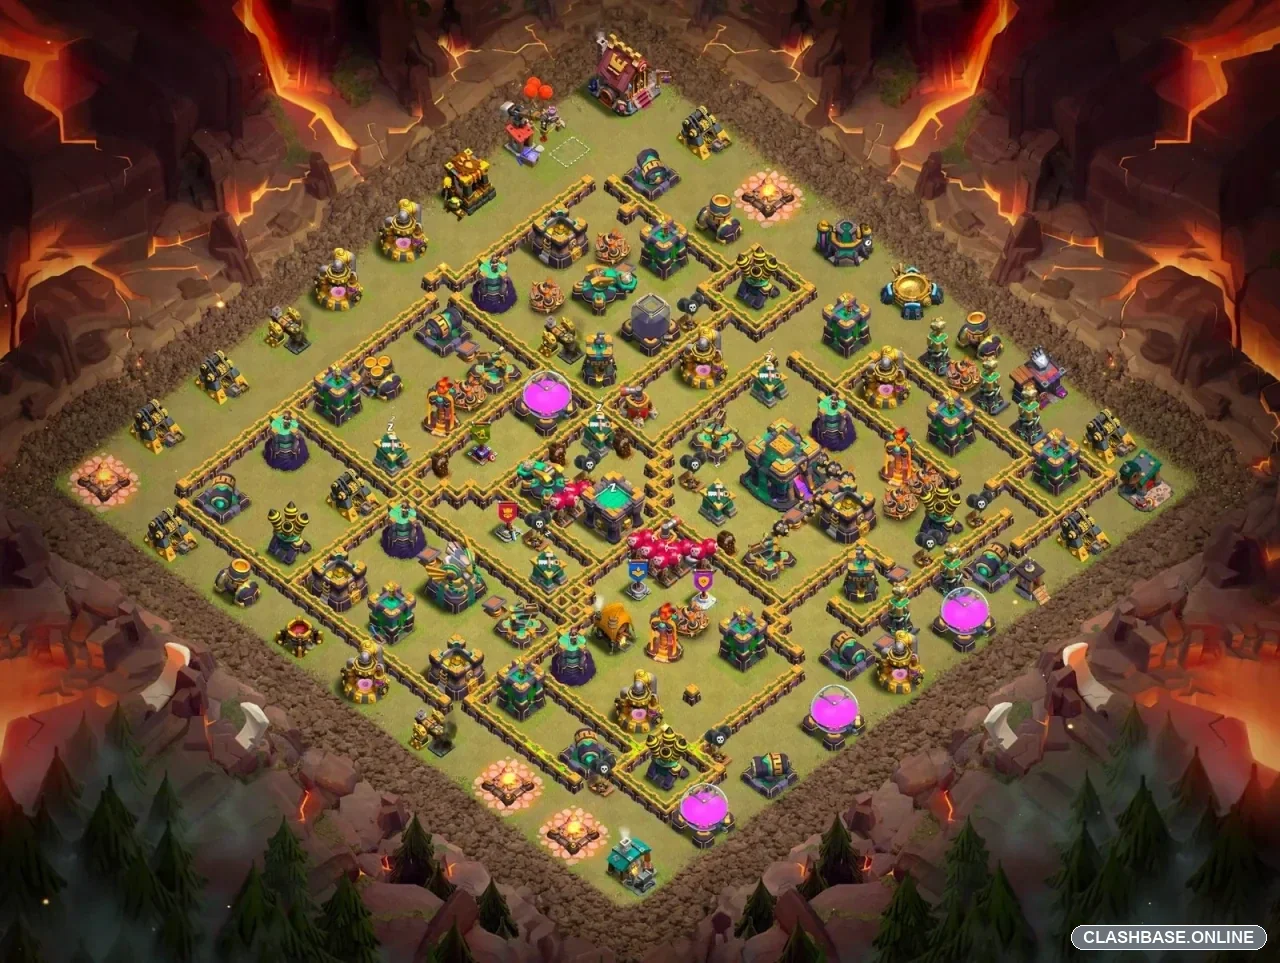
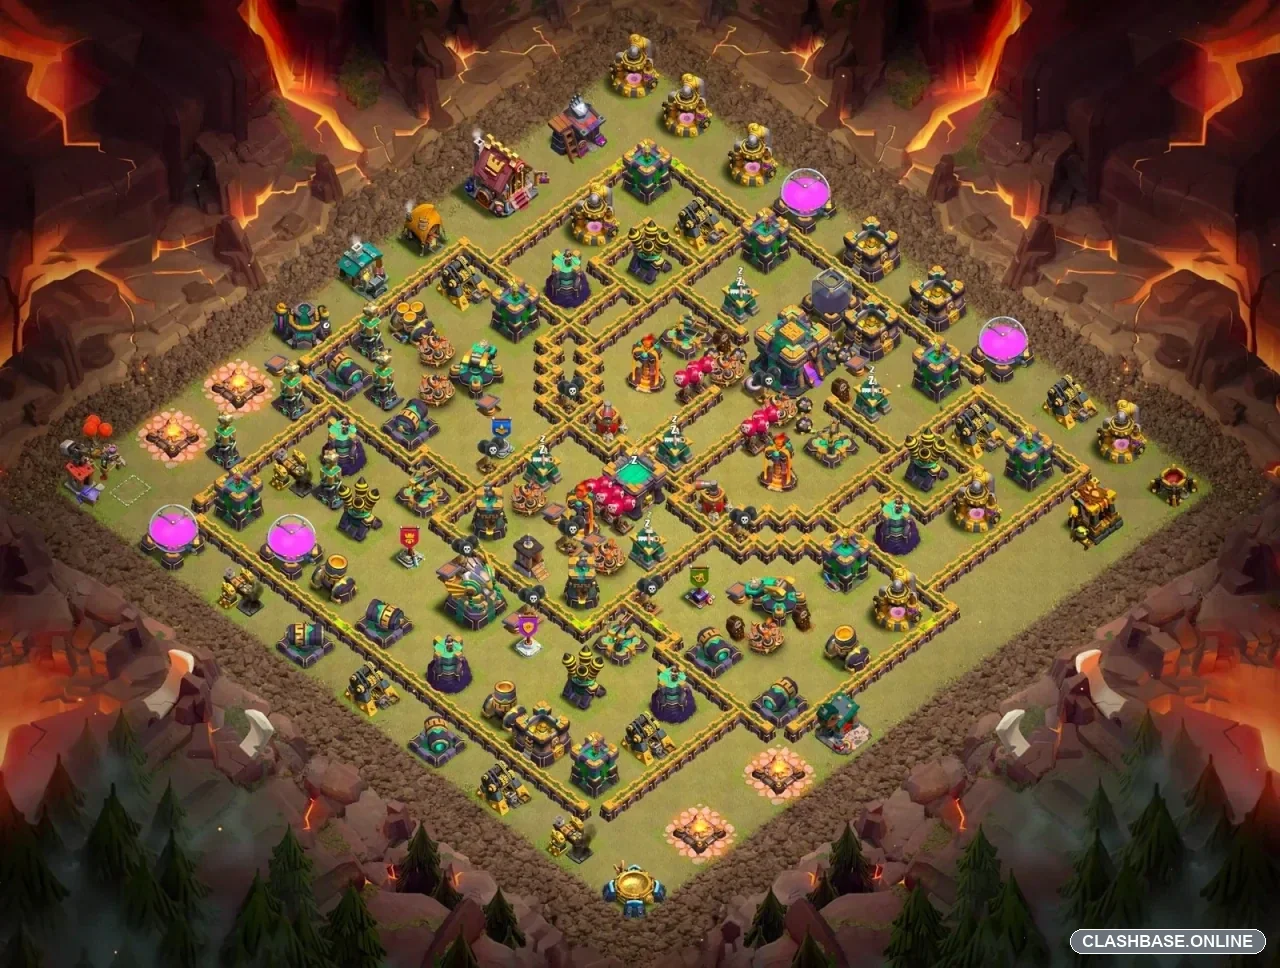
TH14 Clan War Layout #19 uses an asymmetric diamond structure with the Town Hall sitting near the edge of the inner core, rather than hiding it in the exact middle. After studying the base itself, that placement looks intentional. The layout appears willing to make the Town Hall a visible part of the defensive puzzle while keeping a large amount of firepower spread through the rest of the village.
For Clan War, that trade makes sense. The goal is not necessarily to keep every attacker away from the Town Hall. It is to make the full three-star clear much less comfortable.
The Town Hall acts as an anti-three-star objective
The Town Hall sits toward the right side of the inner structure, separated from several other major defensive targets.
That separation is useful. If the Town Hall falls, the attacker may still have to deal with Inferno Towers, Air Defenses, X-Bows, Scattershots, and other defenses positioned across different sections.
From a defensive perspective, this reduces the chance that one strong push removes everything important at once.
The Town Hall can therefore act almost like bait for commitment. The more army strength spent dealing with that zone, the more opportunity the remaining compartments have to protect the third star.
The asymmetric diamond creates uneven defensive lanes
The diamond shape is one of the most interesting parts of Layout #19.
It is not perfectly mirrored, which means troops moving through one side of the village may face a very different defensive sequence from troops moving through another. That unevenness can disturb pathing and make the surviving army finish in awkward positions.
This is especially valuable against Yeti or Bowler Smash-style formations. Those armies are strongest when tanks, heroes, and support troops stay packed together.
If the diamond pulls different groups into neighboring compartments, the defense gains time while the attacking formation loses concentrated power.
Separated Air Defenses and Infernos preserve pressure
The Air Defenses form staggered coverage around the core, while the Inferno Towers remain separated as individual high-value threats.
That spacing helps the base avoid giving away too much defensive value to one spell.
Against Dragons or LavaLoon, different air zones can remain active during separate phases of the raid. One section may collapse, yet the next part of the village still has meaningful anti-air pressure waiting.
Queen Charge Hybrid faces a similar defensive issue: removing one pocket does not automatically disable every major threat around the inner diamond.
The right edge is the key defensive pressure point
The right edge appears to be the most accessible side, which means it carries more defensive responsibility than some of the other perimeter sections.
The danger comes from the shorter diagonal into the core. If that line opens too cleanly, supporting defenses have less room to overlap and the asymmetric structure becomes easier to manage.
For the defense, this side ideally needs to consume something valuable—time, hero health, abilities, or spell support—before the inner compartments begin to fall.
Even a small delay can matter in Clan War.