 CLASHBASE.ONLINERanked
About this Town Hall 15 base
Copy this base to Clash of Clans
Tap the button below. Clash of Clans will open so you can place this layout in an available base slot.
Copy base to the gameClash of Clans must be installed on this device.Rate this layout
Share a useful, honest experience. One review is stored per visitor for this item.
TH15 Ranked Base #3: Open-Ring Defense Built Around Core Pathing Pressure
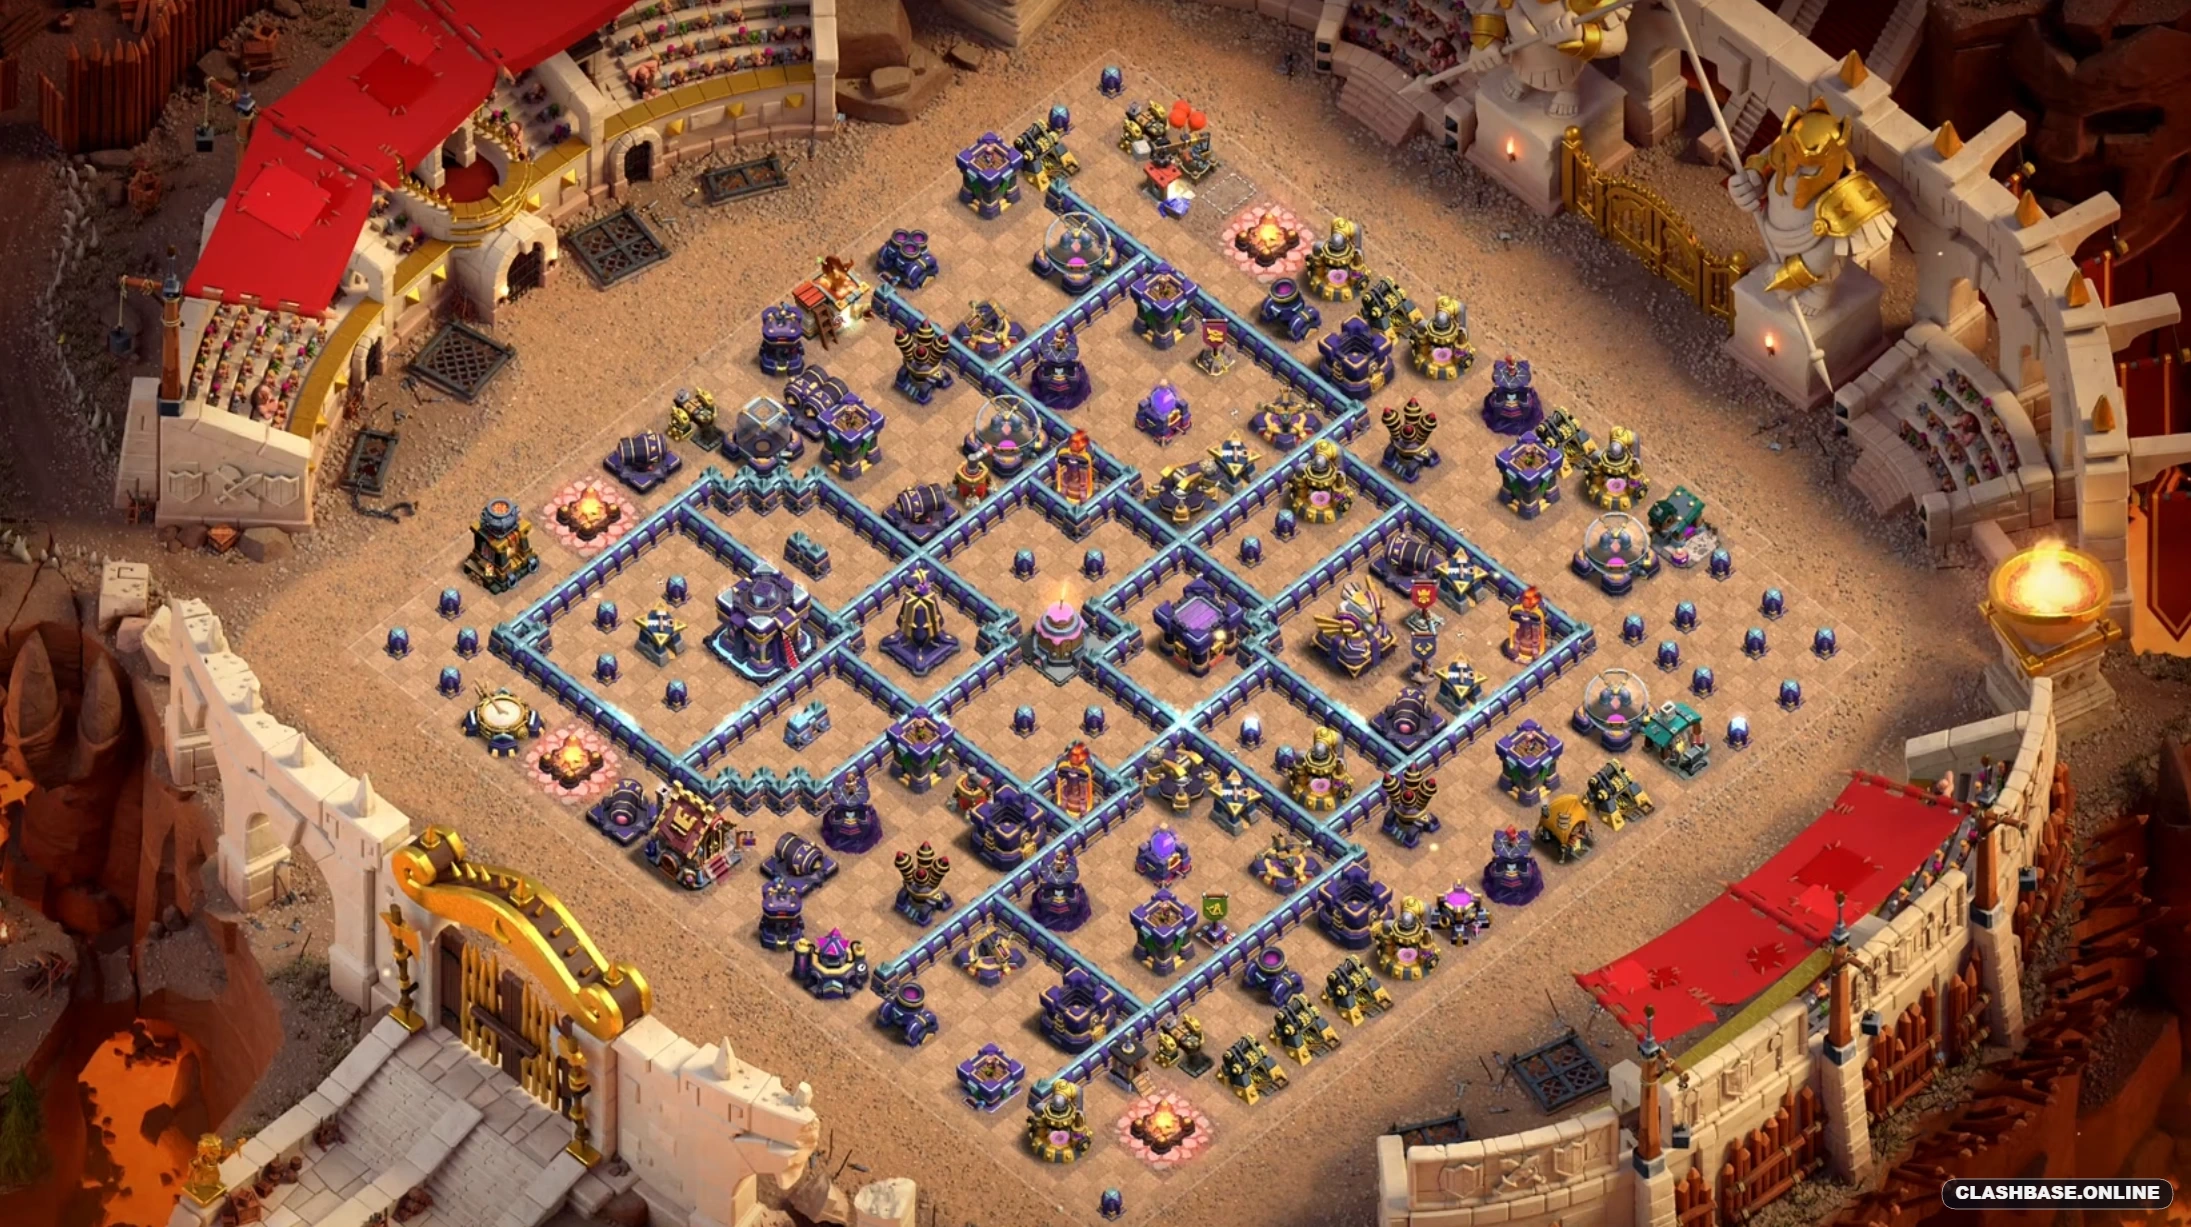
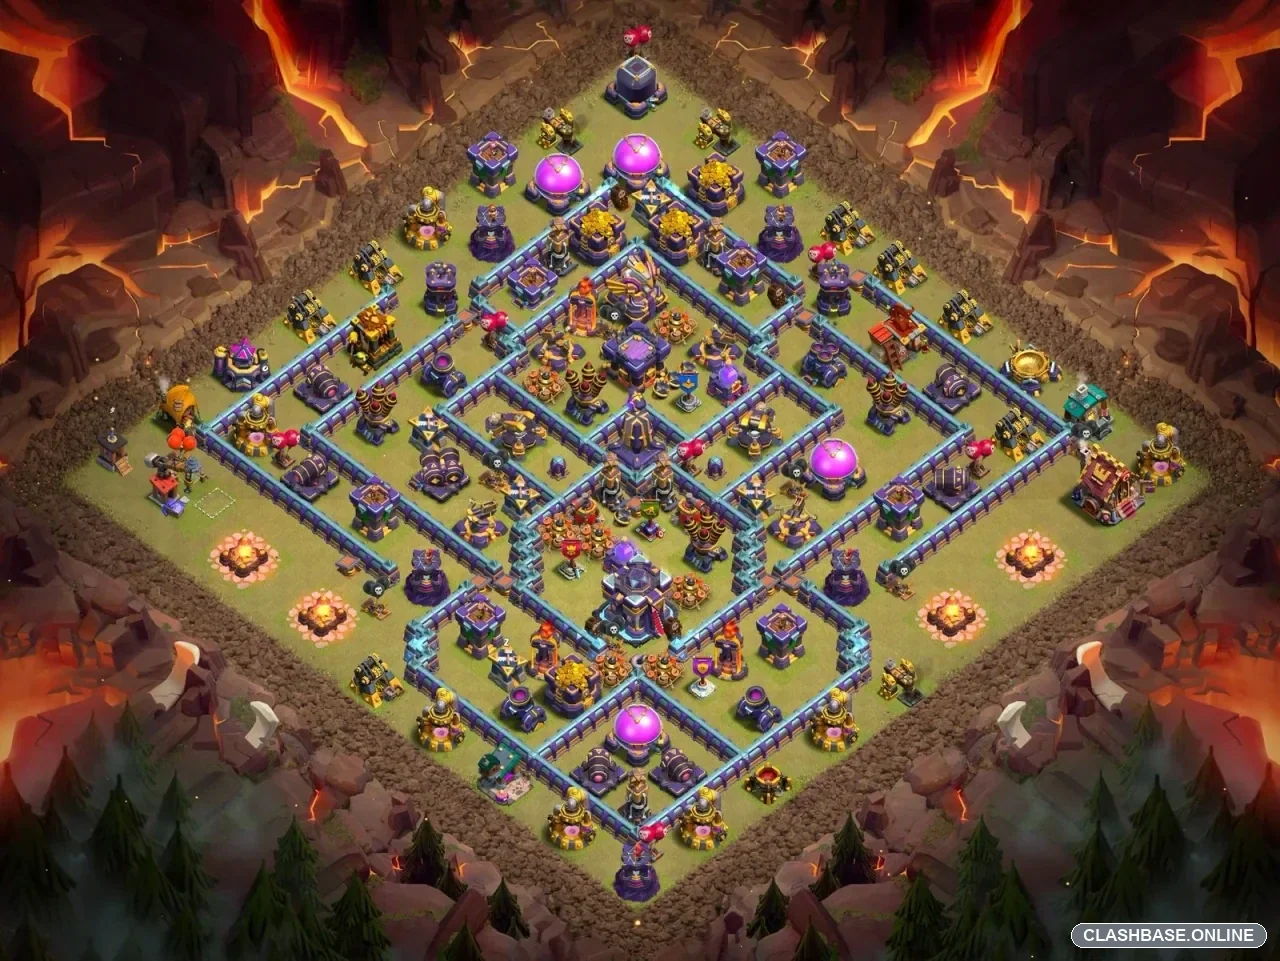
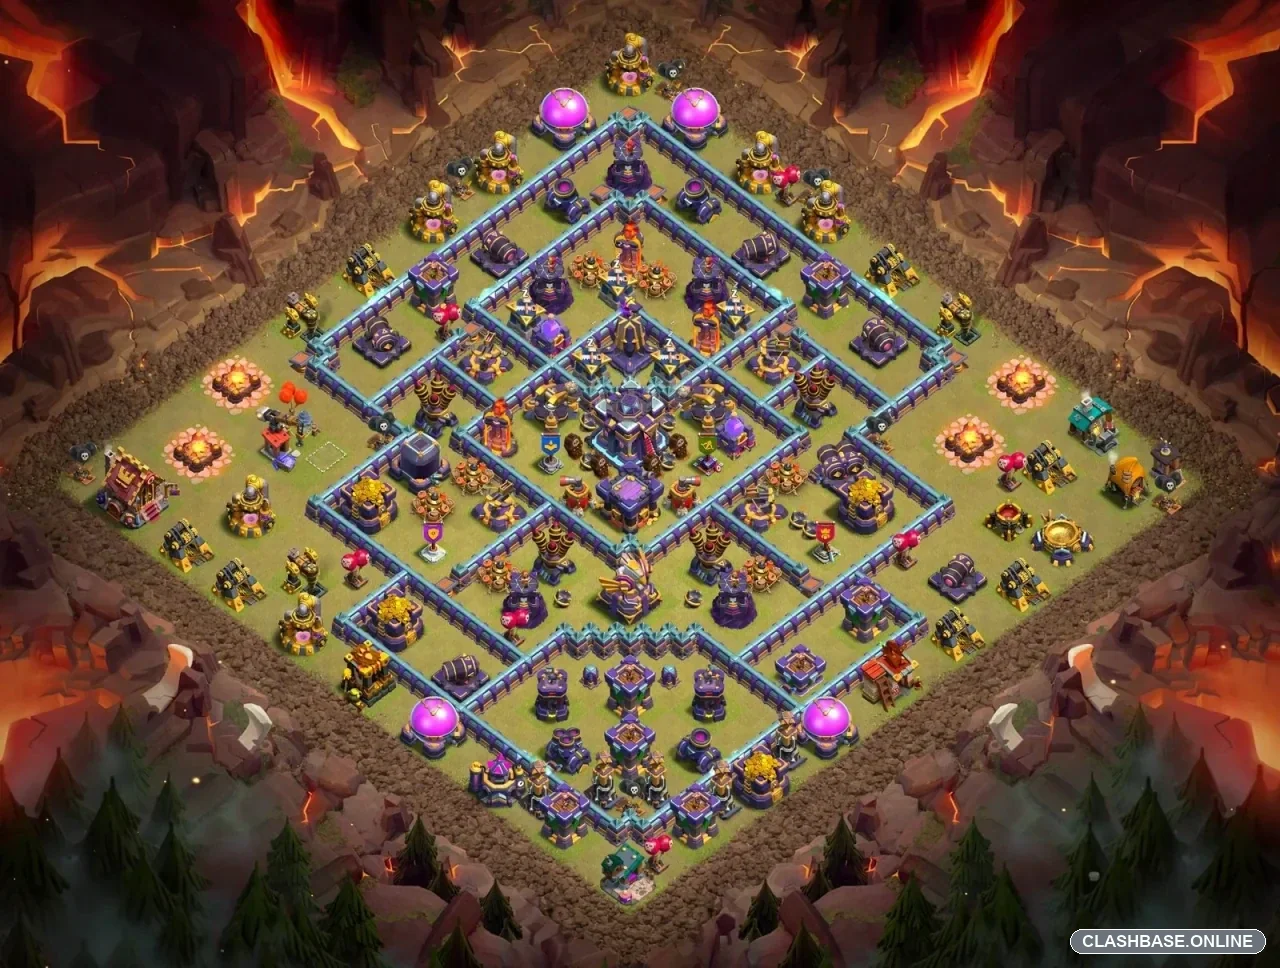
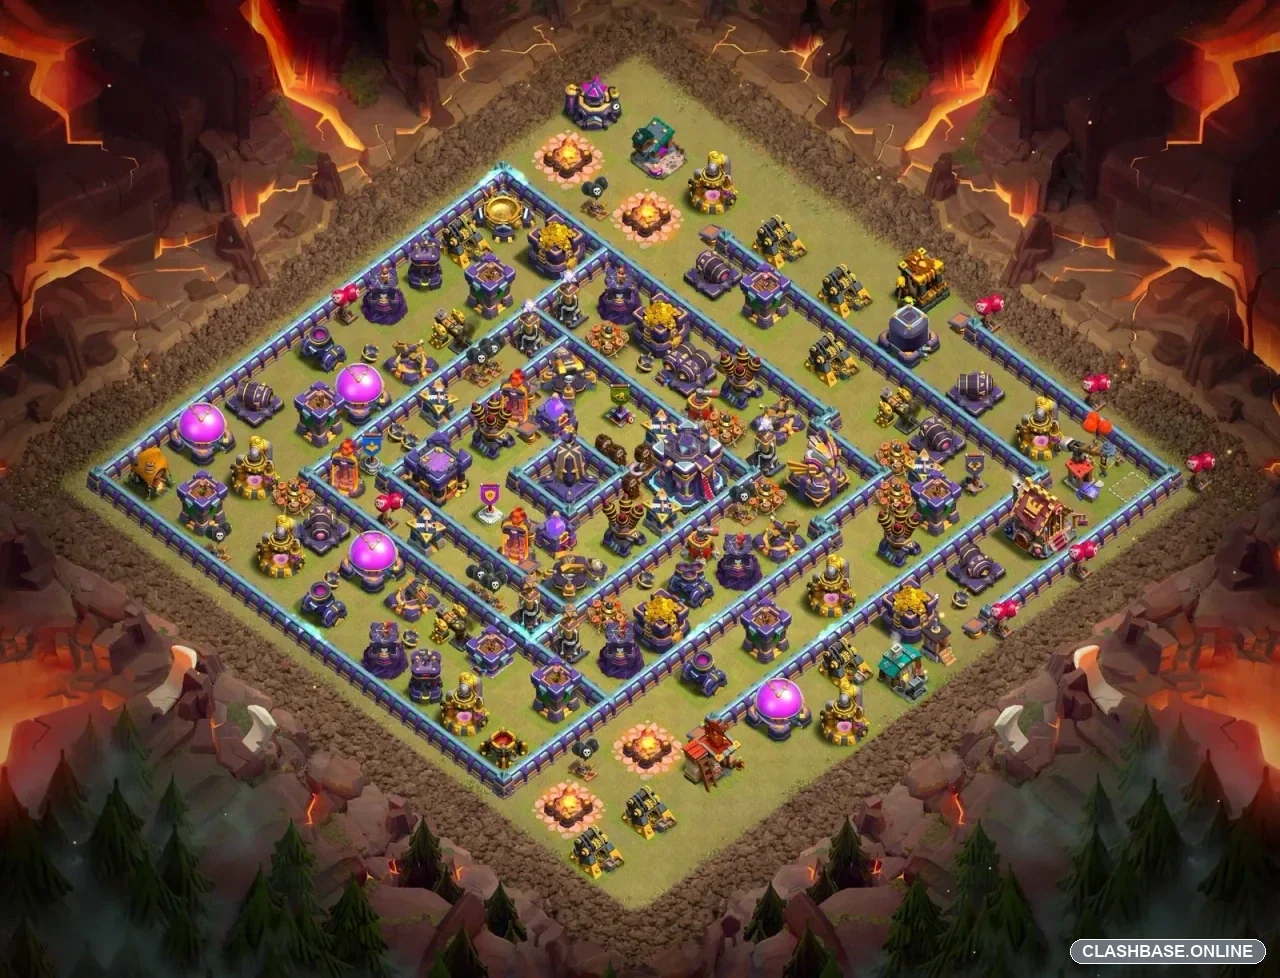
TH15 Ranked Layout #3 uses an open-ring structure with the Town Hall slightly offset inside the main defensive core. Looking closely at the base itself, its defensive identity seems to come from controlling troop movement rather than simply surrounding the Town Hall with every powerful defense available.
The center is dense, but the surrounding compartments are deliberately stretched. That gives the base several defensive layers and, perhaps more importantly, several different directions for attacking troops to follow. In Ranked play, that can be valuable because the layout is trying to influence the entire raid—not just whether the Town Hall survives.
The core is built to remain dangerous in stages
The Town Hall sits inside a heavily protected central section, with high-value defenses distributed around it instead of stacked into one tiny compartment.
That spacing makes the core harder to disable all at once.
Even if one section falls, other defenses can continue applying pressure from neighboring compartments. A strong attacking army may survive the first engagement but enter the next area with reduced hero health, fewer support troops, or less spell flexibility.
The defense appears designed to wear an army down gradually rather than depending on one sudden damage spike.
The open ring creates pathing problems
The ring-shaped wall network is probably the most important part of Layout #3.
Several defensive targets become available at similar distances once troops reach the inner sections. This can pull one group around the ring while another moves toward the Town Hall.
From the defender's perspective, that is useful.
Heavy ground armies such as Root Riders become much less efficient when their front line separates from heroes and support troops. The same problem can affect Hybrid formations. Once the army stretches across multiple compartments, Rage, Heal, Freeze, or Overgrowth spells naturally cover fewer units.
The walls are not simply trying to stop troops. They are trying to make those troops fight in the wrong places.
Inferno and Air Defense spacing protects spell value
The Inferno Towers are spread across different inner areas instead of sitting together as one compact pair. Air Defenses follow a similar pattern, covering several crossing lanes.
That separation reduces the chance of one spell solving too much of the defense.
Against Dragons or LavaLoon, the layout may keep pressure active as air troops move from one zone into another. A group that clears the first section cleanly can still find fresh defensive fire waiting deeper inside.
This layered coverage is one of the better defensive details visible in the base.
The upper-right edge is the main concern
The upper-right side appears to be the easiest section to shape, making it the most obvious structural pressure point.
If this edge is removed too cheaply, troop movement toward the core can become more predictable. That weakens the open-ring concept, because the defense works best when attackers have several competing paths available.
From a defensive standpoint, this area benefits from trap pressure and overlapping coverage. Even forcing an early hero ability or several extra seconds of delay could make the central compartments much more effective later.
Why Layout #3 fits Ranked defense
TH15 Ranked Base #3 works because it creates tension between quick outside percentage and control of the central objective.
The outer buildings can draw troops away from the core, while the Town Hall and deeper defenses demand a concentrated force. If an army spreads too widely, the ring can break its formation. If too much time is spent clearing the perimeter, the clock becomes another defensive weapon.
Overall, Layout #3 is a pathing-control and time-pressure Ranked defense built around an offset Town Hall, open-ring compartments, separated defensive anchors, and difficult troop transitions.
Its main weakness is controlled pathing that prevents the ring from creating splits. When the design works as intended, though, attacking troops may remain alive while becoming scattered across different sections—leaving the central defenses and the timer to finish the job.