 CLASHBASE.ONLINEClan War
About this Town Hall 5 base
Copy this base to Clash of Clans
Tap the button below. Clash of Clans will open so you can place this layout in an available base slot.
Copy base to the gameClash of Clans must be installed on this device.Rate this layout
Share a useful, honest experience. One review is stored per visitor for this item.
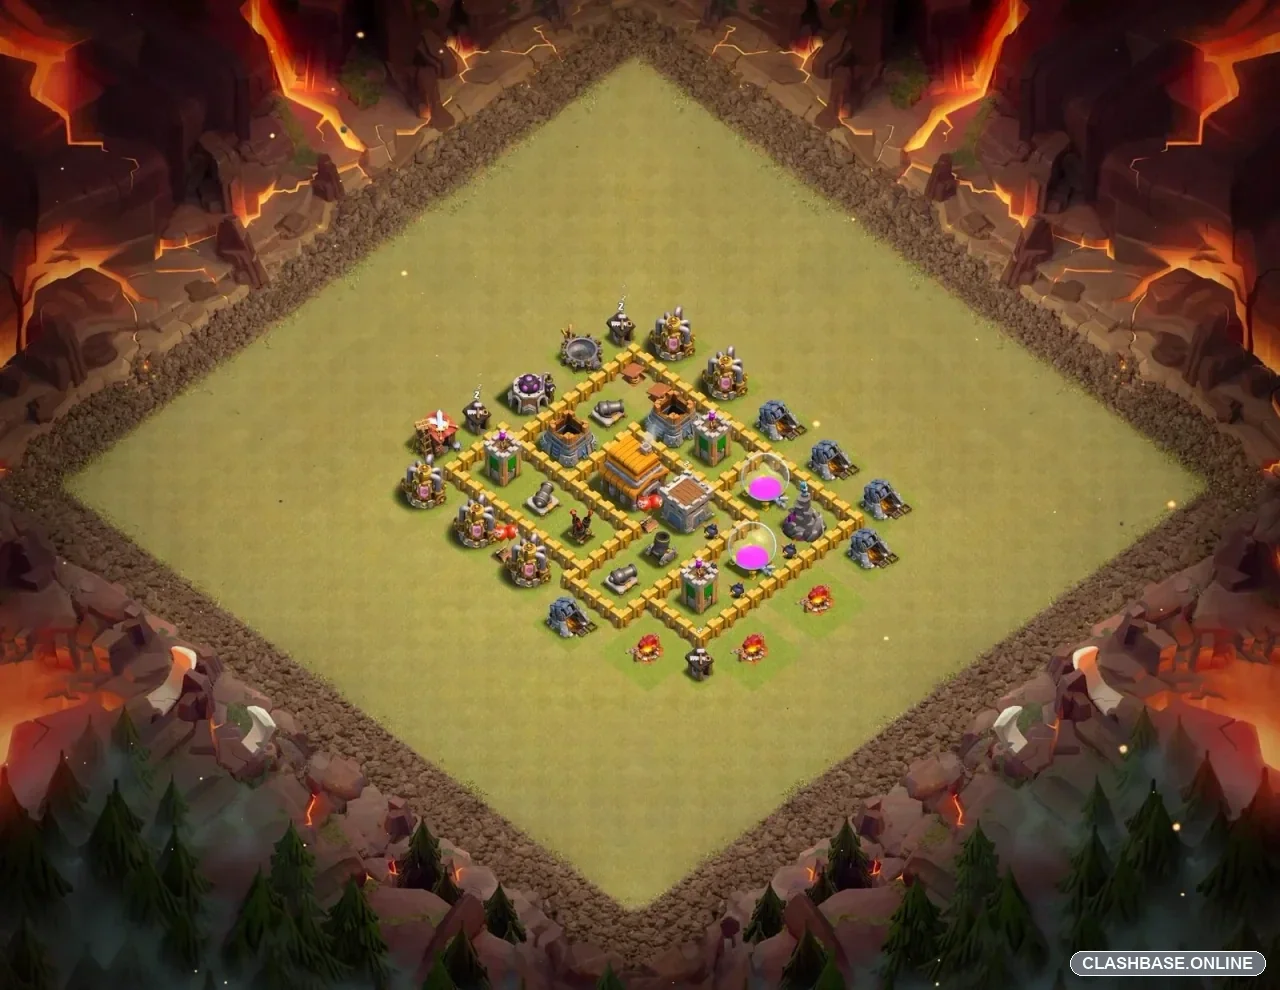
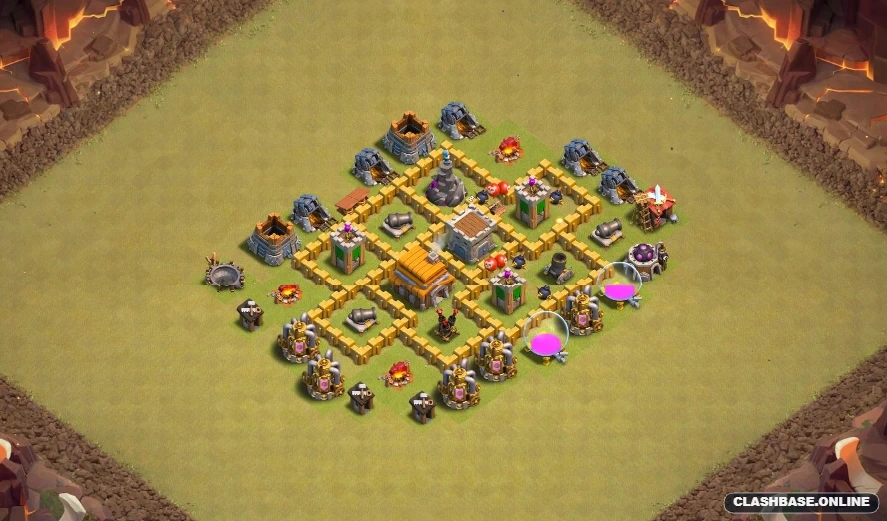
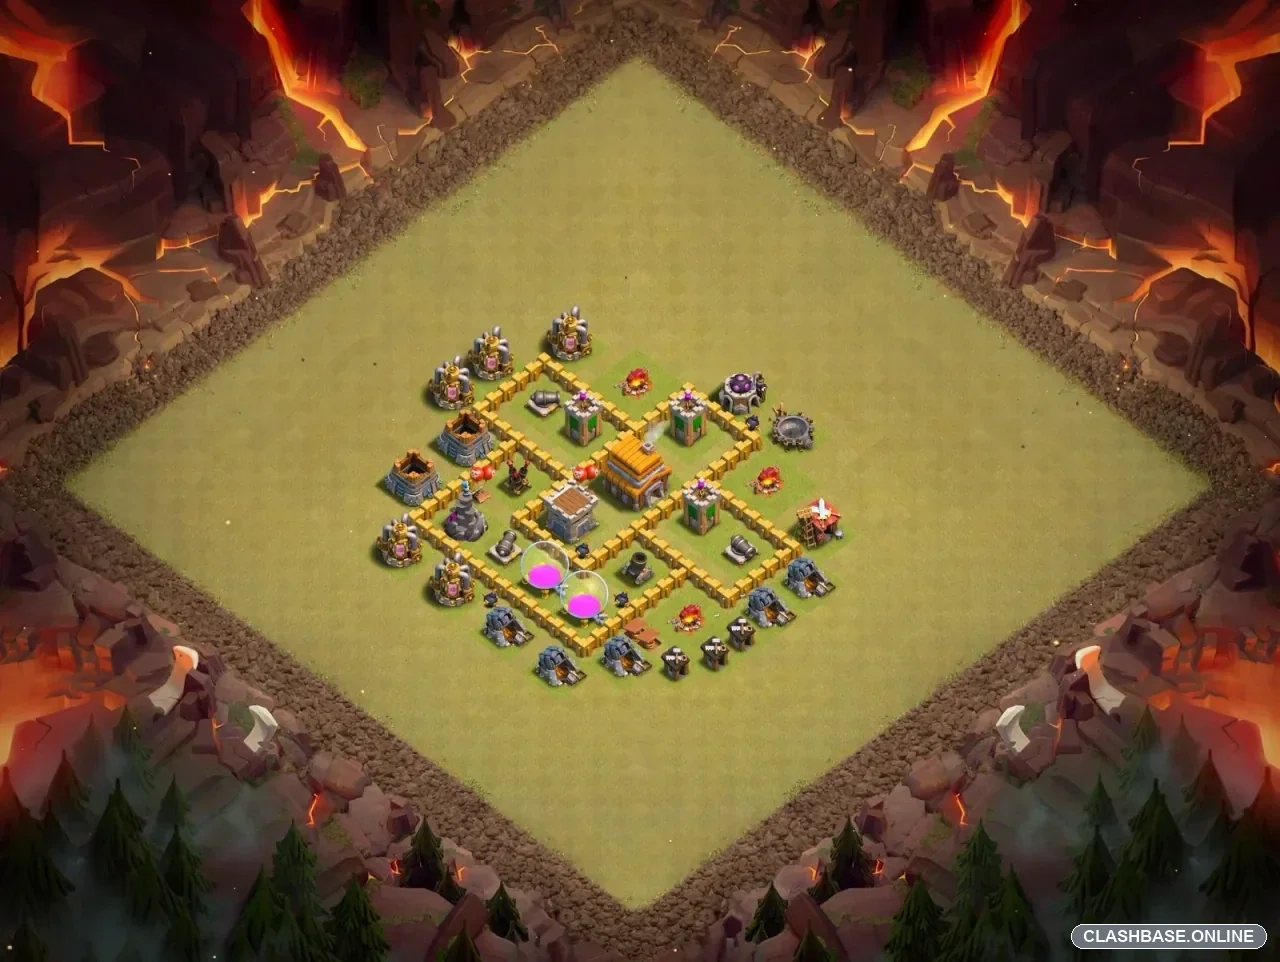
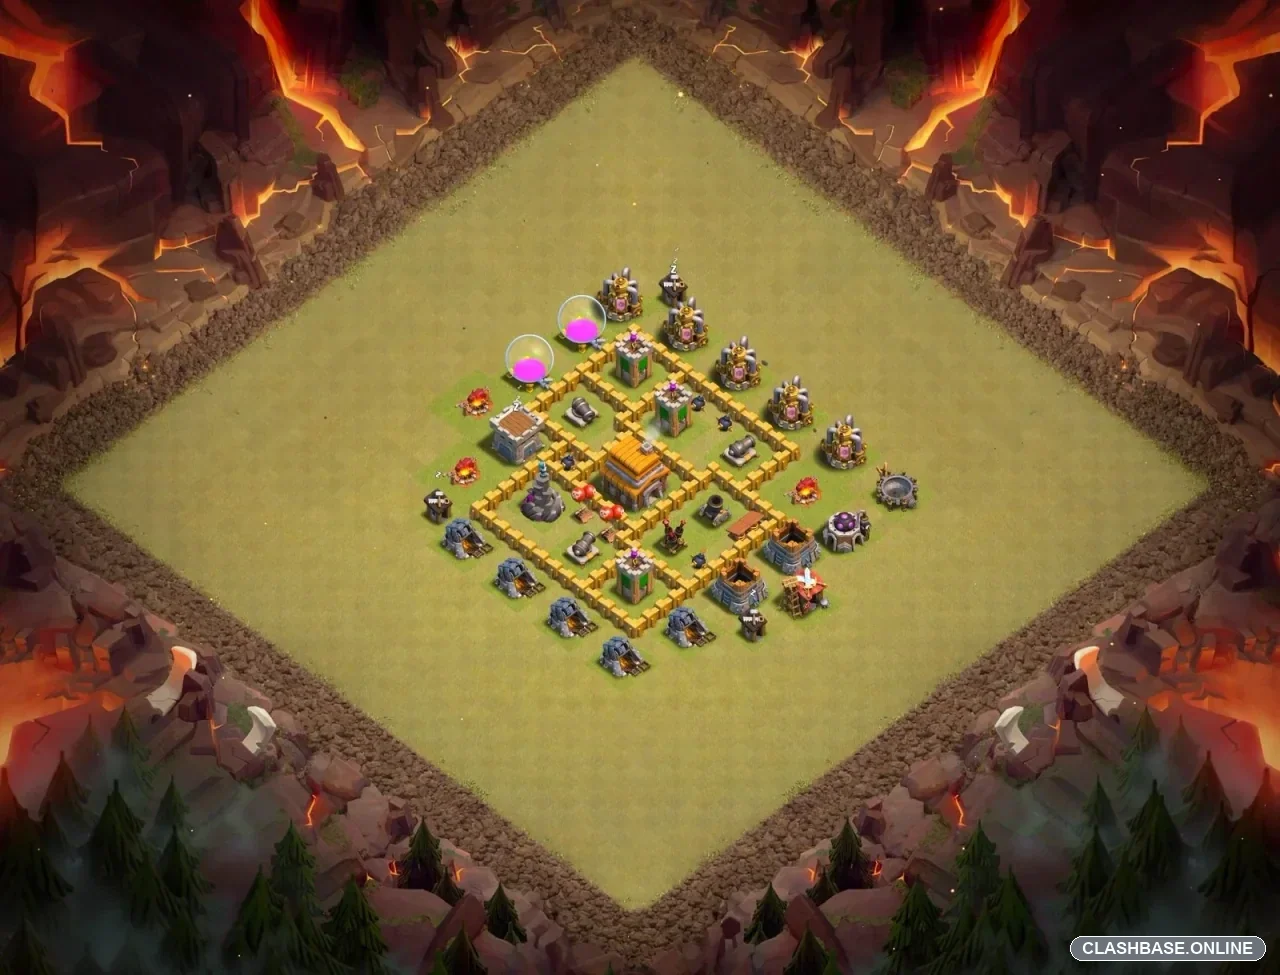
TH5 Clan War Base number 9 – Compact Core and Ground Pathing Defense Analysis
This TH5 Clan War base is small, as you would expect at this level, but the layout makes fairly good use of the limited walls available. The Town Hall sits deep in the central area instead of being left near the perimeter, and the surrounding defenses are positioned so that an attacker cannot simply break one wall and walk straight through everything.
For a TH5 war layout, that is a sensible starting point.
The Town Hall is surrounded by several defensive buildings and smaller wall sections. A ground army coming from the bottom, for example, may get through the first layer quickly, but Giants still have nearby defensive targets competing for their attention. They are likely to move toward Cannons, Archer Towers, or other defenses rather than following a perfectly straight line toward the Town Hall.
That pathing can create problems for the troops behind them.
Archers or Wizards used as support may stop on nearby buildings while the Giants keep moving. If the attacker has not created a clean funnel first, the tanks and damage troops can gradually separate. At TH5, where armies are relatively small and there are fewer ways to recover from a bad deployment, that little mistake may become surprisingly expensive.
The compact central structure also keeps several defenses within supporting distance of one another. Removing one defensive building does not necessarily create a completely safe section. Troops moving inward are likely to remain under fire from another direction, which can gradually wear down Giants before they reach the most important part of the base.
The Mortar placement is useful here as well. Its wider splash coverage may punish groups of Archers or other low-hitpoint troops that gather behind the frontline. At this level, a few well-placed splash hits can remove a meaningful portion of an attacking army.
Storages also have a defensive purpose even though the resources themselves do not matter during Clan War. Their higher hit points make them useful distractions. If troops stop to destroy one, nearby defenses gain extra time to fire. That delay may only last a few seconds, but TH5 battles can be decided by surprisingly small margins.
Several buildings sit outside the walls, and that is a bit of a trade-off. They provide easier destruction percentage and can help an attacker establish a funnel. On the other hand, careless troop placement may cause some units to walk around the perimeter instead of moving directly into the core.
The layout is not without weaknesses. Its small footprint means a strong attack that reaches the middle with most troops still alive can move between important buildings quickly. The structure is also fairly easy to read once an experienced attacker studies it.
Still, this looks like a practical TH5 Clan War defense. Its main strengths are central Town Hall protection, compact defensive coverage, small wall compartments, splash pressure, and ground pathing that can separate tanks from supporting troops. It may not stop every well-planned attack, but rushed deployment or poor funneling could make a three-star attempt much less comfortable than the base's simple appearance suggests.