 CLASHBASE.ONLINEFarming
About this Town Hall 6 base
Copy this base to Clash of Clans
Tap the button below. Clash of Clans will open so you can place this layout in an available base slot.
Copy base to the gameClash of Clans must be installed on this device.Rate this layout
Share a useful, honest experience. One review is stored per visitor for this item.
TH6 Farming Base number 3 – Twin Storage Core and Layered Defense Analysis
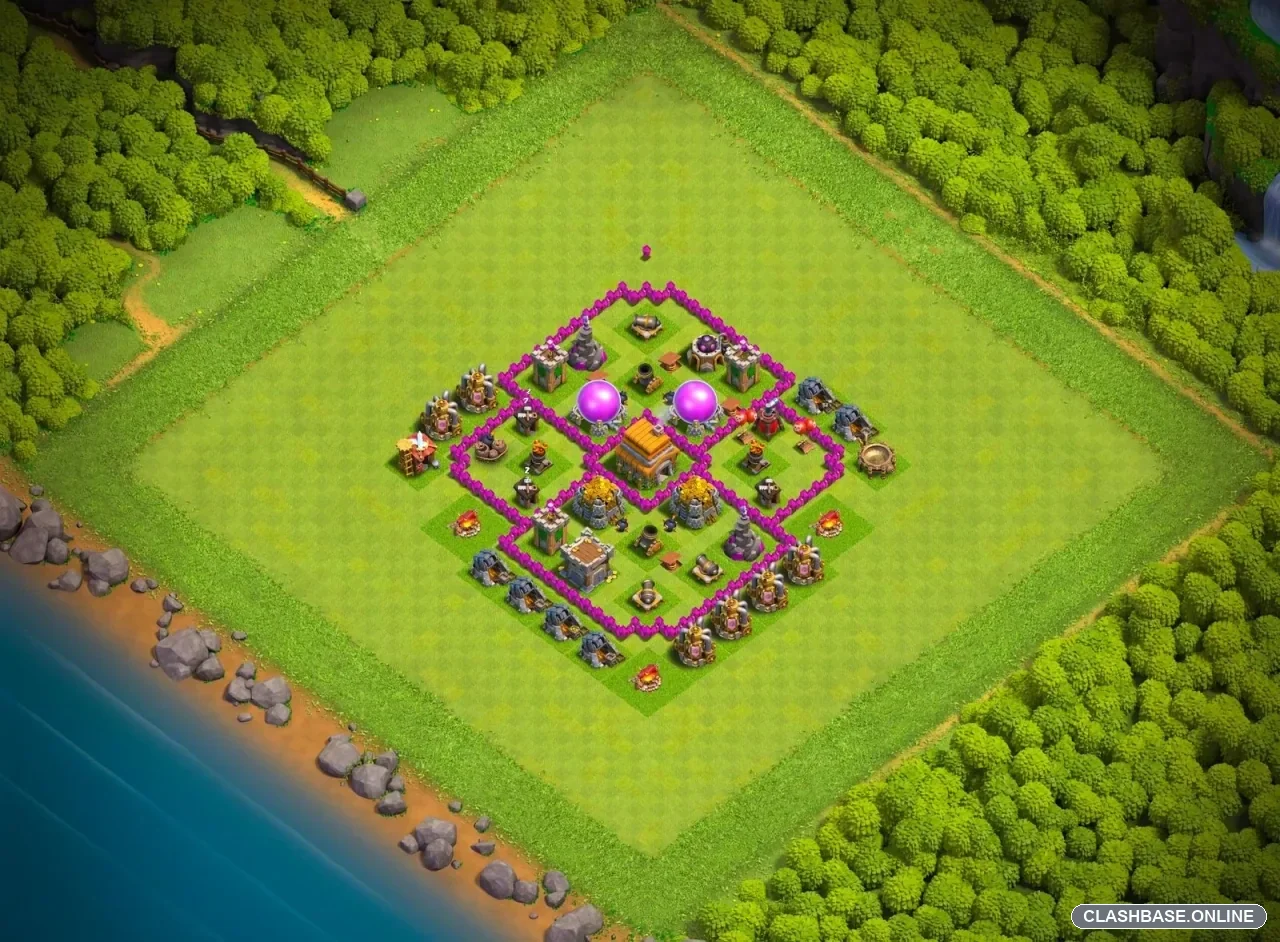
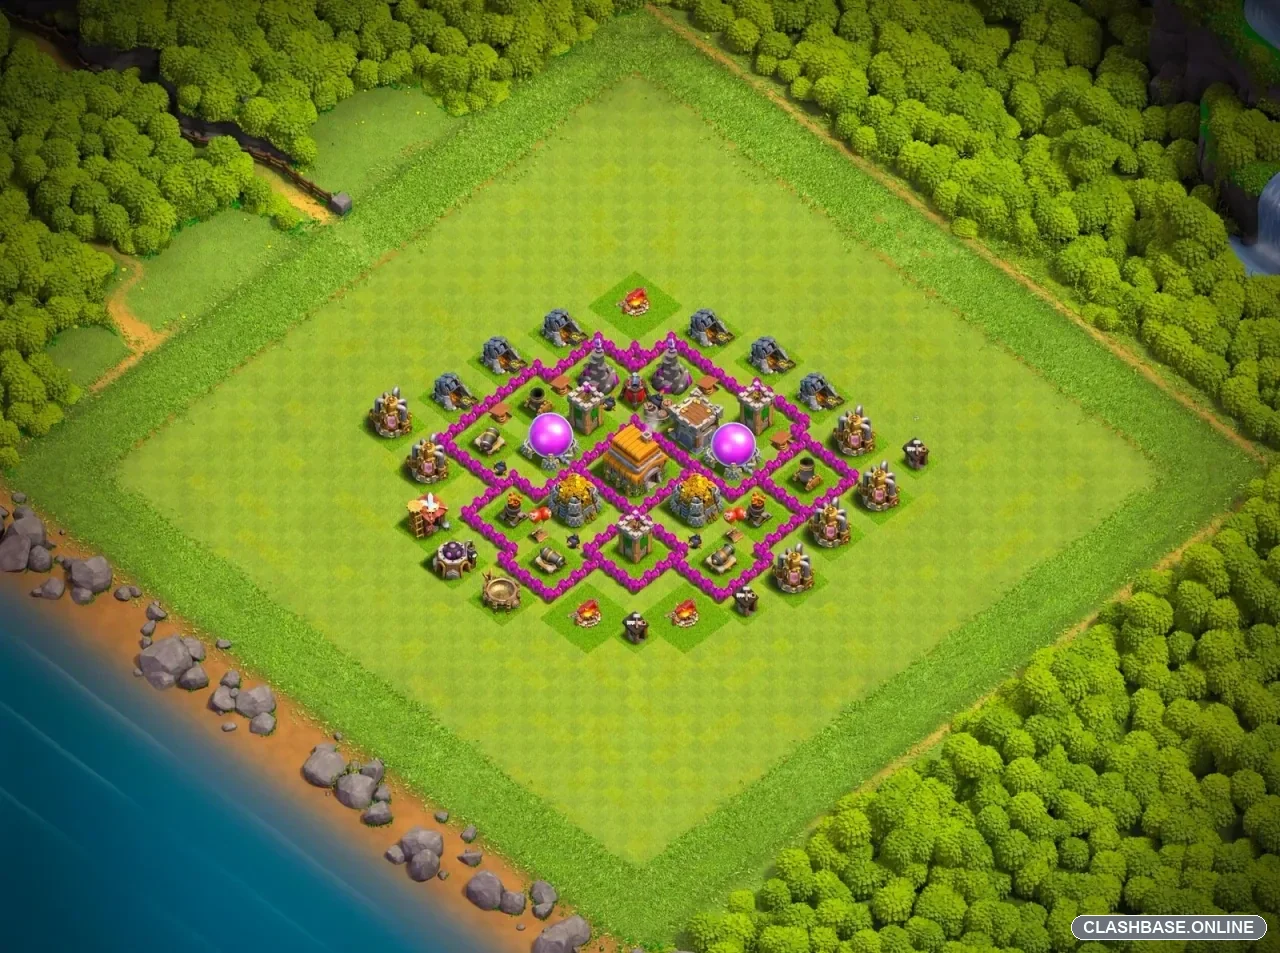
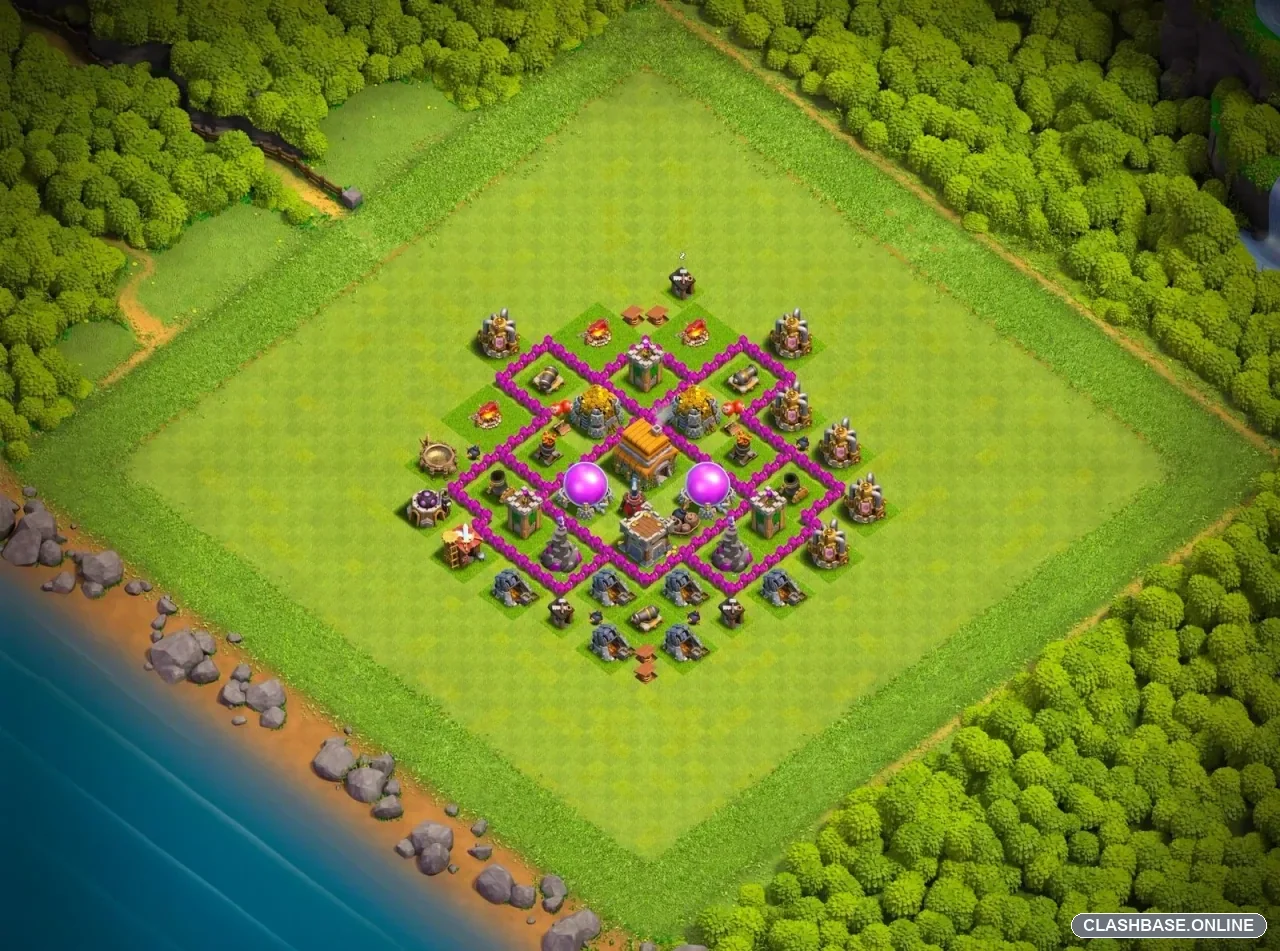
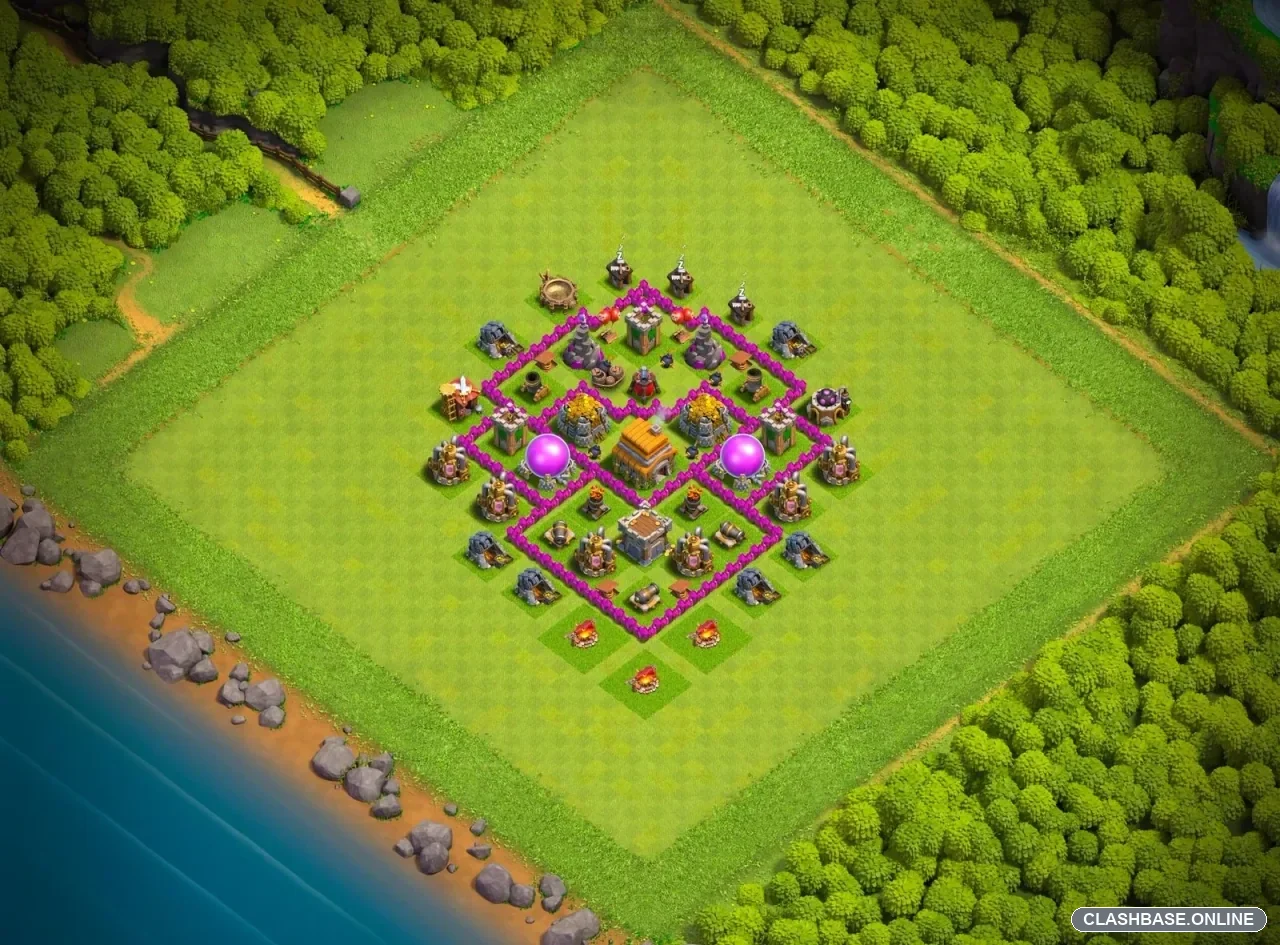
This TH6 farming base is quite small, but the builder has made good use of the limited wall space. The Town Hall sits close to the center, with the two Elixir Storages positioned on opposite sides rather than packed together. Gold and other valuable buildings are also kept inside the main defensive structure. The basic idea seems to be simple: an attacker may reach one valuable area, but taking everything should require a second effort.
For a farming layout, that is a useful approach.
The Elixir Storages are probably the most noticeable example. One sits to the left of the Town Hall and the other to the right, with walls and defensive buildings separating their approaches. A farming army entering from one side can potentially grab the nearest storage, but it still needs to cross toward the opposite half if the attacker wants both.
The Town Hall itself is surrounded by a compact inner network rather than placed against the outside wall. That means Giants or other ground troops normally have to interact with several defensive targets before reaching it. More importantly, destroying the Town Hall does not instantly open every resource building around the base.
I think the smaller compartments are where this layout gets much of its defensive value. Giants entering from one corner may turn toward the closest Cannon or Archer Tower. Wizards or Goblins behind them may choose a storage instead. If the funnel was rushed, the army can split into separate groups surprisingly early.
That is bad news for a cheap farming attack.
High-hitpoint buildings also help slow things down. Elixir and Gold Storages take much longer to destroy than ordinary collectors. While troops are standing around one of those storages, nearby defenses continue firing. At TH6, where many farming armies are built to save training cost rather than overpower the entire village, even a short delay can matter.
Splash damage should be useful for the same reason. Mortars and Wizard Towers cover areas where Archers, Barbarians, Goblins, or supporting Wizards are likely to gather. A group may reach the first storage with little trouble, then lose a large number of troops while trying to stay together for the next push.
The layout also keeps much of its defensive strength inside the walls rather than exposing every important defense around the edge. Outside buildings can still give attackers some easy percentage, but they may interfere with funneling if troops are deployed too widely.
There is a trade-off, though. The base is very compact and fairly symmetrical. Once an experienced attacker opens a clean route into the center, several valuable targets are within a short distance of one another. A well-controlled Giant-and-Wizard attack with good Wall Breaker timing may therefore get strong value from the core.
Even so, this is a sensible TH6 farming design. Its strength comes from split storages, layered compartments, high-hitpoint delays, central defensive coverage, and troop pathing that can punish a rushed entry. The layout does not need to stop every raid; if it forces attackers to spend more troops and still leave part of the stored loot behind, it has done its job.