 CLASHBASE.ONLINEFarming
About this Town Hall 6 base
Copy this base to Clash of Clans
Tap the button below. Clash of Clans will open so you can place this layout in an available base slot.
Copy base to the gameClash of Clans must be installed on this device.Rate this layout
Share a useful, honest experience. One review is stored per visitor for this item.
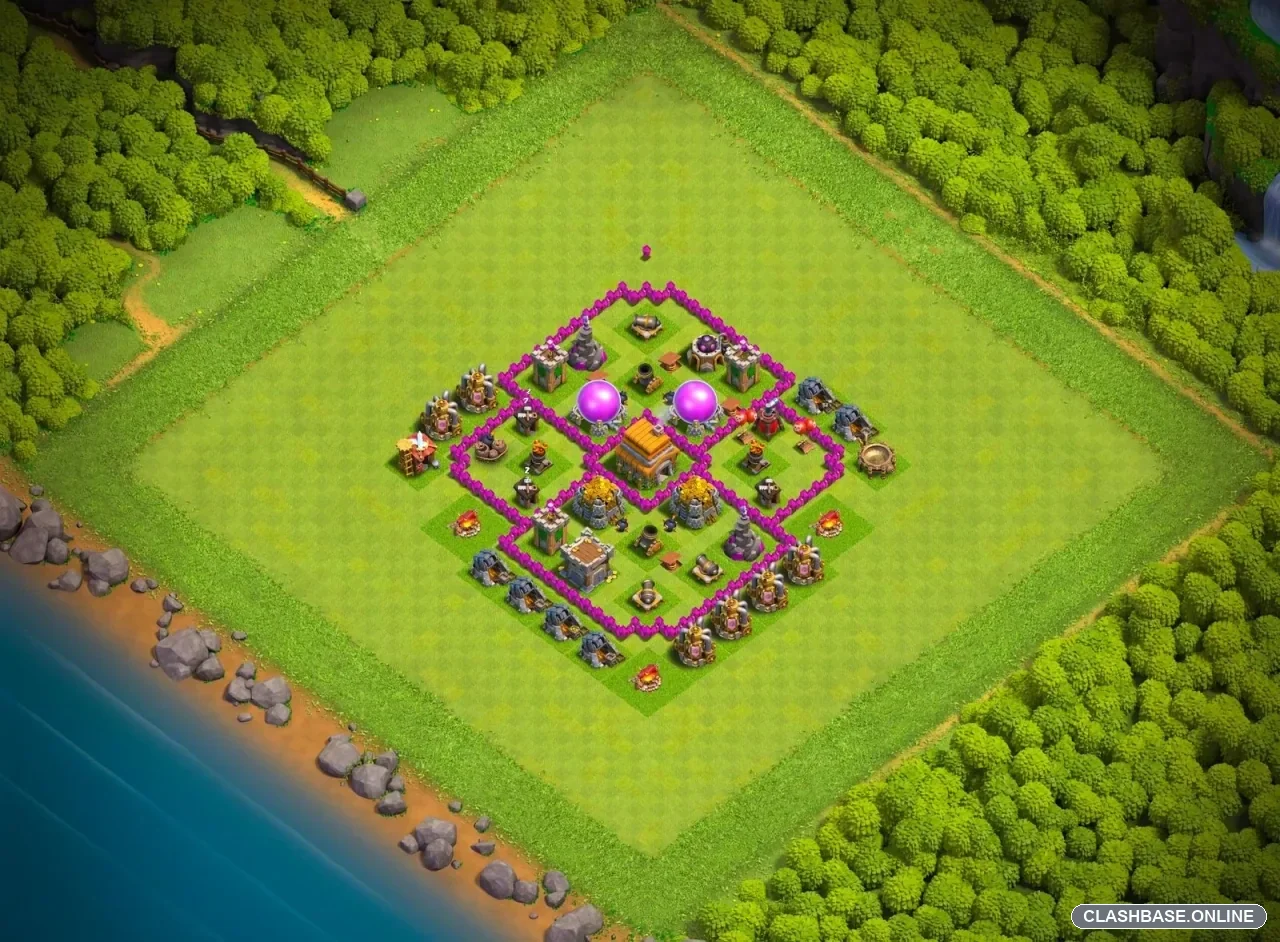
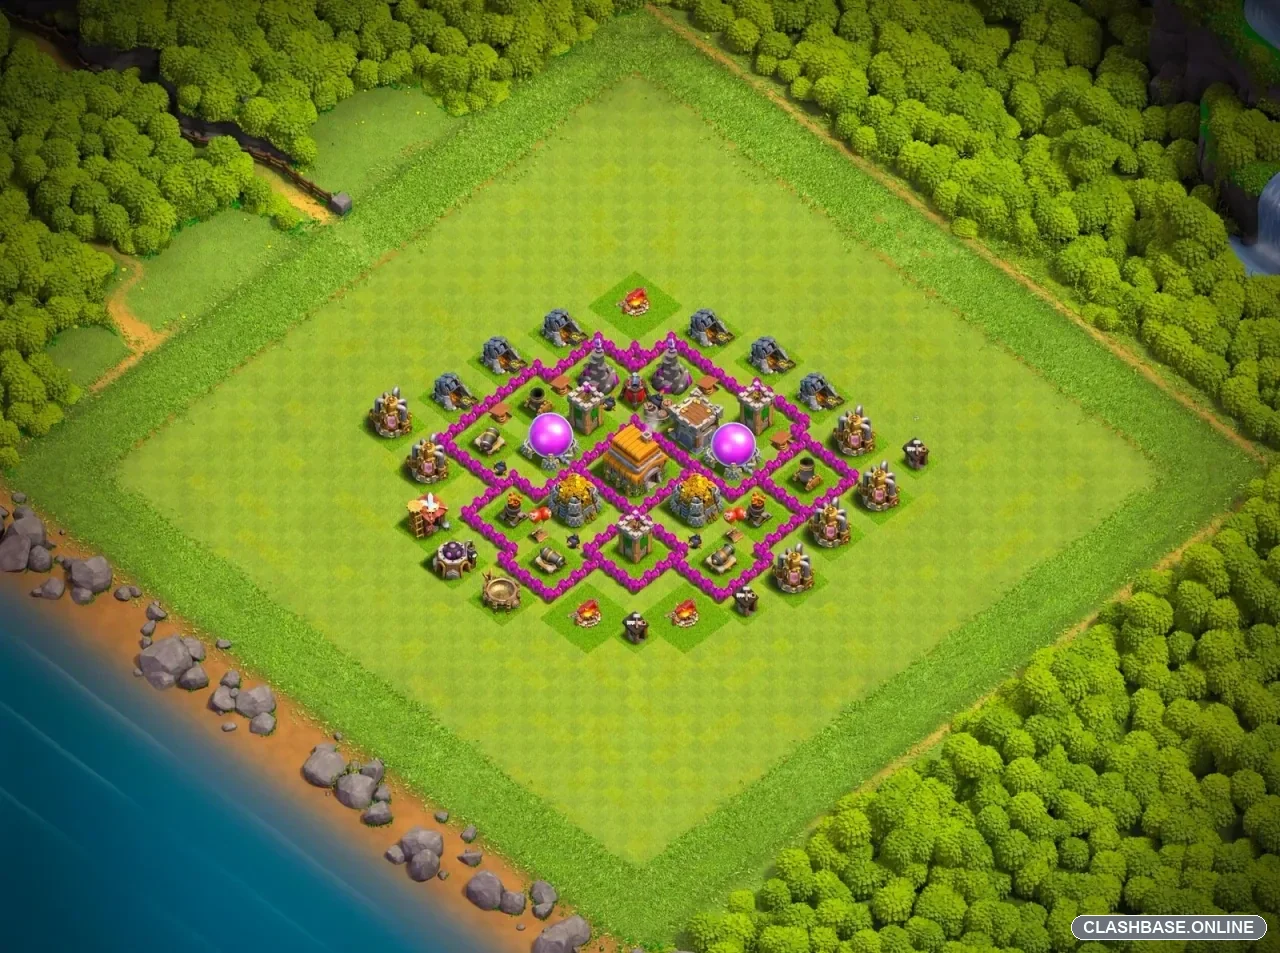
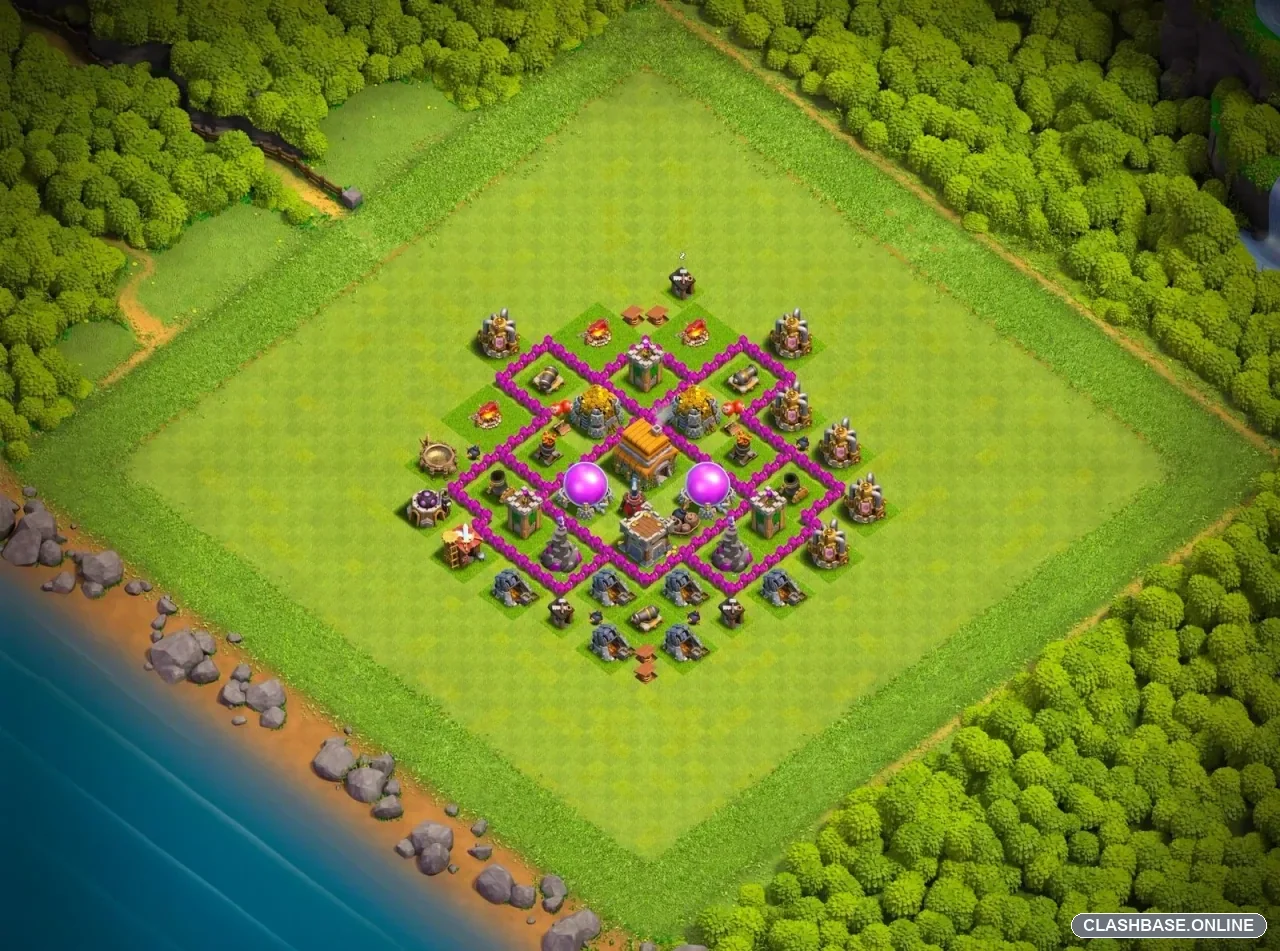
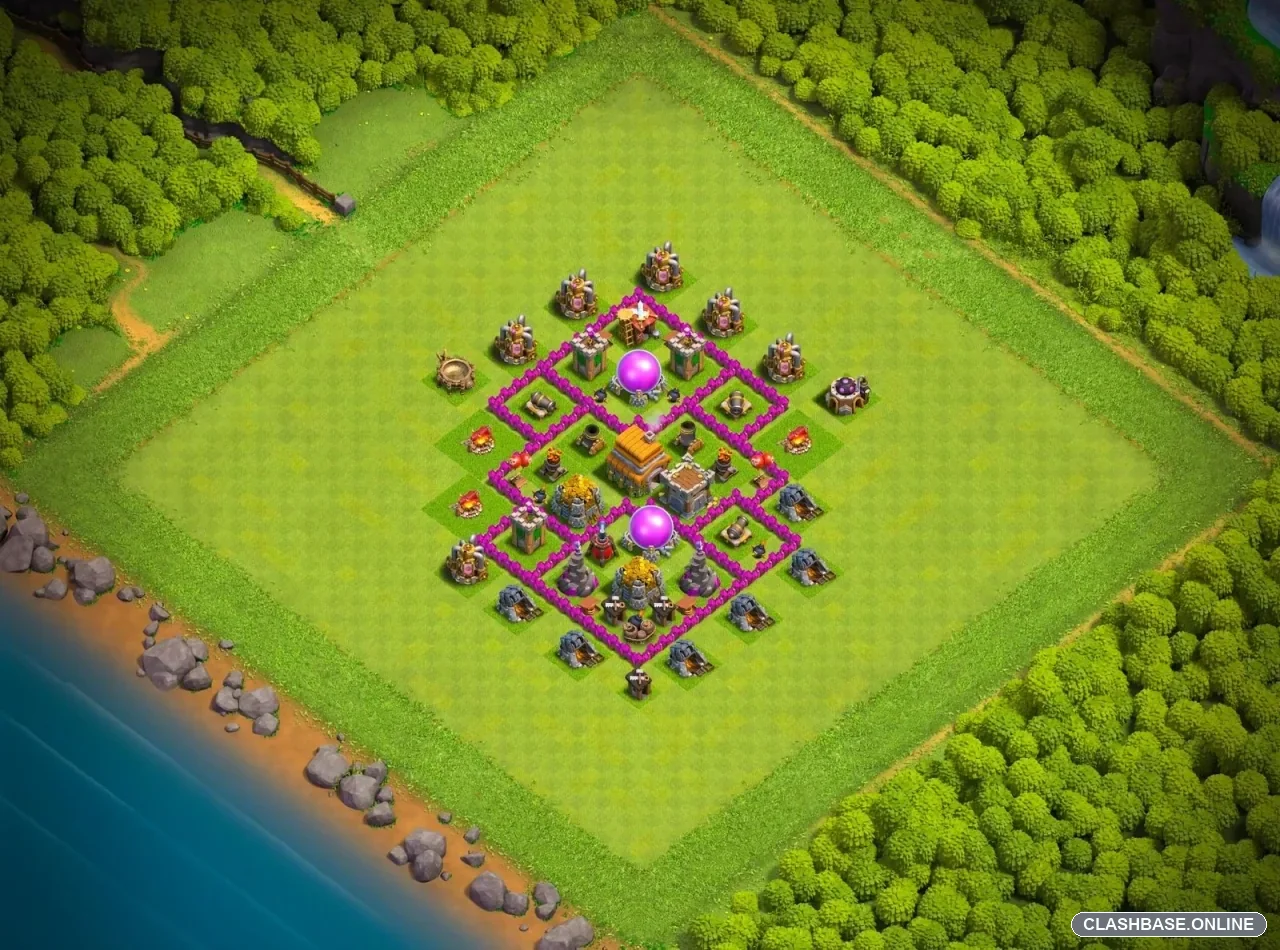
TH6 Farming Base number 8 – Vertical Compartment and Resource Defense Analysis
This TH6 farming base is noticeably taller than it is wide, and that shape seems to be doing some real defensive work. Instead of giving attackers one broad side to break through, the layout divides the village into upper, middle, and lower sections. Getting inside one of them is manageable. Moving through all of them while keeping an army together is the harder part.
The Town Hall sits inside the main defensive structure, roughly between the two resource zones. It is protected without becoming the only thing the base cares about. That is important for farming, because saving Gold and Elixir often matters just as much as preventing the Town Hall from falling.
The two Elixir Storages are deliberately separated. One sits in the upper section, while the other is protected farther down the layout. An attacker who reaches the first storage still has another wall section and a different group of defenses to deal with before reaching the second. The Gold Storages appear to follow the same general idea—keep the valuable targets apart so one clean breach does not hand over everything.
I think the vertical pathing is probably the most interesting feature here.
A Giant-based raid entering from the bottom may initially get pulled toward the defensive buildings in that lower section. Wizards, Archers, or Goblins behind them could stop on a storage or another nearby structure instead of following directly. If that separation happens, the tanks can move ahead while the troops providing most of the damage remain exposed.
Coming from the top is not necessarily easier. The upper compartment has its own defensive coverage and resource buildings, so troops may spend valuable time there before reaching the Town Hall area. This creates a kind of staged defense: clear one section, then deal with the next.
The storages themselves help slow that process. They have much higher hit points than collectors or other small buildings. While troops are busy taking one down, Cannons, Archer Towers, Mortars, and Wizard Towers have more time to keep firing. At TH6, where farming armies are often built to be cheap rather than overwhelming, those delays can make a noticeable difference.
Splash damage should also be useful once troops move deeper. Barbarians, Archers, Goblins, or supporting Wizards tend to group together around wall openings and storages. If they stay clustered for too long, Mortars and Wizard Towers can punish the whole group rather than just one unit at a time.
There are some weaknesses. The layout is fairly narrow, so a strong attacker who creates a clean top-to-bottom route may be able to maintain momentum through several compartments. The two main resource zones are also quite readable once someone studies the base carefully.
Even so, the farming concept is sensible. This layout appears designed to separate valuable resources, force repeated wall entries, stretch troop movement, and make attackers spend more of their army before reaching every storage. It may still lose defenses, but a farming base does not need to be unbeatable—it needs to make taking all the loot inconvenient and expensive.