 CLASHBASE.ONLINEClan War
About this Town Hall 6 base
Copy this base to Clash of Clans
Tap the button below. Clash of Clans will open so you can place this layout in an available base slot.
Copy base to the gameClash of Clans must be installed on this device.Rate this layout
Share a useful, honest experience. One review is stored per visitor for this item.
TH6 Clan War Base number 9 – Compact Core and Multi-Compartment Defense Analysis
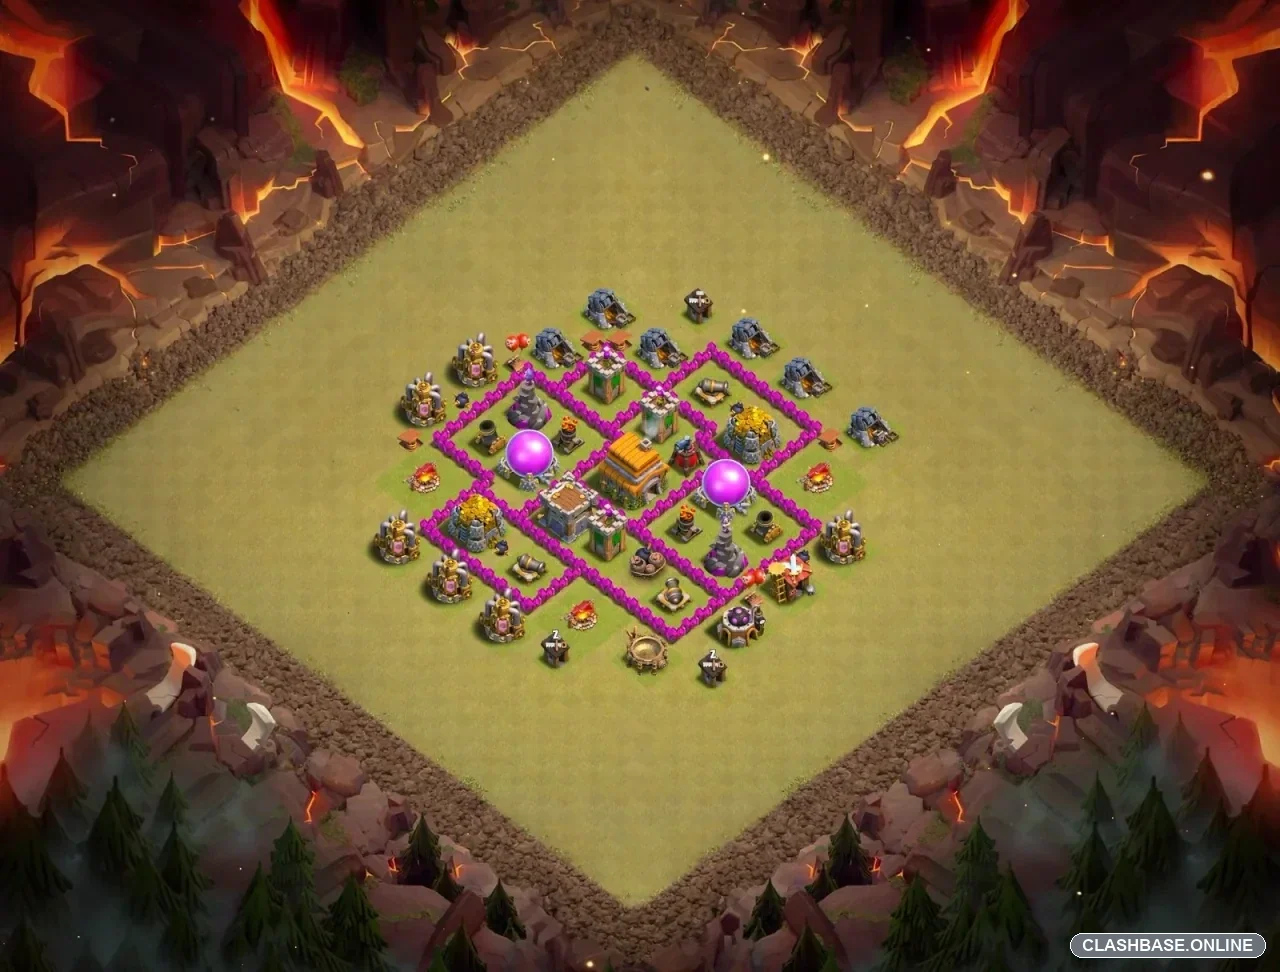
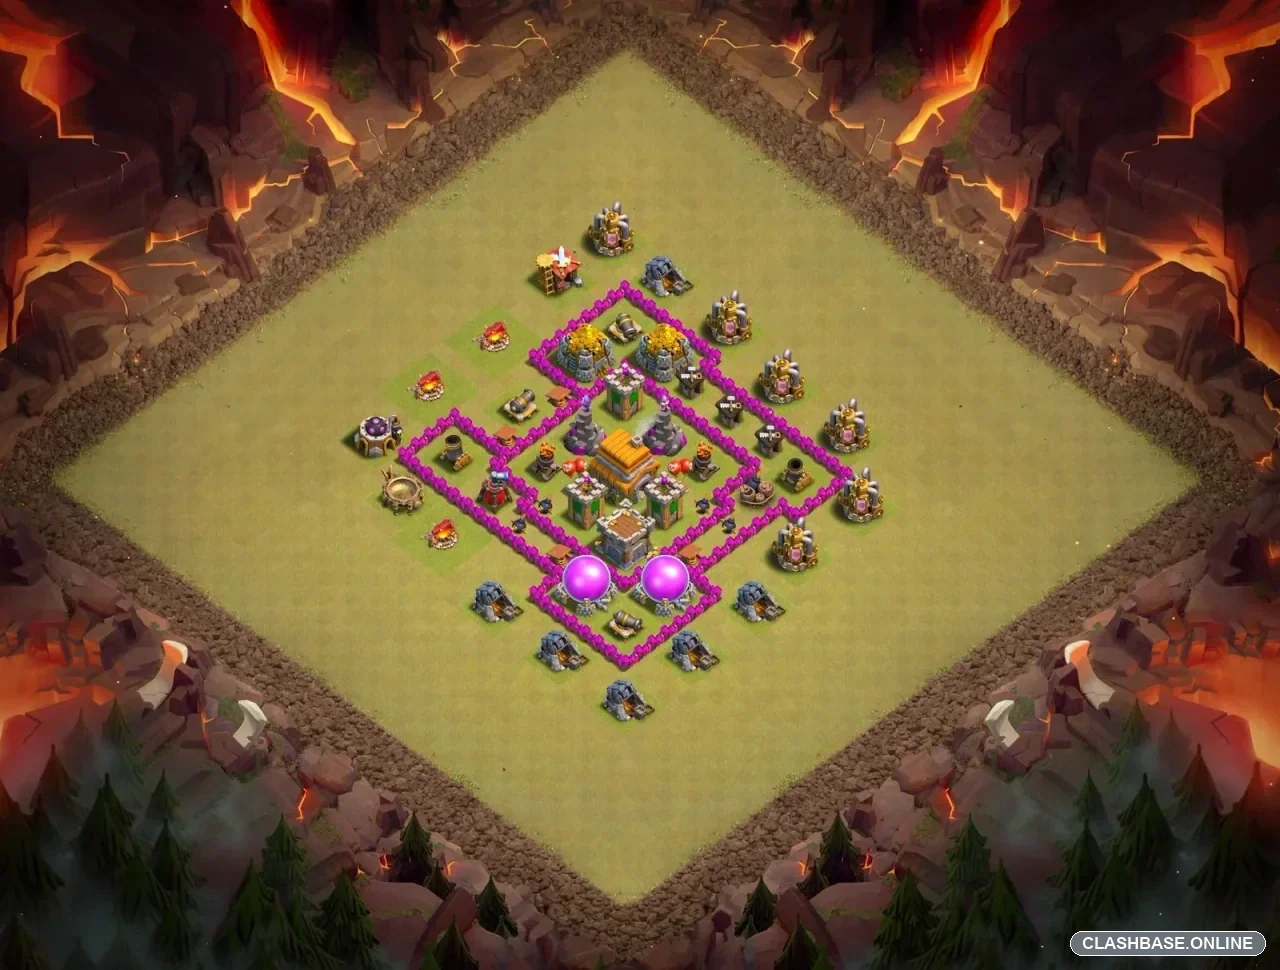
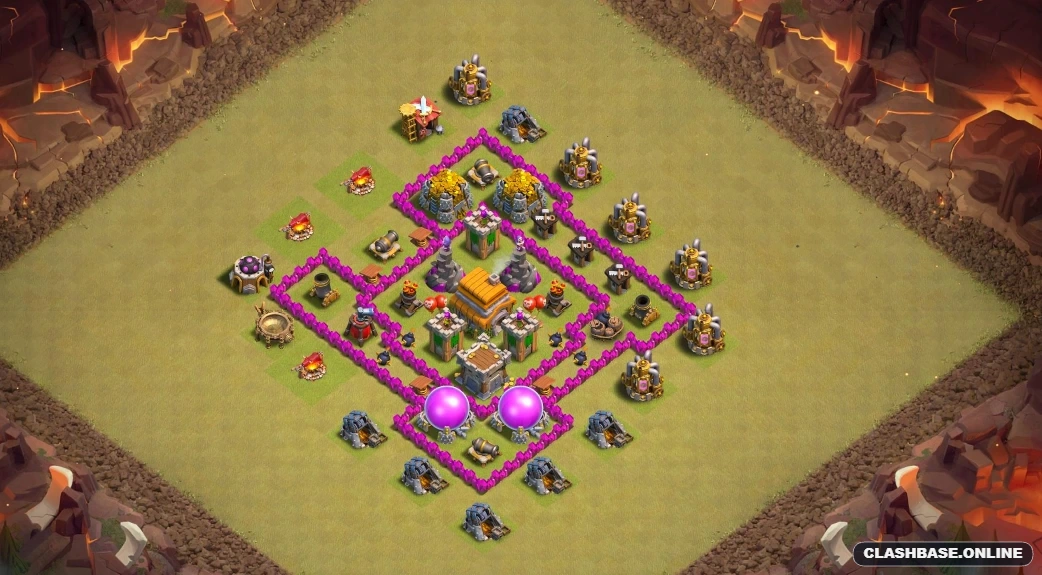
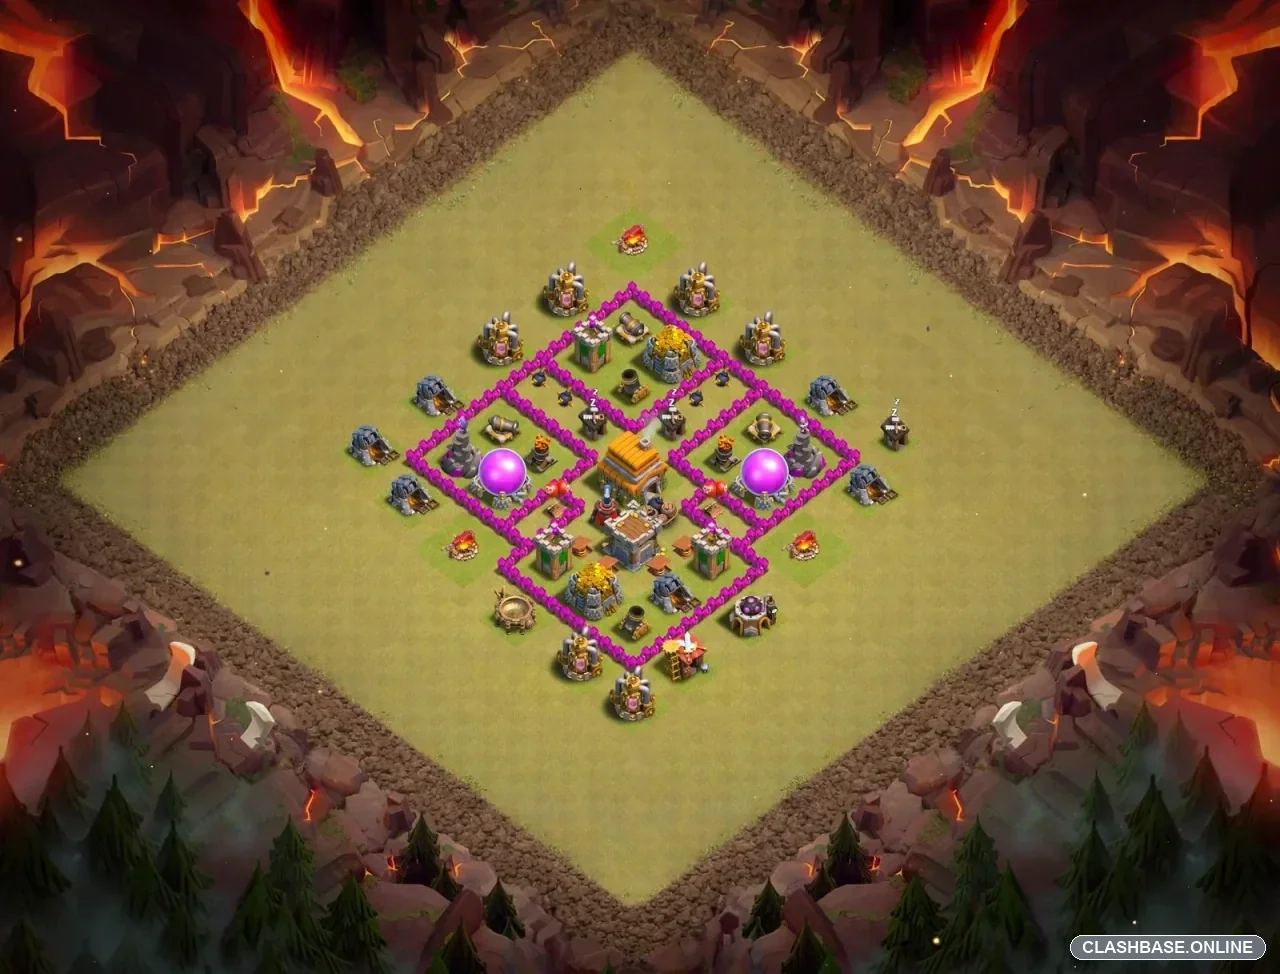
This TH6 Clan War base keeps things fairly compact, but it avoids putting the entire village inside one open compartment. The Town Hall sits near the center, with separate defensive pockets on the left, right, top, and bottom. At TH6, where attackers have fewer troops, spells, and pathing options than at higher levels, forcing them through several wall sections can make a real difference.
The central Town Hall placement is the obvious starting point. It is not sitting close to the deployment edge, and an attacker cannot reach it just by opening the first wall. Troops normally need to move through one of the surrounding sections before getting comfortable access to the center.
What I like more, though, is the way the side compartments are separated.
The two Elixir Storages sit on opposite sides of the base rather than together. Gold Storages are also distributed through different sections. In Clan War, protecting the actual resources does not matter, so these buildings are useful mainly because of their high hit points. An attacking group that stops to destroy a storage remains under defensive fire for several extra seconds.
That can be surprisingly useful at TH6.
Ground pathing may also create problems for Giant-based attacks. Giants entering from the left could move toward a nearby Cannon or Archer Tower while Wizards or Archers behind them stop on another building. If the funnel is not clean, the tanks and support troops may separate before reaching the Town Hall.
The compartment structure encourages exactly that. A successful first wall break does not open the whole base. Attackers may need another group of Wall Breakers—or simply more time—to move from one defensive section into the next.
Splash damage is important here as well. The Mortars and Wizard Towers are positioned within the defended structure rather than being completely exposed on the perimeter. Against Giants supported by Wizards, Archers, or Barbarians, those splash defenses may become particularly dangerous once the support troops begin grouping behind the tanks.
Air attacks are not ignored either. The main anti-air coverage appears to be positioned away from the easiest outside access. This should make Balloons spend more time moving through defensive fire before they can remove the important air-targeting defenses. Archer Towers add another layer of coverage from different angles.
There are some trade-offs. The base is small and relatively symmetrical, so an experienced attacker may understand the structure fairly quickly. If a strong group reaches the middle with enough troops still alive, several important buildings are close enough together to fall in a short period. Some outside structures also provide easy percentage.
Still, for a TH6 Clan War layout, the defensive concept makes sense. It relies on central Town Hall protection, separated compartments, high-hitpoint storage delays, splash damage, and troop pathing that can punish a rushed entry. It may not stop every well-planned attack, but it should make a careless three-star attempt much less straightforward.