
 CLASHBASE.ONLINE
About this Builder Hall 5 base
Copy this base to Clash of Clans
Tap the button below. Clash of Clans will open so you can place this layout in an available base slot.
Copy base to the gameClash of Clans must be installed on this device.Rate this layout
Share a useful, honest experience. One review is stored per visitor for this item.
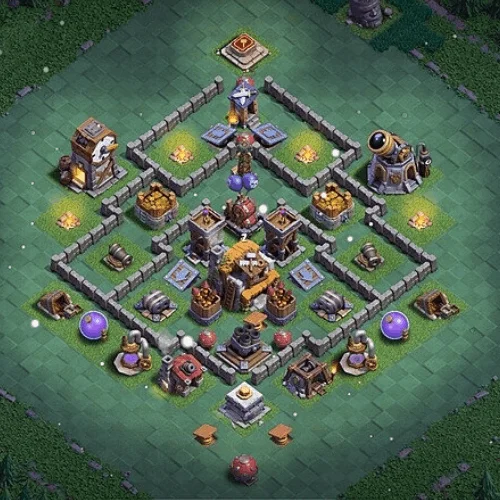
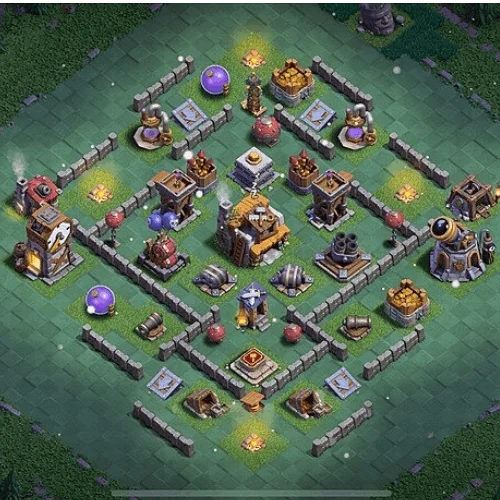
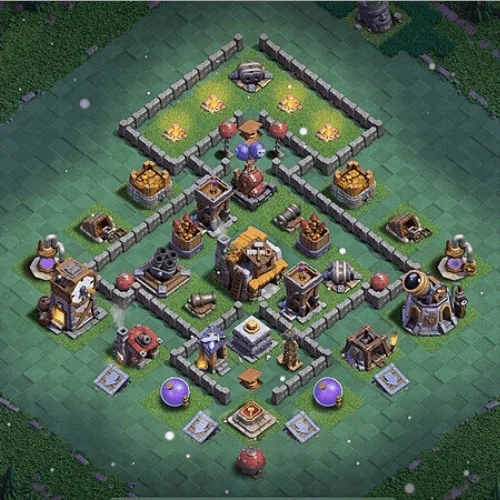
This Builder Hall 5 base number 02 is noticeably more structured than a simple box defense. The village is arranged in a broad diamond, with several smaller wall sections feeding into a tightly protected center. The symmetry makes the base easy to understand visually, but attacking it may be less straightforward. Most routes eventually push troops toward overlapping defenses rather than giving them a clean path straight through.
The Builder Hall sits deep in the middle, with two Archer Towers, Firecrackers and other defenses packed around the core. That central placement is important because an attacker cannot simply remove a few outside buildings and immediately reach the main objective. By the time ground troops arrive there, they may already have spent a good part of the battle walking around walls or fighting through the first defensive layer.
The lower half is particularly well prepared for a direct ground push. Double Cannons are positioned on both sides, while the Multi Mortar sits farther back near the bottom of the core. That combination can be unpleasant for groups of Barbarians or other troops that enter together. The Double Cannons provide concentrated damage, and the Multi Mortar gets time to fire while those units are busy choosing targets.
There is also a nice bit of defensive separation near the top. The Hidden Tesla occupies the northern point, while the Air Bombs sit off toward the upper-right side instead of being buried directly beside the Builder Hall. Splitting those threats may help against air attacks because an attacker cannot necessarily remove every useful anti-air defense with the same group of troops. Going after one side can leave the other active.
What makes the base more interesting, though, is the wall geometry. The outer compartments form little pockets on the left, right and top. Troops that target the nearest building may move sideways instead of inward, especially if the attacker has not cleared a proper funnel first. A Battle Machine wandering toward one of those side compartments while the main army enters elsewhere could quickly make the attack feel disconnected.
The placement of collectors, storages and utility buildings outside the deepest walls also serves a purpose. They create extra targets without giving away the Builder Hall itself. Ignoring them can leave percentage behind; spending troops on them means fewer units are available for the center. Neither choice is automatically bad, but the attacker has to make it deliberately.
There are weaknesses. Because the design is highly symmetrical, an experienced player may find it easier to predict where certain defensive zones begin and plan a funnel accordingly. The center is also fairly dense. If a strong group reaches it with plenty of health remaining, several important defenses can become accessible almost at once.
Even so, the defensive balance looks good for BH5. This base is likely to perform best by slowing movement, separating troops and keeping several defenses active around the Builder Hall for as long as possible. It does not depend on one gimmick or one supposedly unbeatable entry point. Instead, the layout asks the attacker to manage pathing carefully from the first deployment through the final cleanup, which is usually a much more reliable defensive idea at this level.
 CLASHBASE.ONLINE
 CLASHBASE.ONLINE
 CLASHBASE.ONLINE