 CLASHBASE.ONLINEClan War
About this Town Hall 13 base
Copy this base to Clash of Clans
Tap the button below. Clash of Clans will open so you can place this layout in an available base slot.
Copy base to the gameClash of Clans must be installed on this device.Rate this layout
Share a useful, honest experience. One review is stored per visitor for this item.
TH13 Clan War Base #24: Offset-Ring Defense Built Around Three-Star Denial
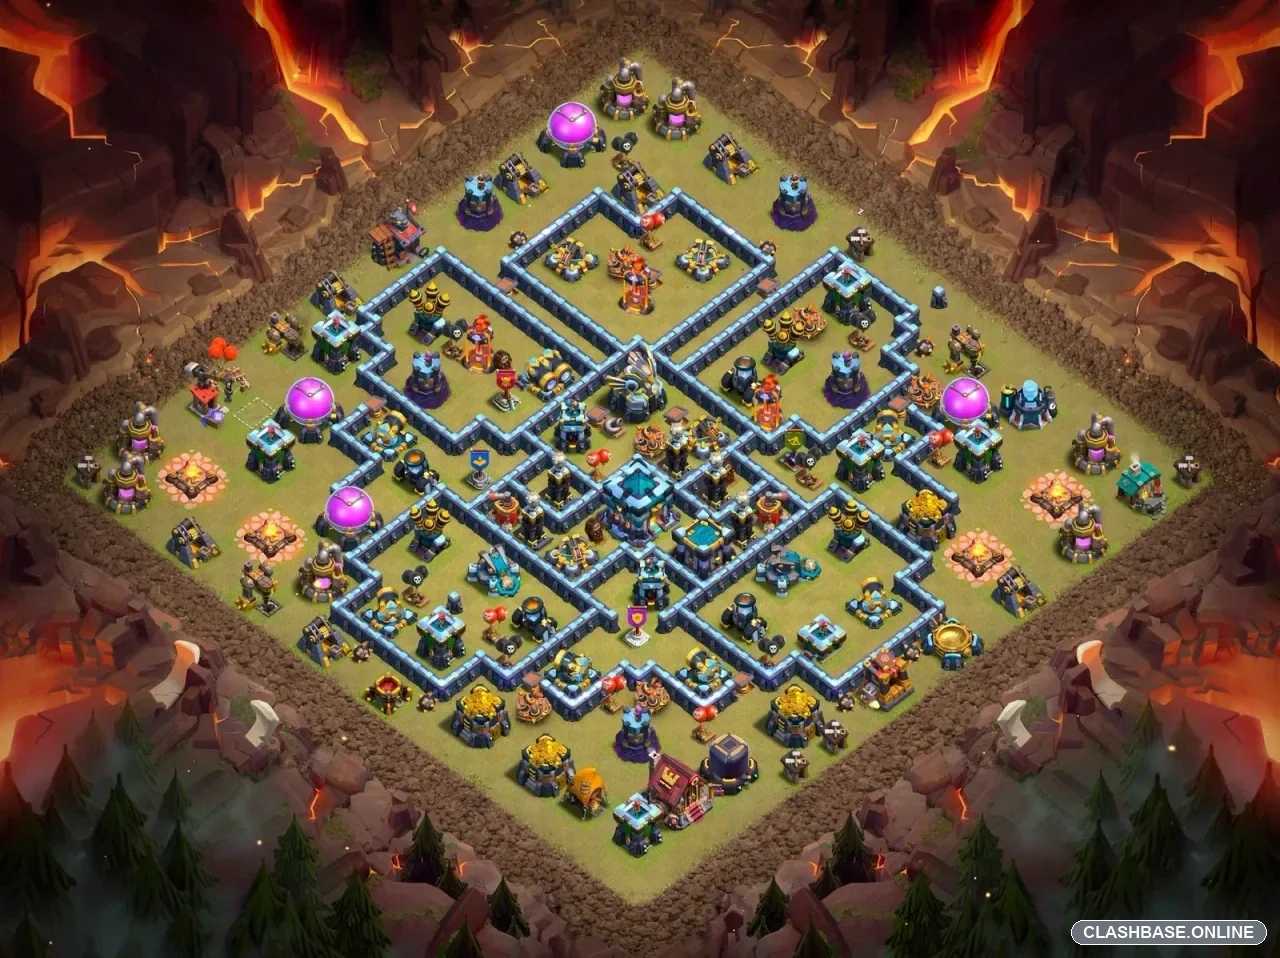
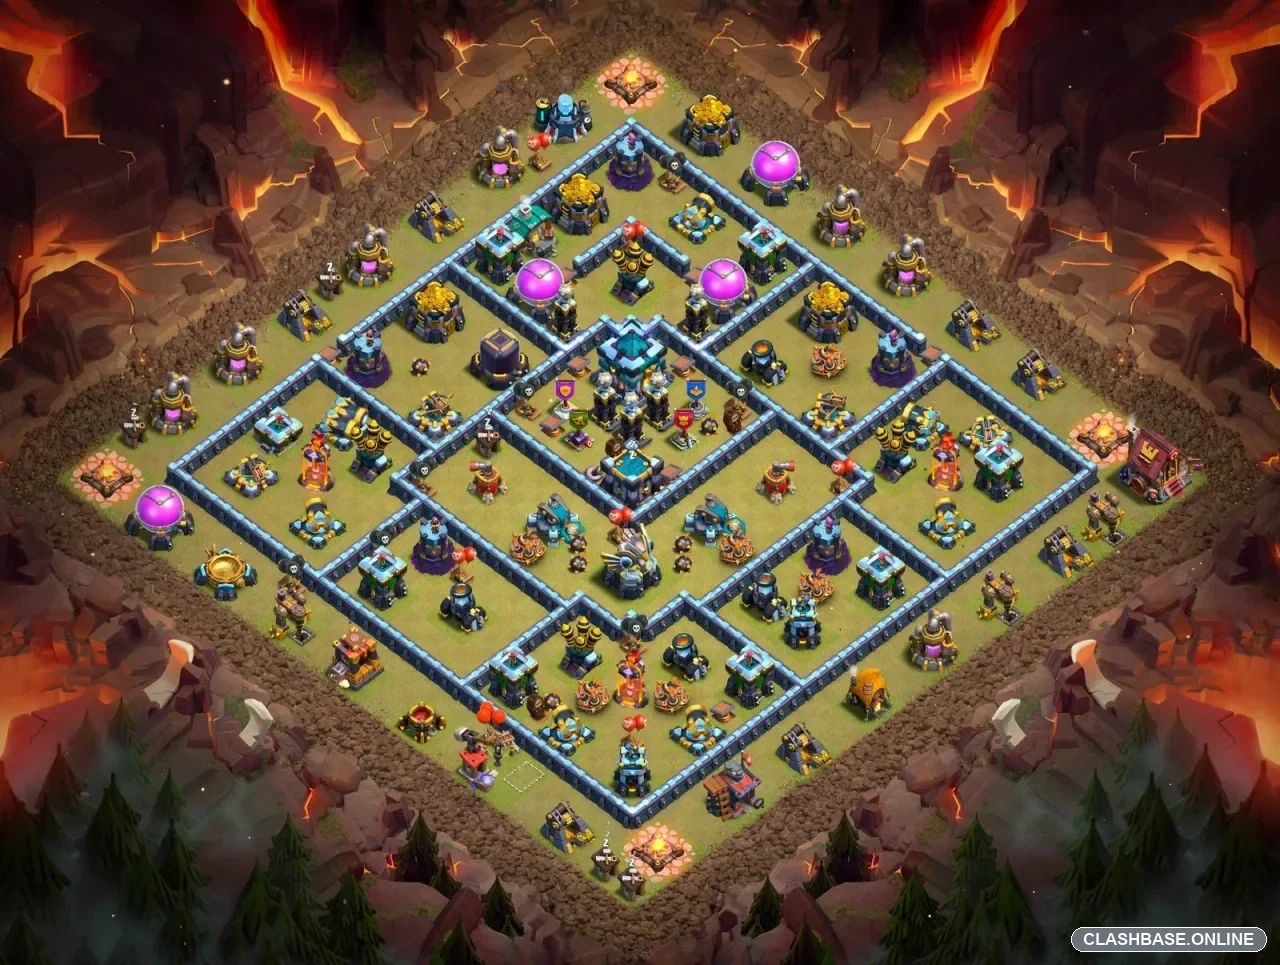
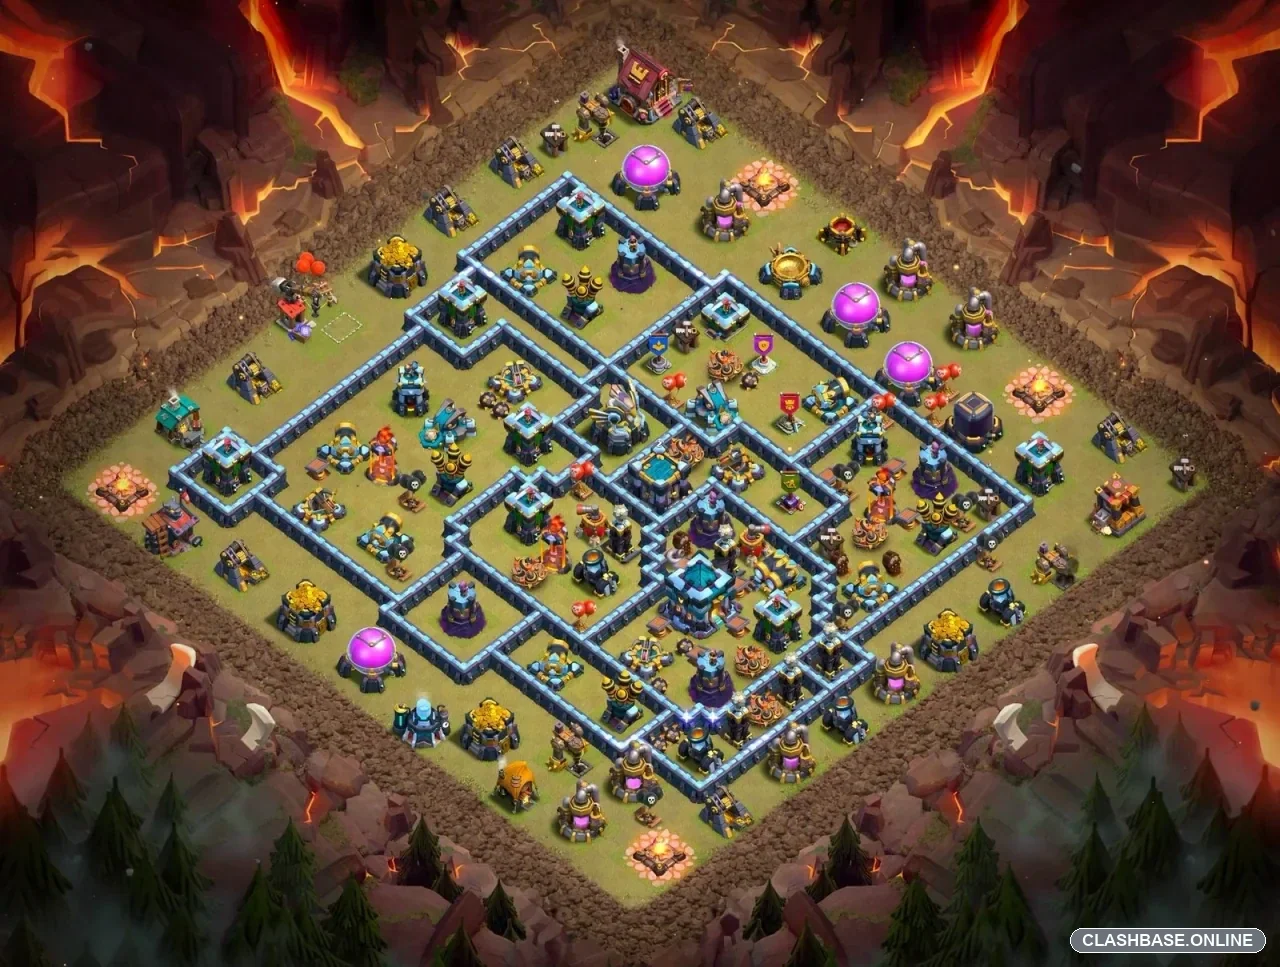
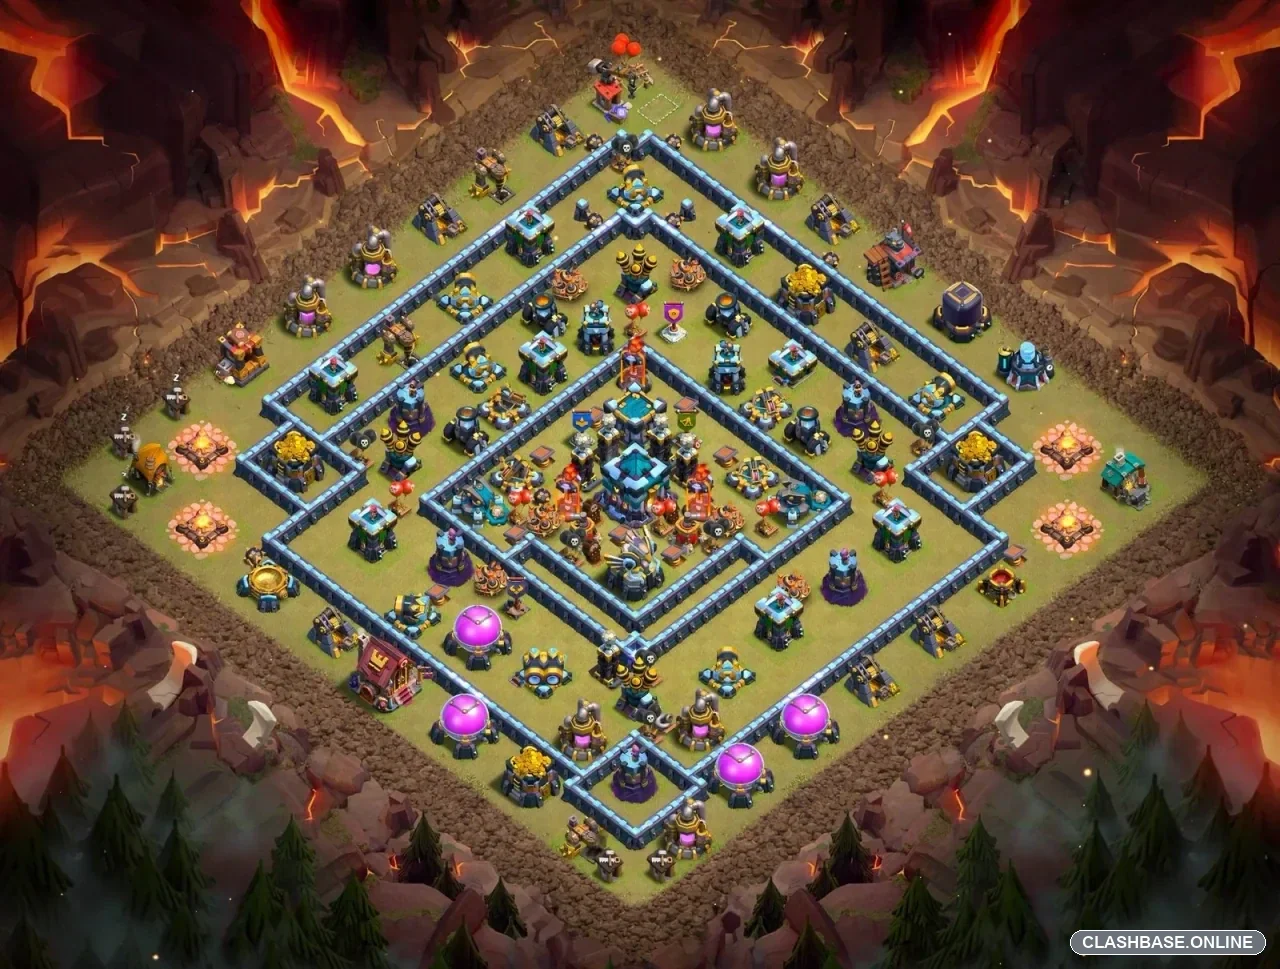
TH13 Clan War Layout #24 uses an offset-ring structure built around a protected inner core and several independent defensive layers. Looking closely at the base itself, the design feels deliberately orderly from the outside, but the deeper pathing is less straightforward. The Town Hall sits inside the central defensive network with a slight offset, while several valuable defenses remain separated around it.
That separation is important. Layout #24 does not appear to depend on keeping the Town Hall untouched at all costs. Its stronger defensive idea is making sure that dealing with the objective does not automatically solve the rest of the village.
The inner core keeps several threats alive
The Town Hall is surrounded by a compact inner box, with additional defensive compartments sitting beyond it.
This gives the base multiple chances to resist. Even if one wall layer is opened, Inferno Towers, X-Bows, Air Defenses, and surrounding towers can continue firing from different angles.
A concentrated attacking army is always dangerous, so the layout seems designed to gradually break that concentration. Troops may survive the first defensive pocket yet reach the next one with less hero health, fewer support units, or weaker spell coverage.
That is classic anti-three-star pressure.
The ring is more about pathing than walls
The larger diamond-shaped ring around the center is probably the most interesting defensive feature.
Its job is not simply to keep troops outside. Instead, it appears intended to make them choose between moving around the core and entering it.
If one part of an army begins following defenses around the ring while another continues inward, the defender gains time. Yeti or Bowler Smash formations become less dangerous when tanks, heroes, and support troops are no longer fighting in the same area.
Queen Charge Hybrid can face a similar problem: one compartment may fall cleanly, but surviving defenses around the opposite side still have time to work.
Defensive spacing limits easy spell value
The Air Defenses are spread across different inner lanes, while the Inferno Towers are separated instead of sitting together as one compact pair.
That is a sensible war-defense choice.
Against Dragons or LavaLoon, one air-pressure zone may weaken while another remains active farther across the base. Ground formations face the same issue with the Infernos: controlling one threat does not automatically remove every major defensive anchor.
The layout therefore relies on sustained pressure across several phases, rather than one giant damage burst.
The lower-left section is the main concern
The lower-left edge looks like the most vulnerable portion of the structure.
The real danger is an early break that cuts through the ring beside the offset objective. If that happens too cheaply, the base loses some of the pathing uncertainty that makes the ring useful.
Defensively, this side needs to consume something valuable—time, hero health, troop strength, abilities, or spells—before the central structure is fully exposed.