 CLASHBASE.ONLINEFarming
About this Town Hall 4 base
Copy this base to Clash of Clans
Tap the button below. Clash of Clans will open so you can place this layout in an available base slot.
Copy base to the gameClash of Clans must be installed on this device.Rate this layout
Share a useful, honest experience. One review is stored per visitor for this item.
TH4 Farming Base number 2 – Split Resource and Compact Core Defense Analysis
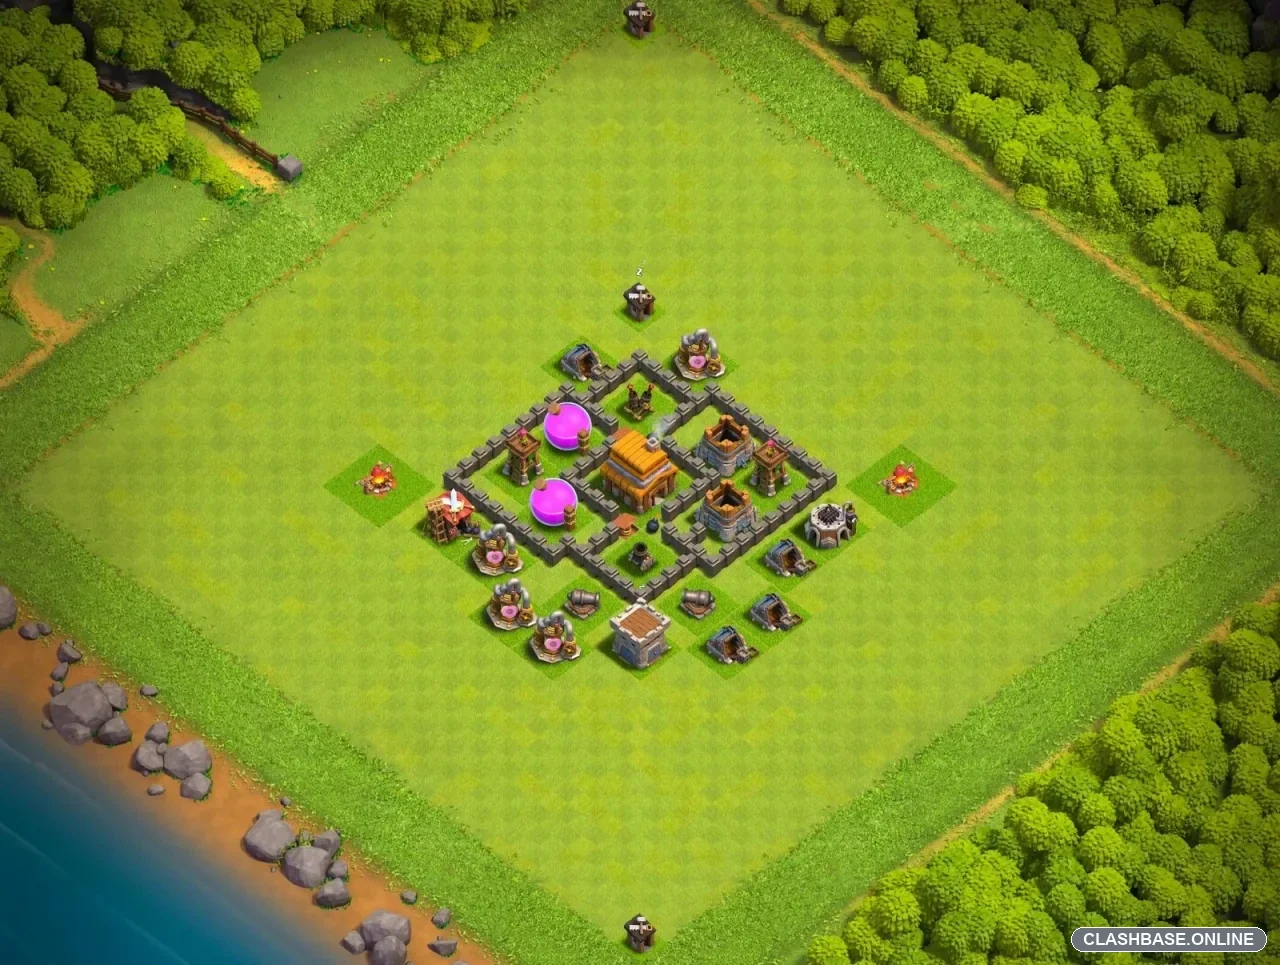
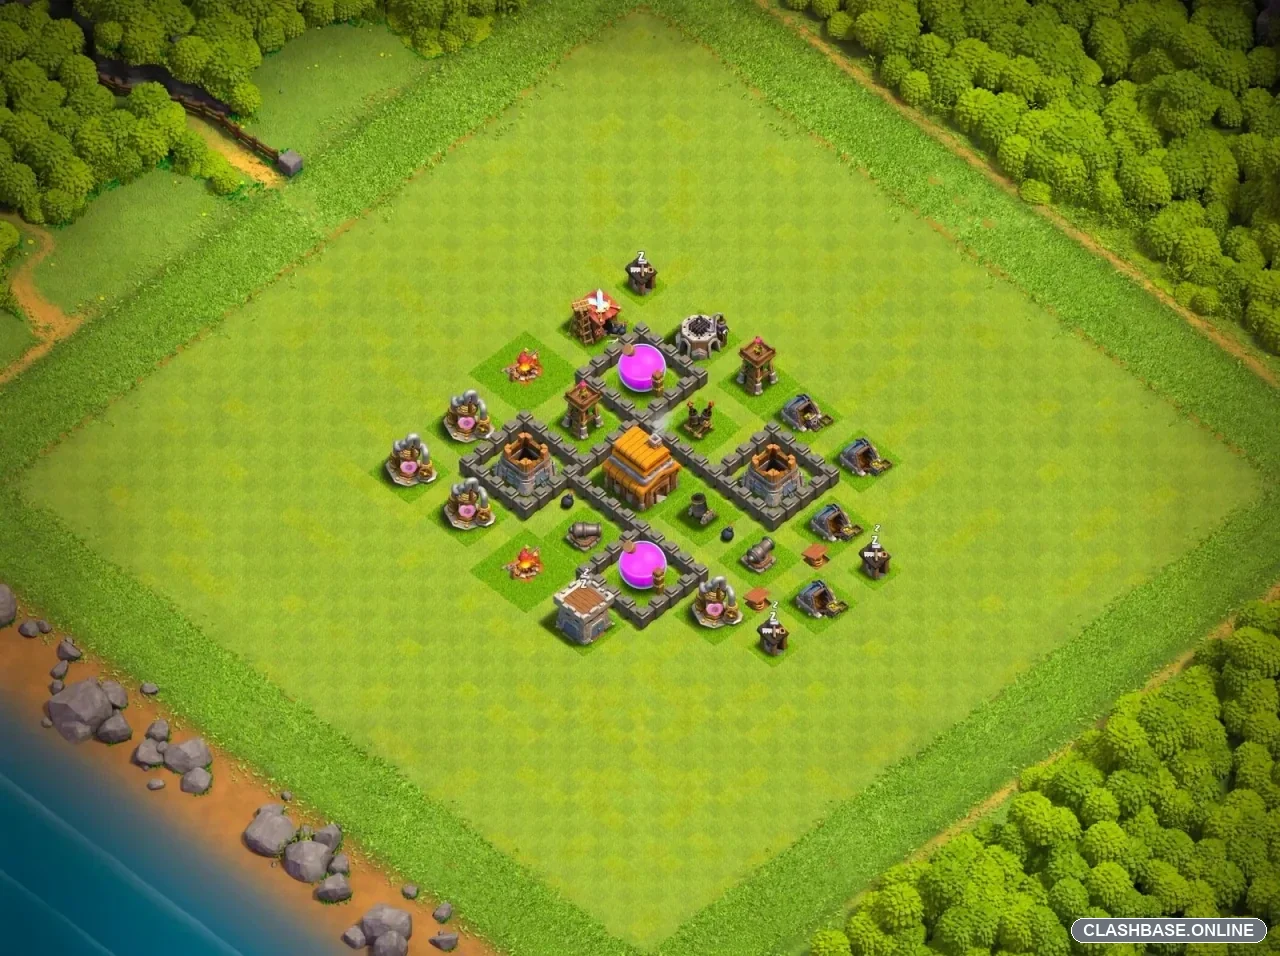
This TH4 farming base does something fairly sensible with the limited walls available at this level: it protects the important part of the village without trying to wall in every single building. The Town Hall stays close to the middle, while the main resource buildings are placed in different sections around it. For farming, that may be more useful than simply building one large box around everything.
The two Elixir Storages are the clearest example. One is positioned toward the upper part of the layout, while the second sits much farther down. I actually like that separation. An attacker who gets into the upper section can take one valuable target, but they still have to move through another part of the base if they want the second.
That does not make the resources impossible to reach, of course. It simply means one successful breach is less likely to hand over all of the stored Elixir immediately.
The Town Hall acts as a central anchor between the different sections. Nearby defenses cover several approaches, so ground troops moving into the middle should remain under fire rather than finding a completely safe lane. Cannons, Archer Towers, and the other core defenses appear spread rather than stacked in one tiny corner, which helps keep pressure on troops approaching from different directions.
Ground pathing may be one of the more annoying parts of this design.
Giants entering from the left, for example, could turn toward the nearest defensive building instead of following the exact line the attacker planned. Archers or Barbarians behind them may stop on a storage, collector, or outside structure. If the funnel is rushed, the tanks can move ahead while the support troops stay behind.
At TH4, that kind of separation matters. Armies are still relatively small, so losing even a few supporting units early can reduce how much of the base the attacker eventually clears.
The storages themselves also help defensively because of their higher hit points. Troops spend longer attacking them than they would a collector or Builder Hut. During those extra seconds, nearby defenses keep firing. It is a simple interaction, but against a cheap farming army it can gradually wear down the push before the next resource section is reached.
Splash damage from the Mortar should also be useful against grouped Barbarians or Archers. If low-health troops bunch together around a wall opening or storage, one or two good splash hits may remove several at once.
There are weaknesses. The base is compact, so once a strong army gains control of the middle, several important buildings are fairly close together. Some outside structures are also easy to destroy and can help a patient attacker create a cleaner funnel.
Even so, this looks like a practical TH4 farming setup. Its strength comes from splitting the valuable resources, keeping the Town Hall inside the defensive core, using high-hitpoint buildings to slow attacks, and creating enough pathing disruption that a quick raid may not reach everything. It does not need to stop every attack to be useful; preserving part of the stored loot is already a good result for a farming base.