 CLASHBASE.ONLINEFarming
About this Town Hall 4 base
Copy this base to Clash of Clans
Tap the button below. Clash of Clans will open so you can place this layout in an available base slot.
Copy base to the gameClash of Clans must be installed on this device.Rate this layout
Share a useful, honest experience. One review is stored per visitor for this item.
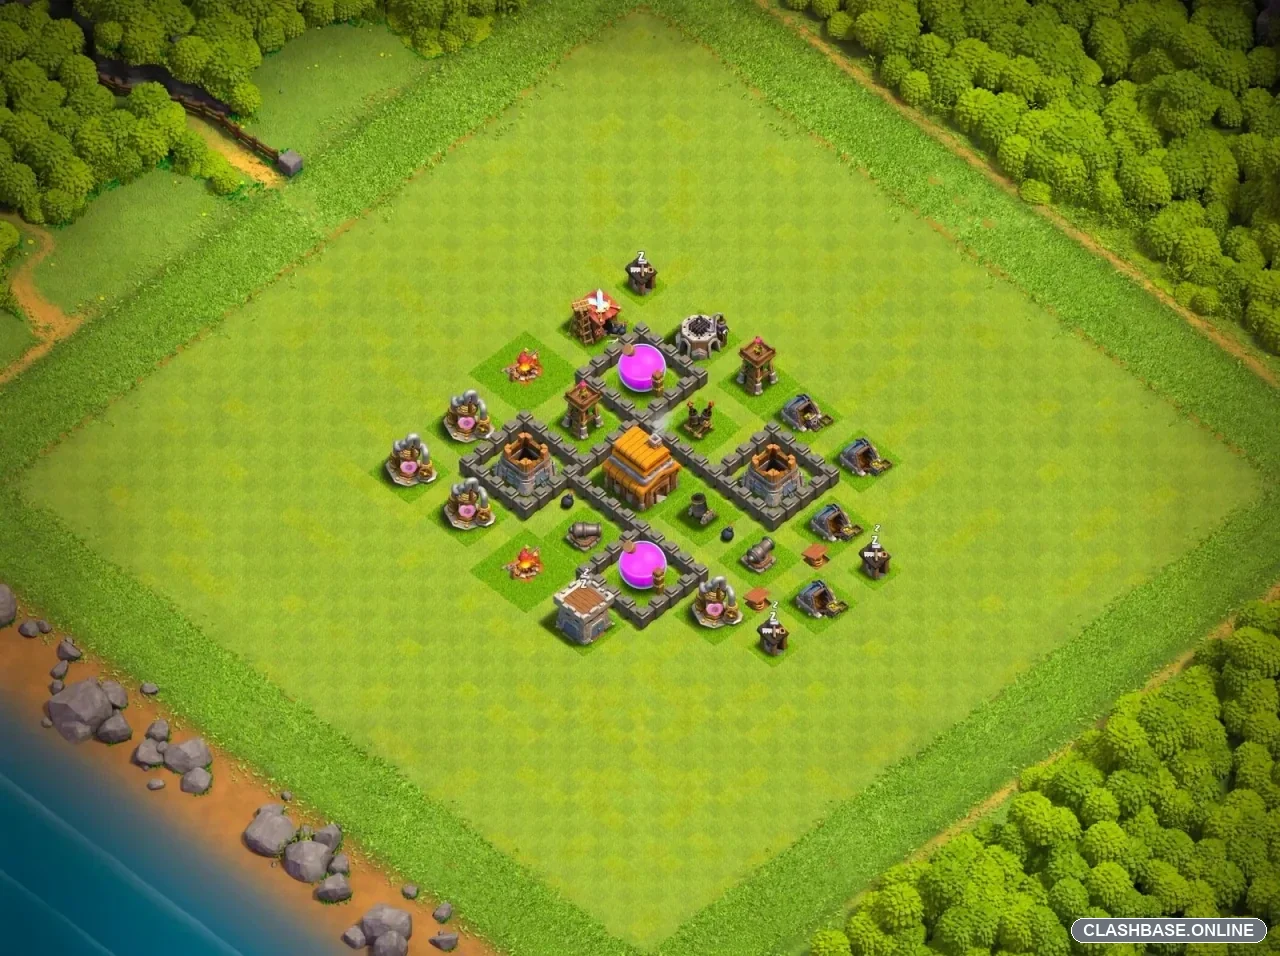
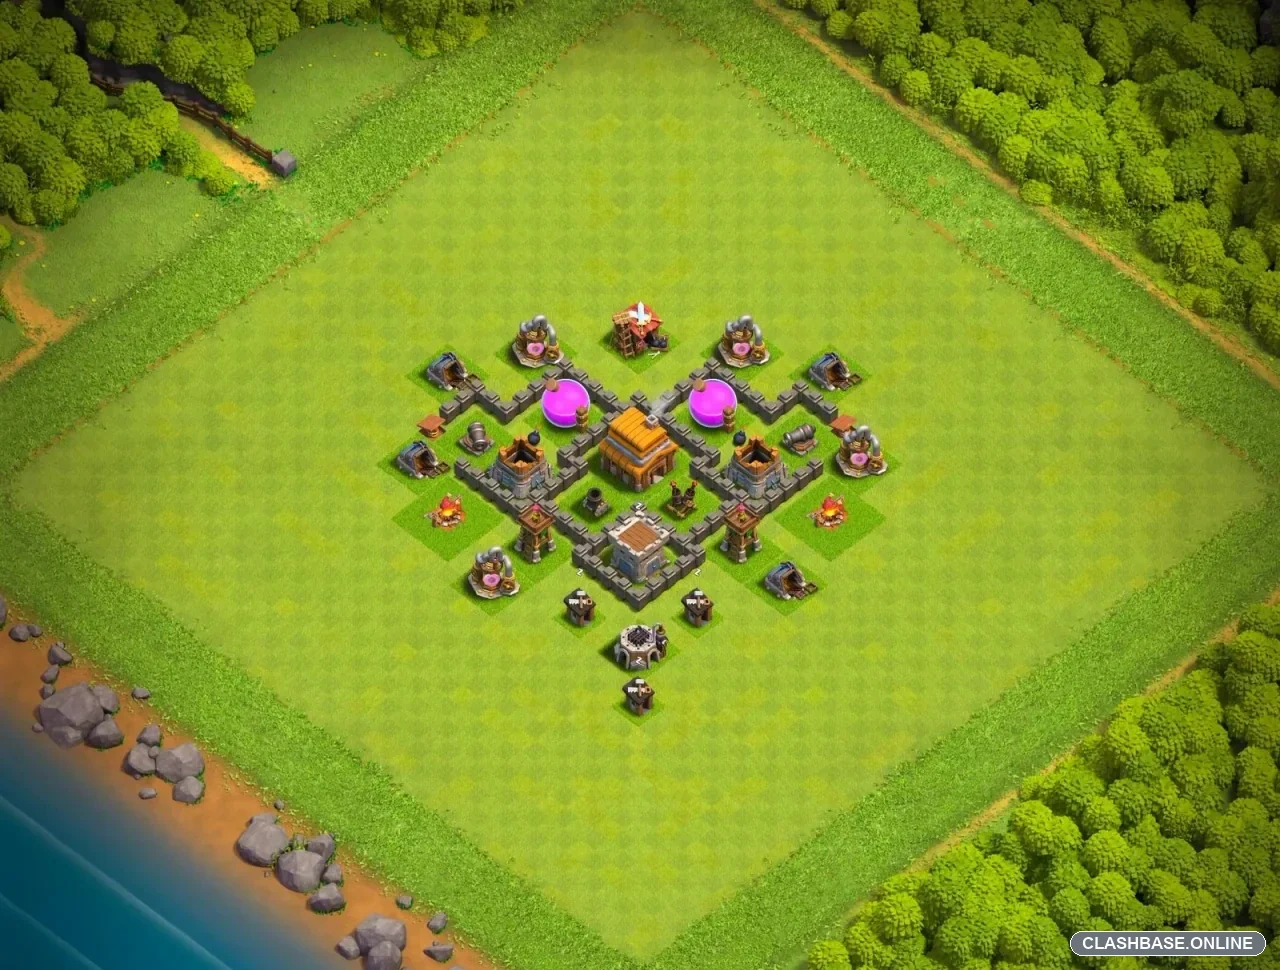
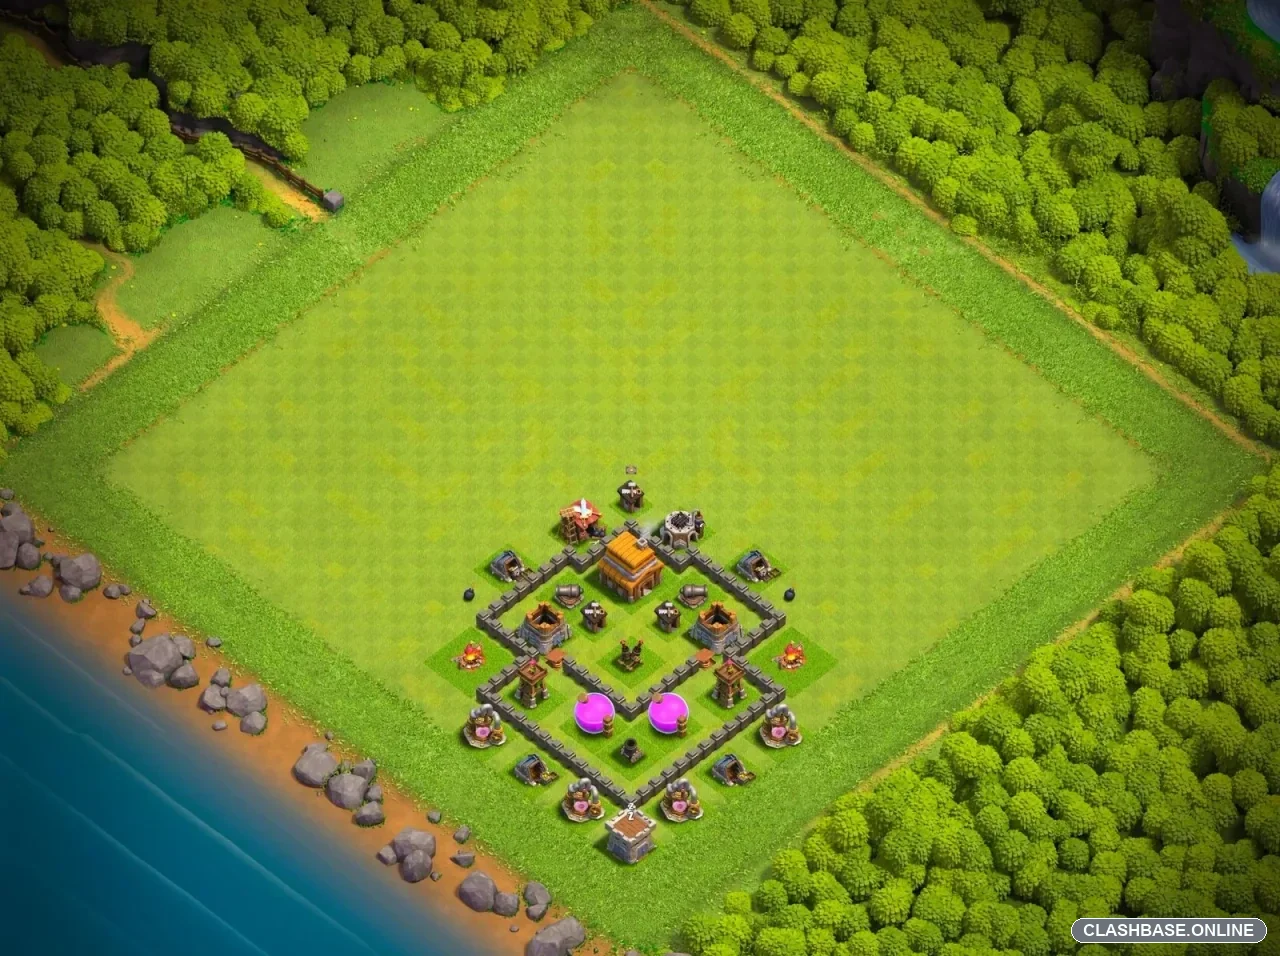
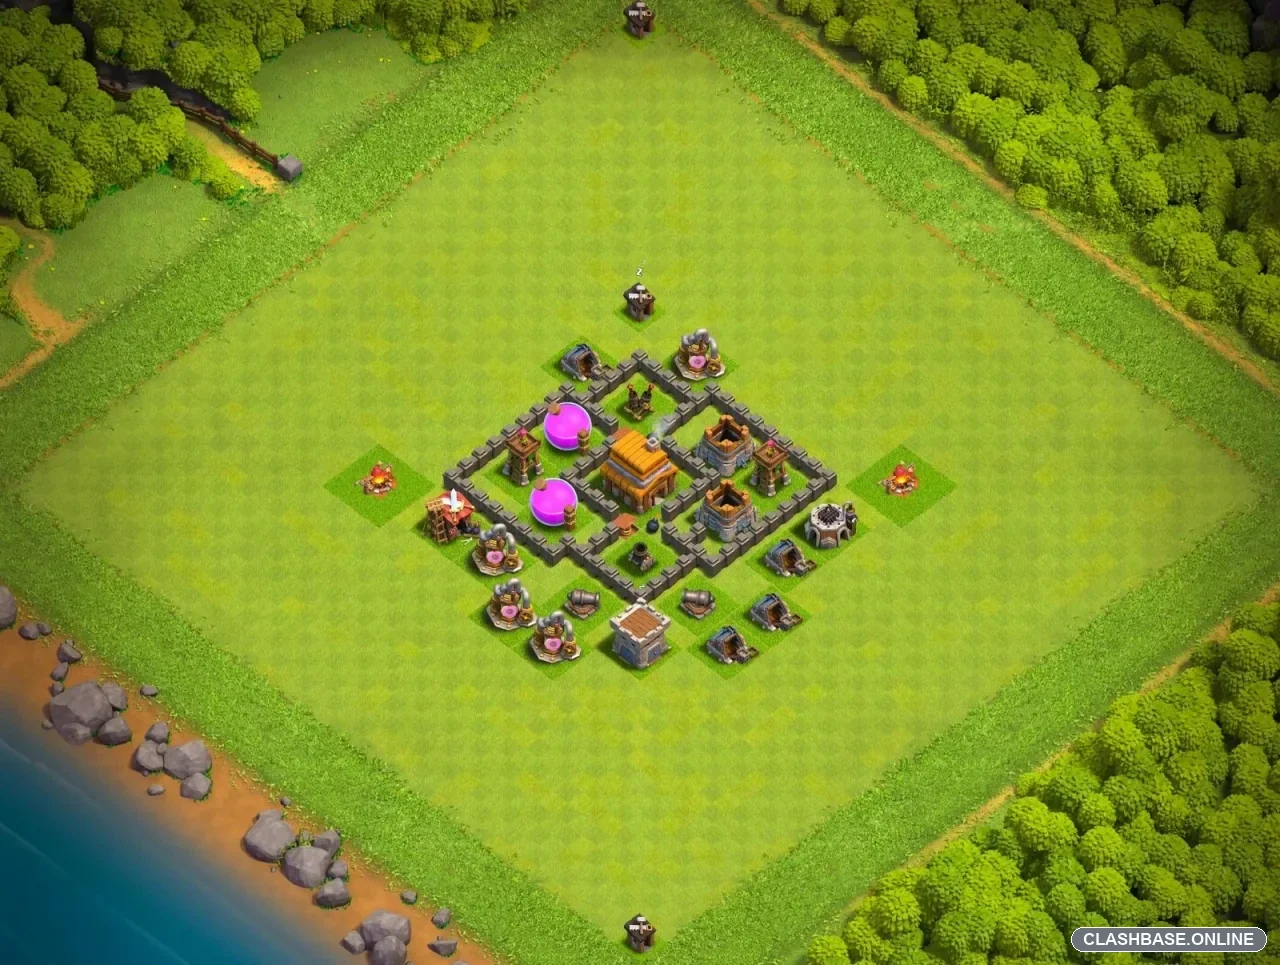
TH4 Farming Base number 4 – Split Resource Wings and Compact Core Defense
This TH4 farming base has a simple footprint, but the resource arrangement gives it a bit more character than the usual small square layout. The Town Hall sits near the middle, with Elixir protected mainly on the left and Gold on the right. Rather than putting every storage into one room, the walls divide those resources into separate pockets around the central area.
For farming, there is a clear advantage to that setup. Breaking through the left side does not immediately expose the Gold Storages on the opposite side, and the same applies in reverse. An attacker trying to take everything has to keep moving through the base instead of relying on one successful wall opening.
There is a trade-off, though, and it is worth mentioning. Because the same resource types are grouped on their respective sides, someone specifically hunting Elixir may simply focus the left half. A player looking mainly for Gold has a fairly obvious target on the right. So this layout appears stronger at preventing a complete loot sweep than at protecting one particular resource type from a focused raid.
The Town Hall itself occupies a useful central position. It is surrounded by walls and sits between the two resource wings, meaning troops moving across the village are likely to spend time in the most heavily defended part of the layout. That central traffic can be valuable because defenses have more opportunities to fire before attackers reach the opposite side.
Ground pathing may also become awkward. Giants entering from one corner are likely to chase the nearest defensive building rather than move directly across the core. Meanwhile, Barbarians, Archers, or other general-targeting troops can remain behind on storages and outside structures. A hurried deployment could leave the Giants moving ahead without enough support.
At TH4, that matters quite a bit. Armies are still relatively small, so losing a handful of support troops early can noticeably reduce the strength of the final push.
The Mortar is especially useful against grouped troops. When Archers or Barbarians bunch around one of the storage compartments, splash damage may punish several units at once. Cannons and Archer Towers then provide steady pressure while the attack moves between sections.
I also like how the storages themselves are being used. They are high-hitpoint buildings, so troops need more time to destroy them than ordinary collectors. While an army is stuck on a storage, nearby defenses continue firing. It is a basic defensive interaction, but at TH4 those extra seconds can be surprisingly meaningful.
The base is not perfect. Its compact size means that once an attacker gains control of the central area, the remaining targets are fairly close together. Buildings outside the walls can also be cleared cheaply and used to shape a funnel.
Still, as a TH4 farming layout, the defensive idea makes sense. It relies on split resource zones, central Town Hall pressure, compartment-based movement, storage delays, and enough defensive overlap to make taking both sides more expensive than attacking only one. That is a practical goal for a low-level farming base, without pretending the layout can stop every well-planned raid.