 CLASHBASE.ONLINEFarming
About this Town Hall 4 base
Copy this base to Clash of Clans
Tap the button below. Clash of Clans will open so you can place this layout in an available base slot.
Copy base to the gameClash of Clans must be installed on this device.Rate this layout
Share a useful, honest experience. One review is stored per visitor for this item.
TH4 Farming Base number 5 – Compact Resource Core and Defensive Pathing Analysis
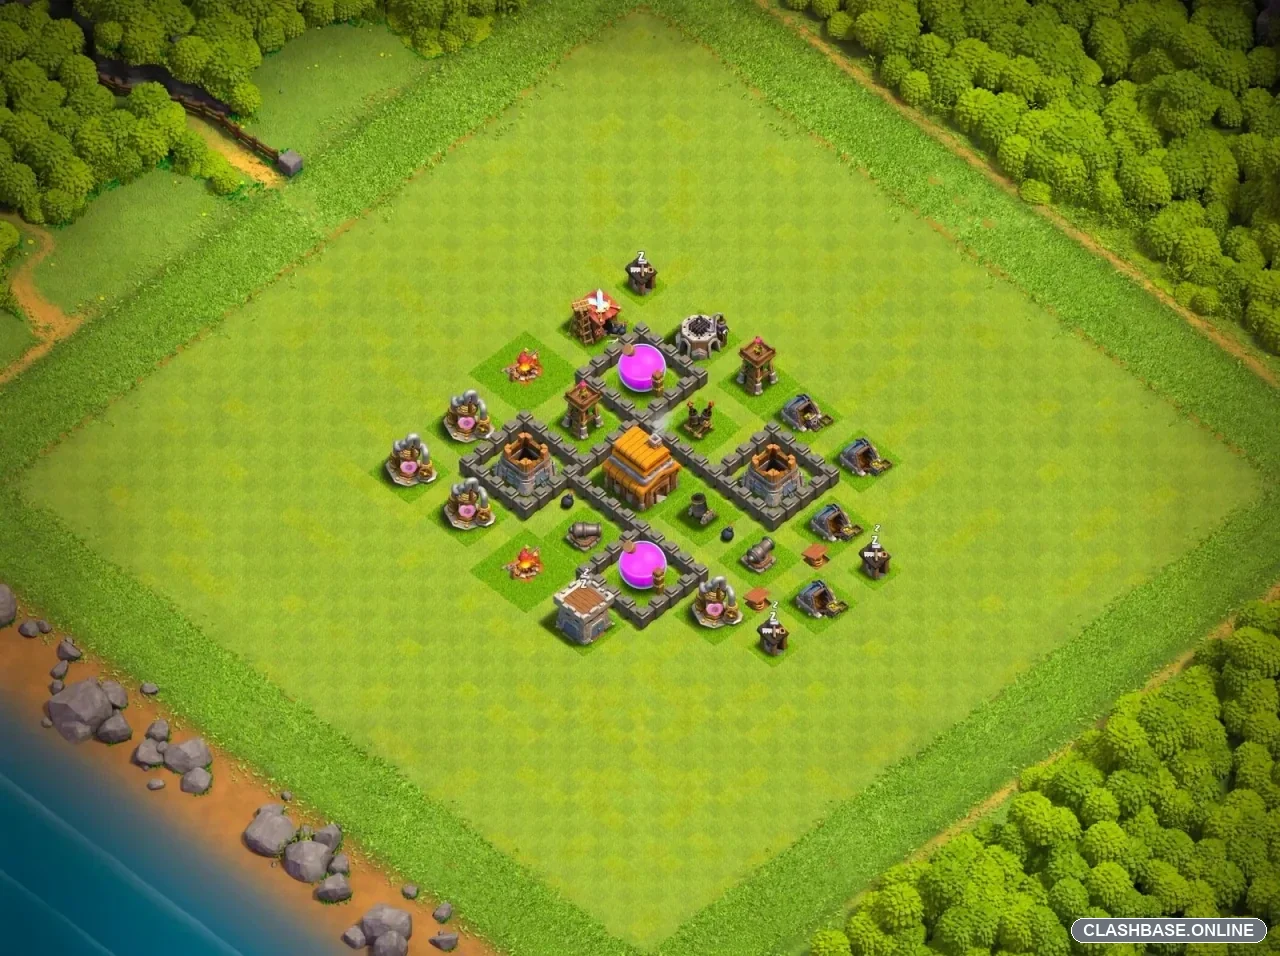
This TH4 farming base takes a very compact approach, but it does not simply throw every valuable building into one room. The Town Hall sits deep in the middle, while the two Elixir Storages are positioned on opposite sides of the upper core. Gold and defensive buildings fill the sections around them, giving the layout a fairly balanced resource-protection setup.
For a farming base at this level, that makes sense.
The separated Elixir Storages are probably the first detail worth noticing. An attacker coming from the left may be able to reach one storage, but the second sits across the central area with walls and defenses in the way. That does not guarantee the loot will survive, of course, but it makes a quick one-side raid less likely to collect everything.
The walls are doing a lot of the defensive work here. Rather than forming one big square, they create several short routes around the Town Hall. Giants entering from one side may lock onto the nearest Cannon or Archer Tower and start moving sideways instead of continuing directly through the center.
Support troops can behave differently.
Archers or Barbarians may stop on a storage or outside building while the Giants keep moving toward defenses. If the attacker did not set up the funnel carefully, those groups can become separated fairly quickly. At TH4, where armies are still small, losing even a handful of support troops can noticeably reduce the strength of the raid.
The Mortar is especially useful in that situation. Low-health troops often group behind Giants or bunch around a wall opening, giving splash damage a chance to hit several units at once. A cheap farming army may look fine while clearing the outer buildings, then lose momentum once it reaches the tighter core.
The storages themselves also help the defense. They have considerably more hit points than collectors and many smaller structures, so troops spend longer attacking them. While that happens, nearby defenses keep firing. It is a simple effect, but at lower Town Hall levels those extra seconds can matter.
Another positive point is that the defensive coverage is spread around the core instead of being concentrated entirely on one side. Even after an attacker removes one defense, troops may still remain under fire from another direction while trying to reach the next resource building.
There are some weaknesses. The layout is fairly symmetrical, so a patient attacker may understand the pathing after studying it. The center is also compact; once a strong group reaches the Town Hall area with plenty of troops alive, several valuable targets are close together. Some outside buildings can also be taken cheaply and used to shape a funnel.
Still, for everyday TH4 farming, the layout appears practical. Its strength comes from split storage placement, compact wall compartments, useful splash pressure, high-hitpoint delays, and troop pathing that can make a rushed resource raid less controlled. It may not stop every attack, but forcing an attacker to spend more troops just to reach the second storage is already a useful defensive win for a farming base.