 CLASHBASE.ONLINERanked
About this Town Hall 4 base
Copy this base to Clash of Clans
Tap the button below. Clash of Clans will open so you can place this layout in an available base slot.
Copy base to the gameClash of Clans must be installed on this device.Rate this layout
Share a useful, honest experience. One review is stored per visitor for this item.
TH4 Ranked Base number 2 – Layered Core and Defensive Pathing Analysis
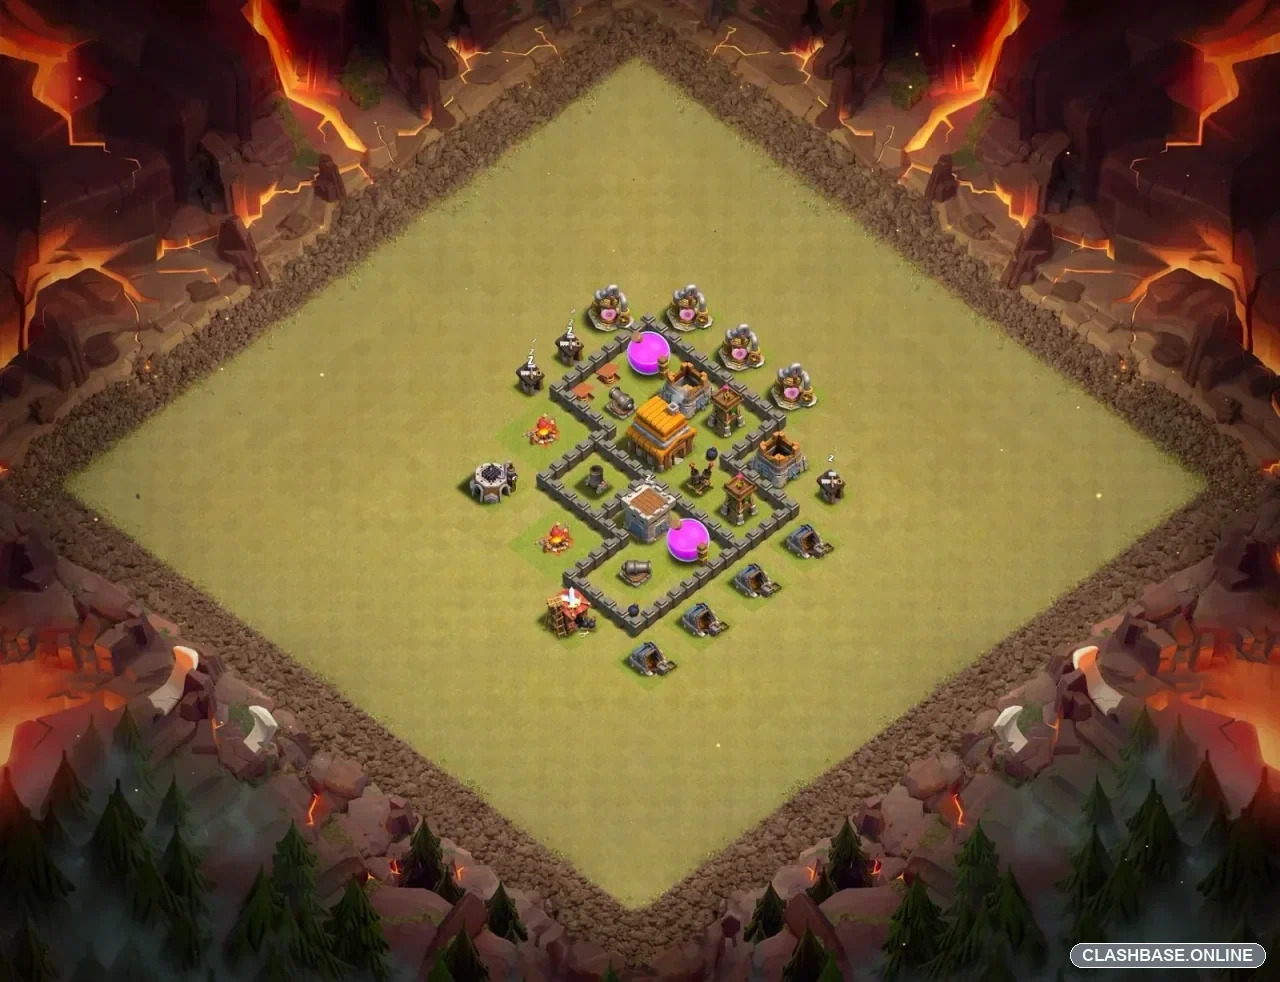
This TH4 Ranked base has a slightly unusual shape, and that is probably a good thing. Instead of using the walls to protect every storage and collector, most of the wall space is spent around the Town Hall and the defenses that actually matter during an attack. The two Elixir Storages sit outside the walls, which looks risky at first, but in Ranked play the trade-off is understandable: saving wall space for the defensive core can be more valuable than protecting resources.
The Town Hall is buried near the middle of the layout. It is not simply sitting inside one big square either. Several wall sections break up the route around it, so getting through the first layer does not immediately give ground troops free movement across the base.
That could make Giant pathing a little awkward.
For example, Giants entering from the upper side may be attracted toward a nearby defense instead of travelling directly toward the center. Archers or other support troops do not follow those same targeting rules, so they might remain behind clearing the exposed storages, collectors, or other outside buildings. If that happens, the tanks gradually move away from the troops that are supposed to support them.
At TH4, a split like that can matter quite a lot. Armies are still relatively small, and there is not much room to recover after a poor funnel.
The defensive buildings are also spread across different sections instead of being stacked beside the Town Hall. Cannons and Archer Towers appear positioned at different depths, which should keep troops under fire even after one side has been cleared. The Mortar adds another type of pressure, particularly against groups of Barbarians or Archers that stay together while following the frontline.
I also think the outside resource buildings serve a secondary purpose. Yes, they are easy percentage, and that is the obvious downside. But they can also pull general-targeting troops away from the walls. An attacker who drops units too widely may end up with part of the army cleaning the perimeter while the main group enters without enough support.
The wall layout has a similar give-and-take. It is compact enough that the defenses can support each other, but once an attacker successfully controls the middle, several important buildings are fairly close together. A patient player who clears the outside first and creates a precise entry may reduce much of the pathing problem.
So this is not a layout I would describe as impossible to break. Its value is more practical than that.
For TH4 Ranked defense, the base appears designed around giving wall priority to the Town Hall and defenses, forcing ground troops through several small sections, spreading defensive fire across the core, and using exposed buildings to complicate funneling. Against a rushed attack, those details may be enough to separate Giants from their support troops and make the final cleanup considerably less comfortable.