 CLASHBASE.ONLINEClan War
About this Town Hall 4 base
Copy this base to Clash of Clans
Tap the button below. Clash of Clans will open so you can place this layout in an available base slot.
Copy base to the gameClash of Clans must be installed on this device.Rate this layout
Share a useful, honest experience. One review is stored per visitor for this item.
TH4 Clan War Base number 3 – Compact Core and Pathing Defense Analysis
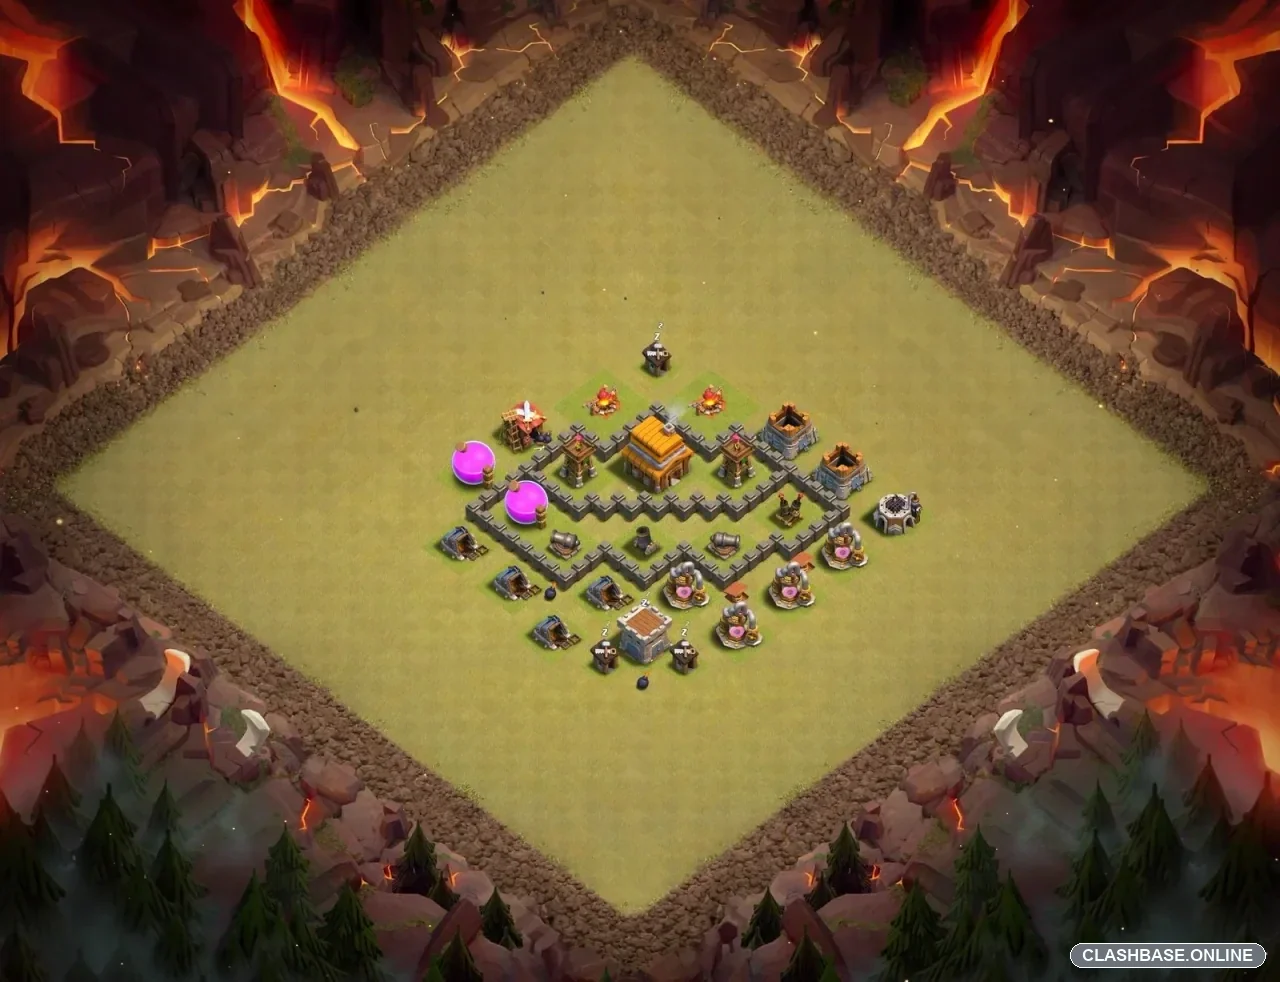
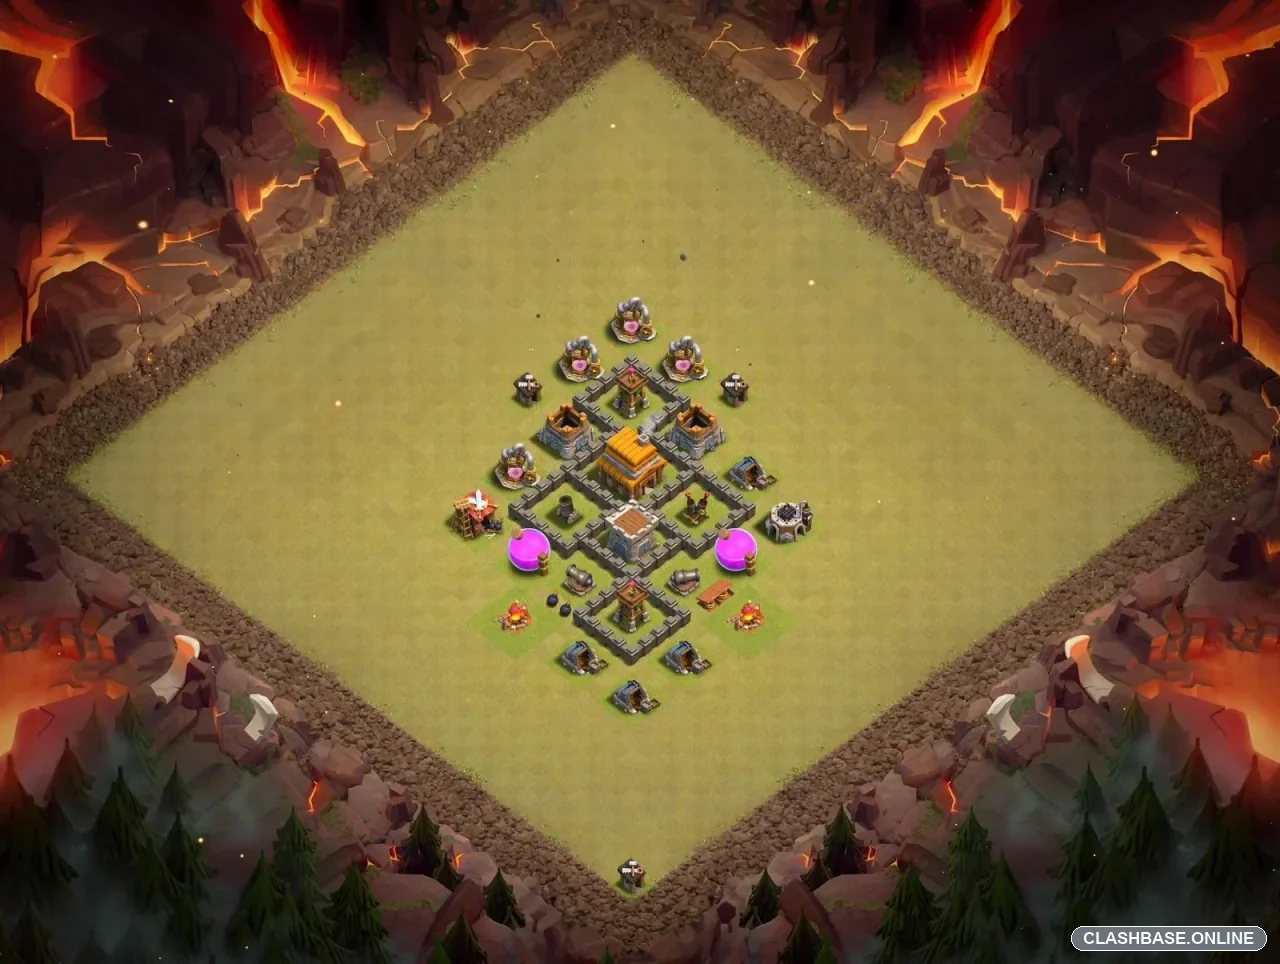
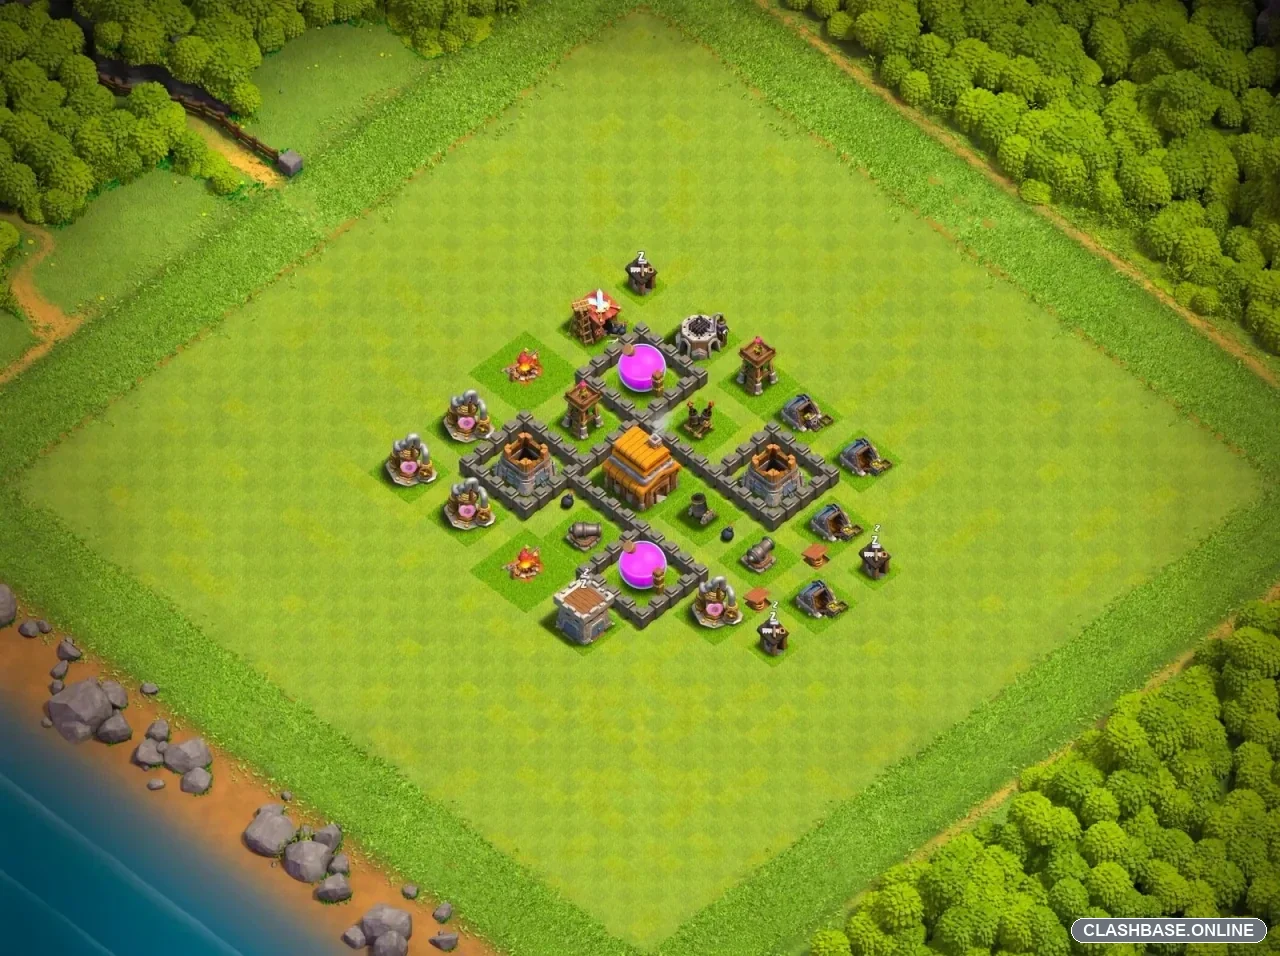
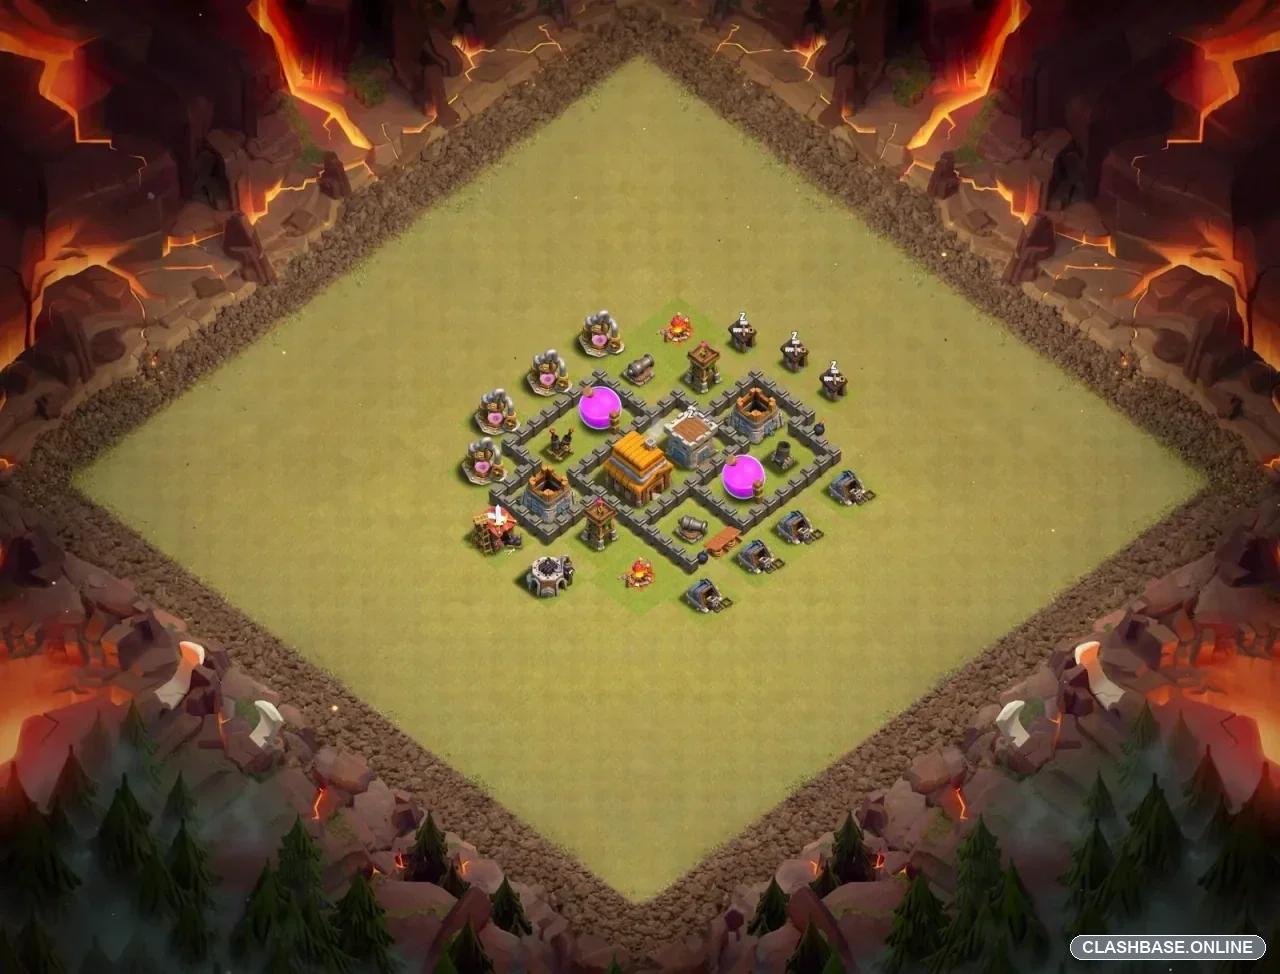
This TH4 Clan War base is small, but it does not waste the limited walls available at this level. The Town Hall is kept well inside the layout, with the two Elixir Storages positioned on opposite sides and several defensive buildings covering the approaches. The overall shape is quite compact, which should help the defenses support each other once an attacker moves past the outer buildings.
What I like most here is the Town Hall placement. It is not pushed against an edge, and there is no completely open route straight into it. Ground troops have to move through the defensive area first, which gives Cannons, Archer Towers, the Mortar, and other defenses time to work.
The wall pattern may also be more troublesome than it first looks. Instead of one big square, the base uses connected sections that can influence how Giants move. A group entering from the left might lock onto a nearby defensive target rather than continuing directly toward the Town Hall. Meanwhile, Archers or other support troops can become distracted by the Elixir Storage or outside buildings.
At TH4, that separation is a real issue. Armies are still relatively small, so losing a handful of support troops—or allowing the Giants to move too far ahead—can change the rest of the attack quickly.
The two Elixir Storages have a useful role here too. Since this is a Clan War layout, protecting the resources inside them is not the main concern. Their value comes from their hit points. Troops that stop to destroy one remain under defensive fire for longer, effectively turning the storage into a temporary obstacle.
The Mortar is particularly important against lower-level armies. Barbarians and Archers tend to bunch together, especially when they follow Giants through the same opening. If those troops stay grouped for too long, splash damage may remove several at once. That can leave the Giants alive but without enough damage behind them to finish the base.
Another positive detail is that the defensive buildings are not all packed beside the Town Hall. Some remain toward the sides and lower section, so reaching the middle does not immediately shut down the entire defense. An attacker may secure the Town Hall and still have meaningful defensive fire to deal with during cleanup.
There are some compromises. Several buildings outside the walls can be cleared fairly easily, giving the attacker percentage and helping with funnel creation. The base is also compact enough that once the core is successfully opened, the remaining important structures are relatively close together.
I would not describe this as an unbeatable TH4 layout—no realistic base analysis should make that promise. Its strength is more practical. Central Town Hall protection, separated high-hitpoint buildings, narrow troop routes, and overlapping defensive coverage make rushed ground attacks less forgiving.
For Clan War, that is a sensible goal. A patient attacker may still break the layout, but poorly placed Giants, wasted Wall Breakers, or support troops wandering around the outside could make a clean three-star much harder than the base's small footprint suggests.