 CLASHBASE.ONLINEFarming
About this Town Hall 5 base
Copy this base to Clash of Clans
Tap the button below. Clash of Clans will open so you can place this layout in an available base slot.
Copy base to the gameClash of Clans must be installed on this device.Rate this layout
Share a useful, honest experience. One review is stored per visitor for this item.
TH5 Farming Base number 4 – Split Storage and Layered Resource Defense Analysis
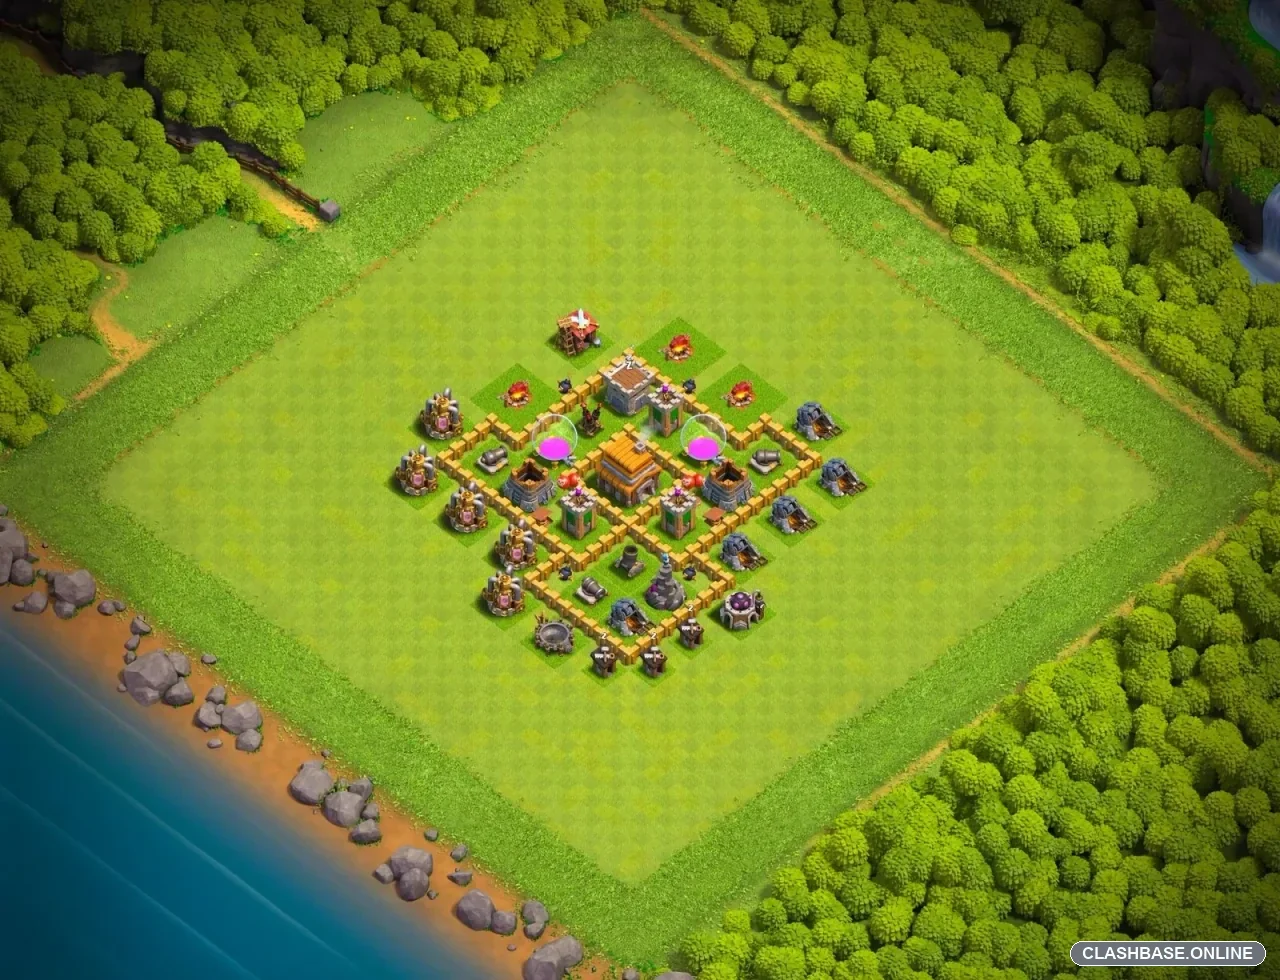
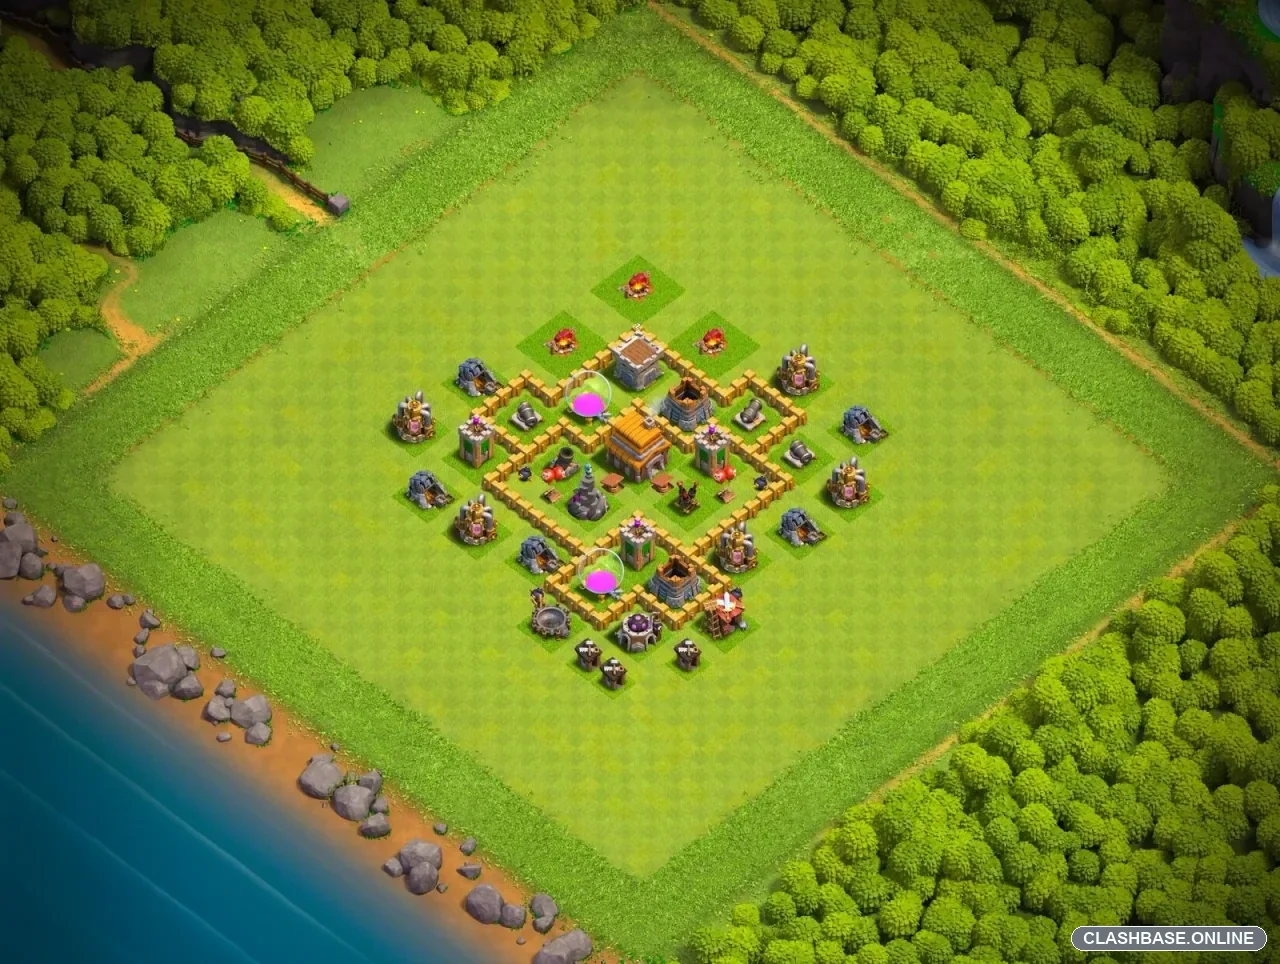
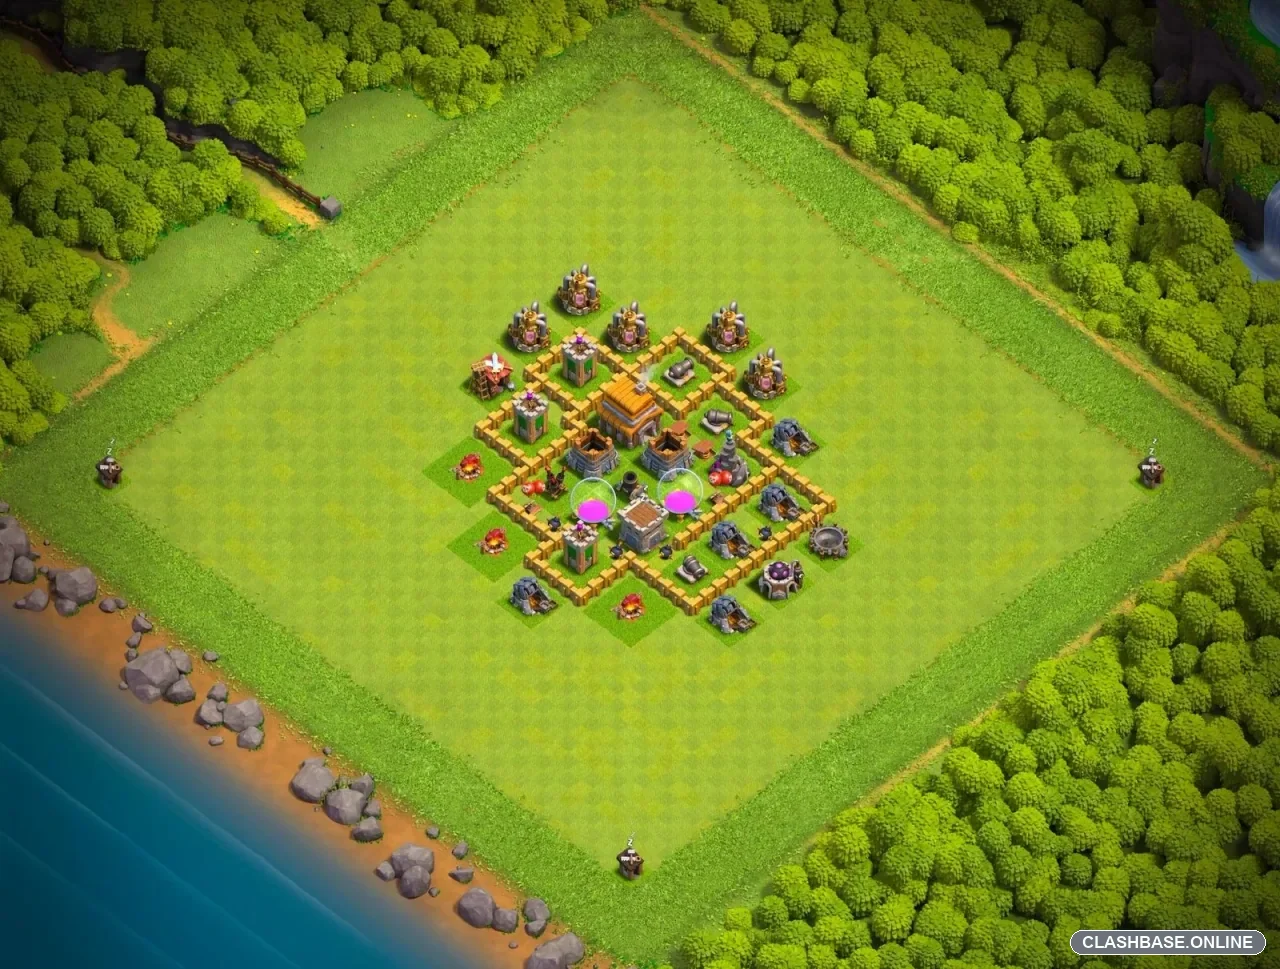
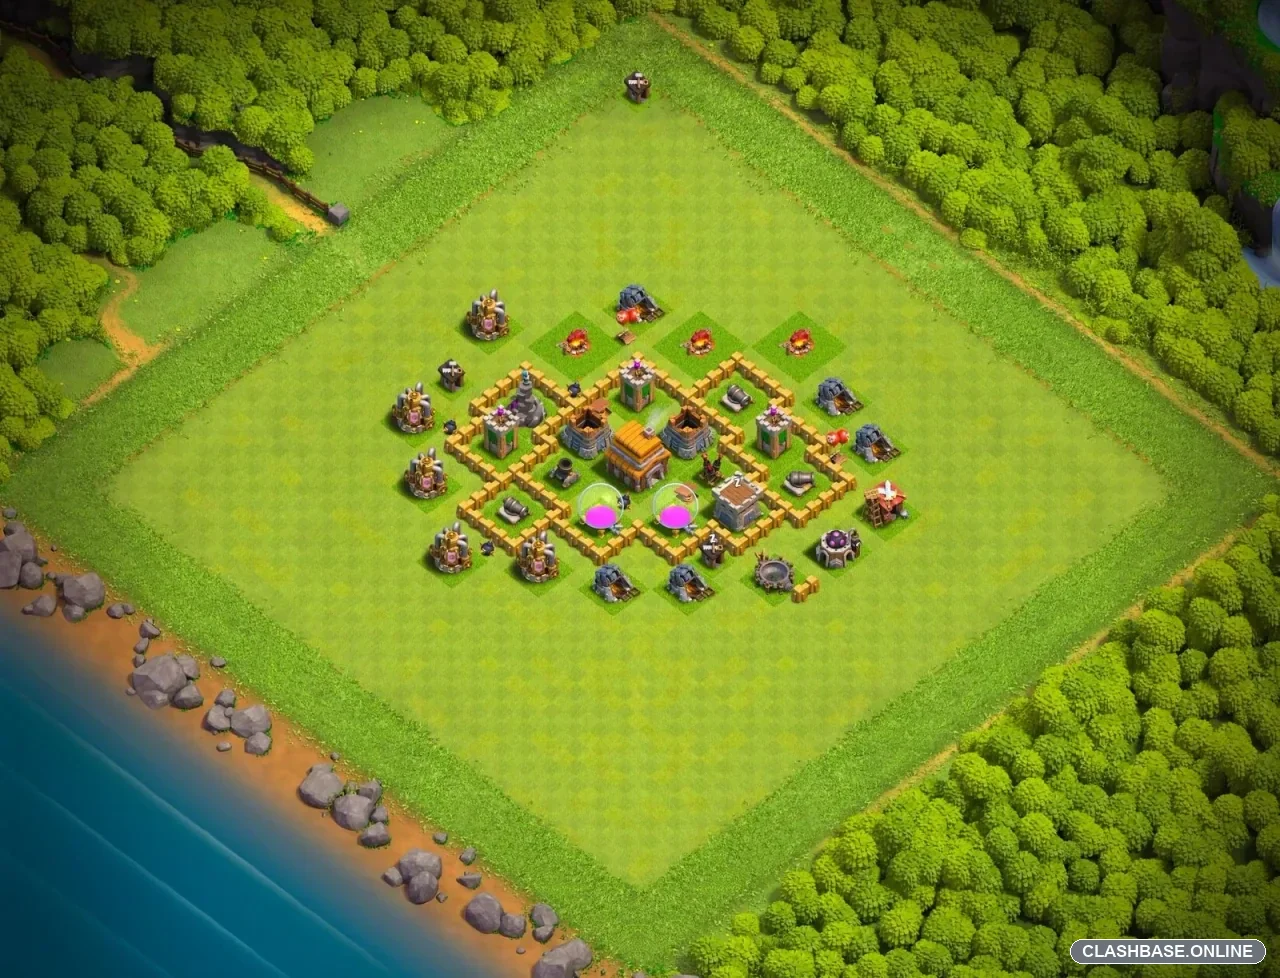
This TH5 farming base is fairly compact, but it does not make every valuable building reachable from the same wall opening. The Town Hall sits around the middle, while the surrounding compartments separate the resource buildings and defensive targets. For farming, that may be the biggest advantage of the layout: an attacker can get some loot without automatically getting all of it.
The two Elixir Storages are positioned in different lower sections of the base. They are close enough to receive defensive support, but walls and other buildings still interrupt the path between them. Someone entering from the lower-left could reach one storage, for example, yet the other remains behind a different section of the village.
Gold protection appears to follow a similar idea. Valuable buildings are kept within the defended area rather than being left completely exposed around the edge. This should force farming armies to commit more troops if they want to clear the full resource core instead of grabbing the easiest target and leaving.
What I find more interesting is the wall pattern. The base uses several small compartments, and ground troops are unlikely to travel through all of them in one perfectly straight line.
Giants may enter from one side and immediately turn toward the nearest defensive building. Goblins, Archers, or Wizards behind them can choose another target, particularly if a storage is nearby. If the attacker rushed the funnel, the tanks may move deeper while the supporting troops stay behind.
That kind of separation can be surprisingly useful at TH5.
Splash damage also has a decent chance to influence the raid. The Mortar and Wizard Tower appear protected within the defensive area instead of sitting as easy first targets. When Barbarians, Archers, or Wizards gather behind Giants, splash damage can weaken several troops at once. A cheap farming army may look healthy on the perimeter, then start losing numbers quickly once it enters the tighter compartments.
Storages provide a second kind of defense: delay. They take much longer to destroy than collectors and many ordinary buildings. Every few seconds troops spend working on a storage gives nearby Cannons, Archer Towers, and splash defenses more time to fire. Across multiple resource sections, those small delays can add up.
There are some compromises. Several buildings outside the walls are easy to remove, which gives attackers free percentage and helps them shape a funnel. The center is also fairly compact. If a strong army reaches it with enough Giants and support troops still alive, several important buildings can fall in quick succession.
Still, the defensive idea makes sense for everyday TH5 farming. The layout relies on split resource compartments, defensive overlap, high-hitpoint storage delays, and troop pathing that can punish a careless entry. It is not designed to make every raid fail. Instead, it appears built to make a full loot sweep cost more troops and time than an attacker may be willing to spend.