 CLASHBASE.ONLINEFarming
About this Town Hall 7 base
Copy this base to Clash of Clans
Tap the button below. Clash of Clans will open so you can place this layout in an available base slot.
Copy base to the gameClash of Clans must be installed on this device.Rate this layout
Share a useful, honest experience. One review is stored per visitor for this item.
TH7 Farming Base number 2 – Split Storage Core and Funnel Control Analysis
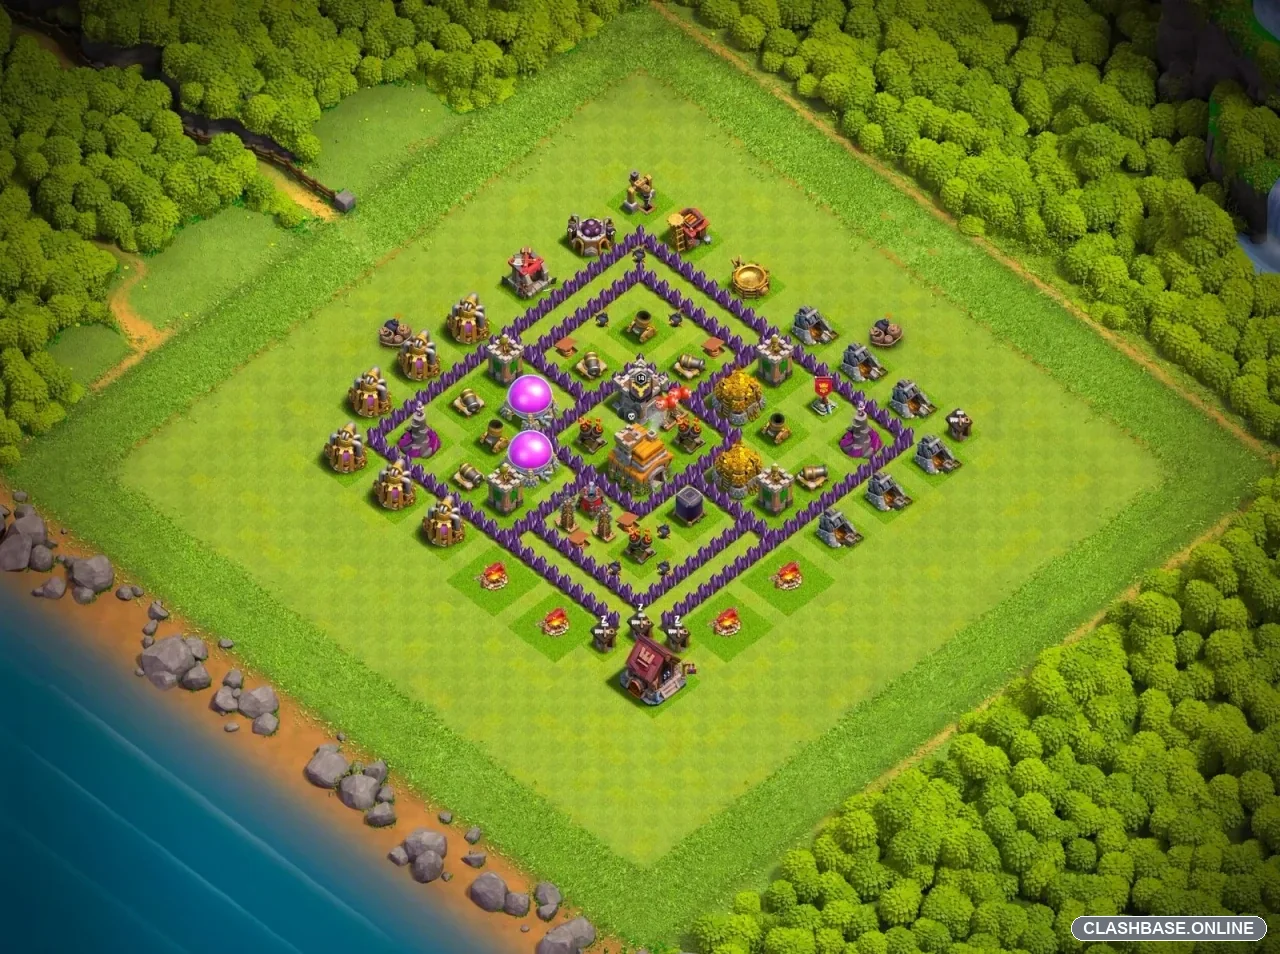
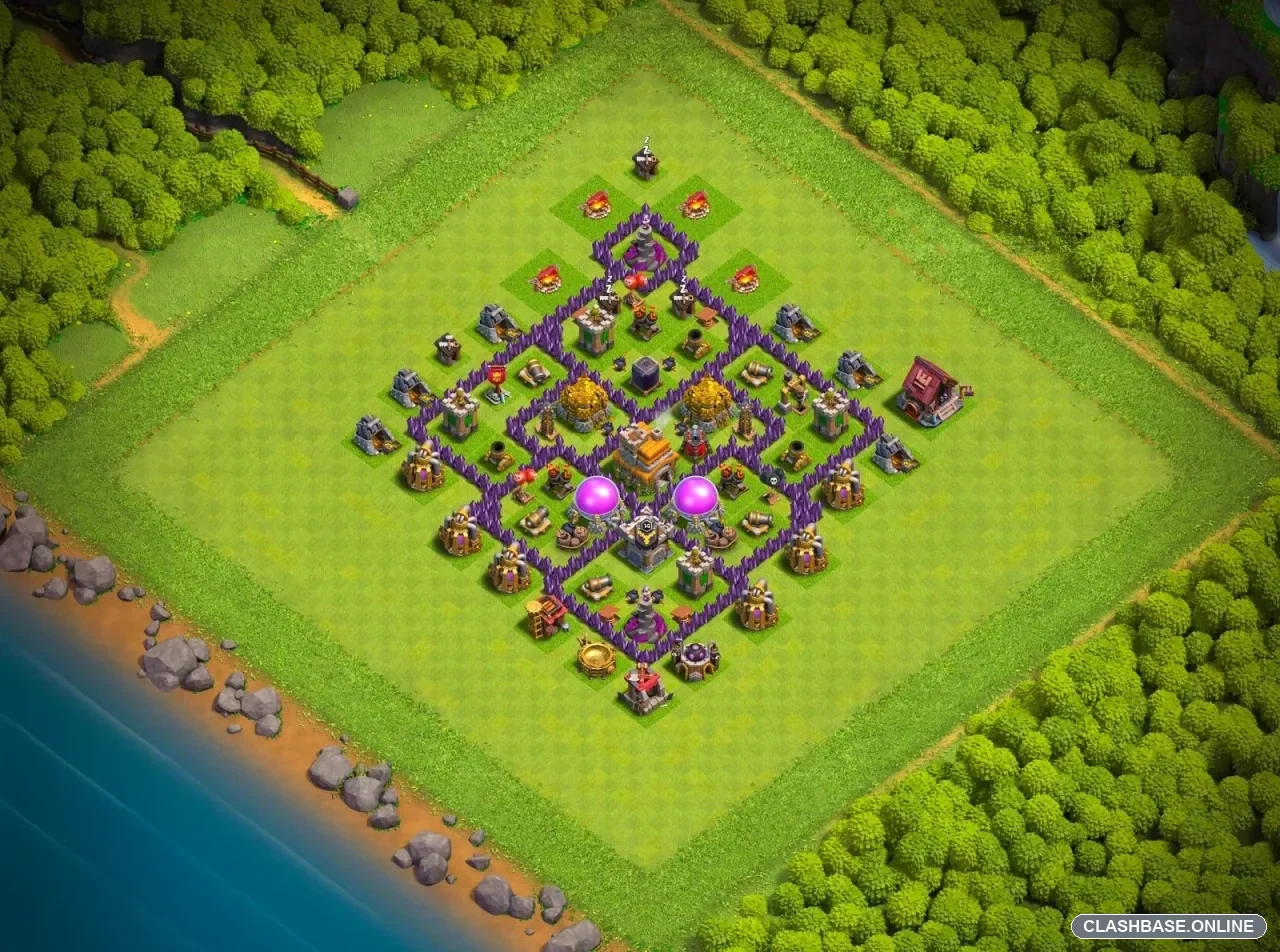
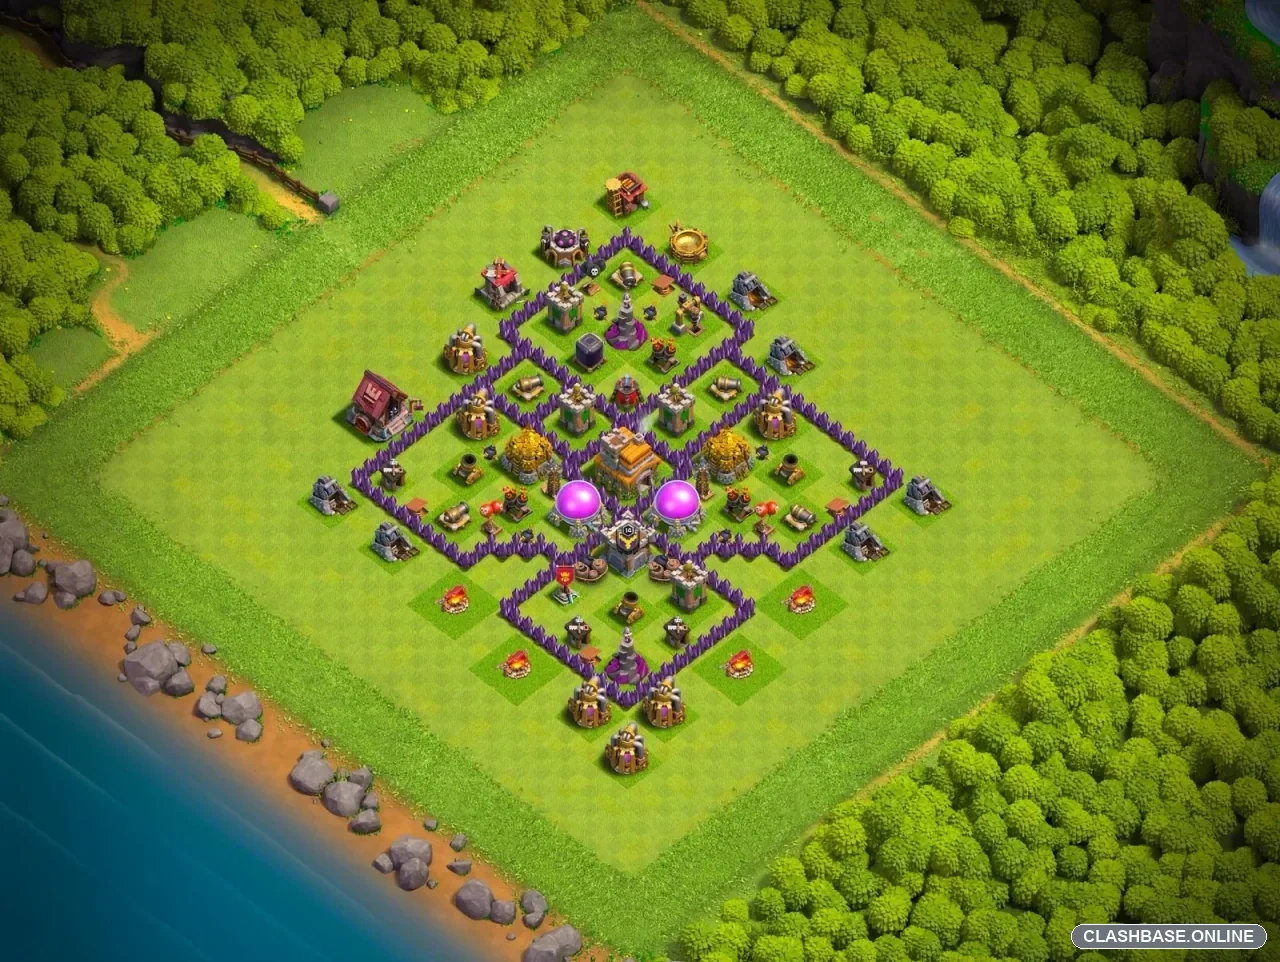
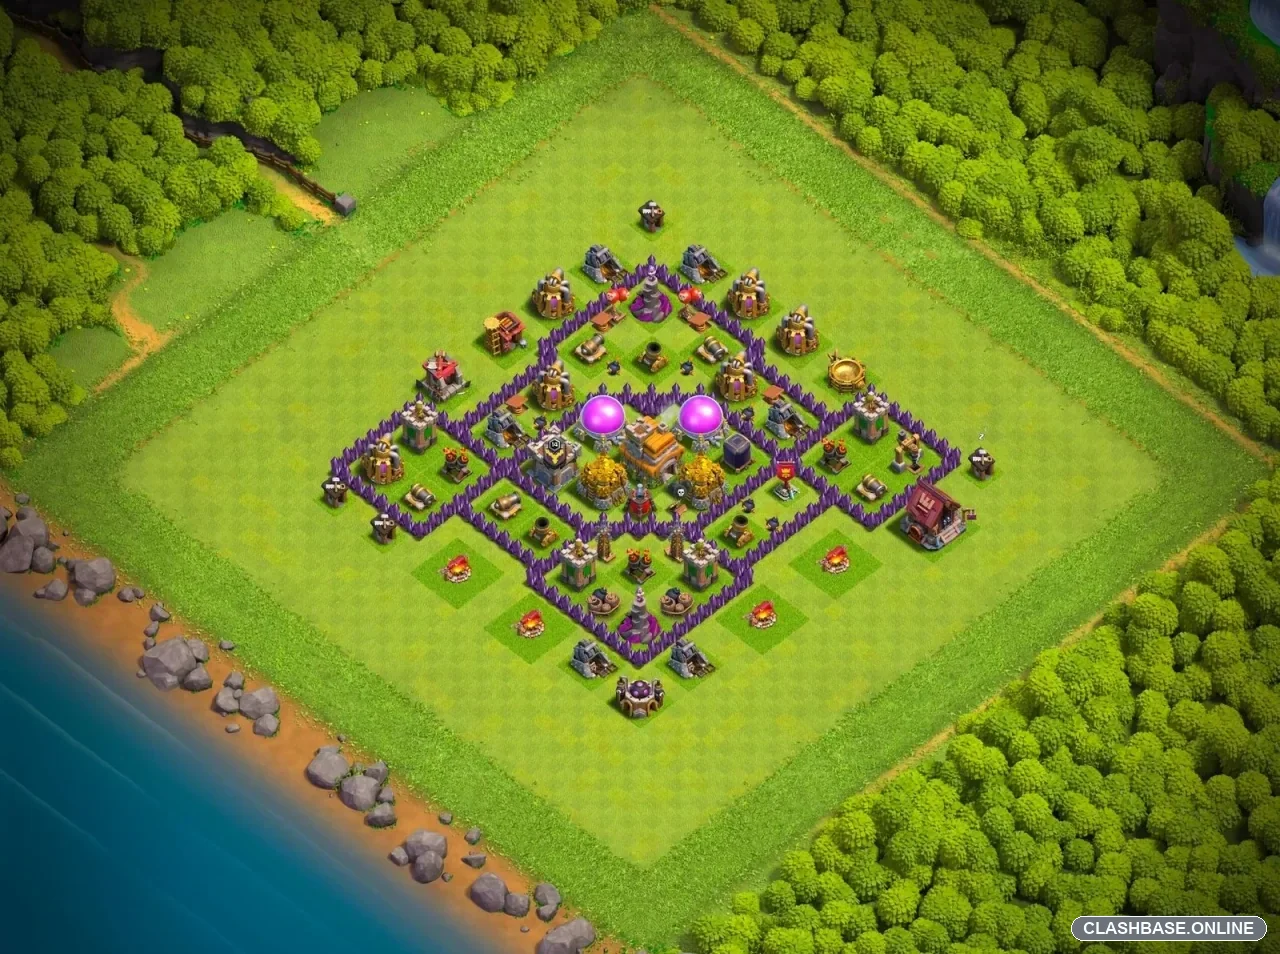
This TH7 farming base has a fairly open-looking shape, but the important part of the village is much tighter than it first appears. The Town Hall and major storages are kept inside the central wall network, while the left and right sections extend outward and create extra routes for attacking troops to follow.
For a farming layout, the resource distribution is probably its strongest feature.
The two Elixir Storages sit on opposite sides of the upper core instead of being stacked together. Gold Storages are also protected farther inside, so breaking through one side does not automatically expose every valuable building. An attacker may secure one storage fairly early, but moving across the base for the next one means dealing with another wall section and more defensive fire.
The wall pattern is interesting too. It is not a perfectly clean square. Several compartments branch away from the middle, especially on the left and right sides. That may cause Giants and other defense-targeting troops to drift sideways instead of heading directly toward the core.
Meanwhile, Goblins or supporting Wizards can stop on resource buildings behind them. A small split like this is often enough to make a quick farming raid less efficient. The attacker may still get loot, but the army starts losing time and health before reaching the opposite storage section.
The central buildings also create useful stalling power. Gold and Elixir Storages have plenty of hit points, which means troops cannot remove them instantly. While attackers are busy working through a storage, nearby Cannons, Archer Towers, Mortars, Wizard Towers, and other defenses continue firing.
Splash damage appears to have decent coverage around the areas where troops are most likely to bunch together. That is particularly relevant against cheap farming armies using Barbarians, Archers, Goblins, or groups of Wizards. A large pack may clear exposed buildings quickly, then run into much heavier pressure once it reaches the inner compartments.
Air defense seems reasonably protected as well. The important anti-air buildings are placed within the defensive structure rather than sitting completely exposed around the edge. At TH7, where Dragon attacks are a common concern, forcing air troops deeper into the layout before they can remove those defenses is useful. Archer Towers add more coverage from different angles.
The outside buildings are a bit of a trade-off. They can give away some easy percentage, but they also create funneling distractions. Troops placed too widely may spend extra time walking along the perimeter instead of entering the section the attacker wanted.
One possible weakness is the relatively compact center. If a strong army reaches that area with plenty of troops still alive, several valuable targets become accessible quite quickly. The general symmetry of the core also makes the defensive pattern easier to understand after a careful look.
Still, this is a sensible TH7 farming design. Its defensive quality comes from splitting the storages, slowing movement between compartments, using high-hitpoint buildings as buffers, and keeping enough defensive coverage around the core to make a full loot sweep costly. It does not need to stop every raid to do its job—saving part of the resources is already a useful defensive win.