 CLASHBASE.ONLINEFarming
About this Town Hall 7 base
Copy this base to Clash of Clans
Tap the button below. Clash of Clans will open so you can place this layout in an available base slot.
Copy base to the gameClash of Clans must be installed on this device.Rate this layout
Share a useful, honest experience. One review is stored per visitor for this item.
TH7 Farming Base number 5 – Diamond Core and Resource Protection Analysis
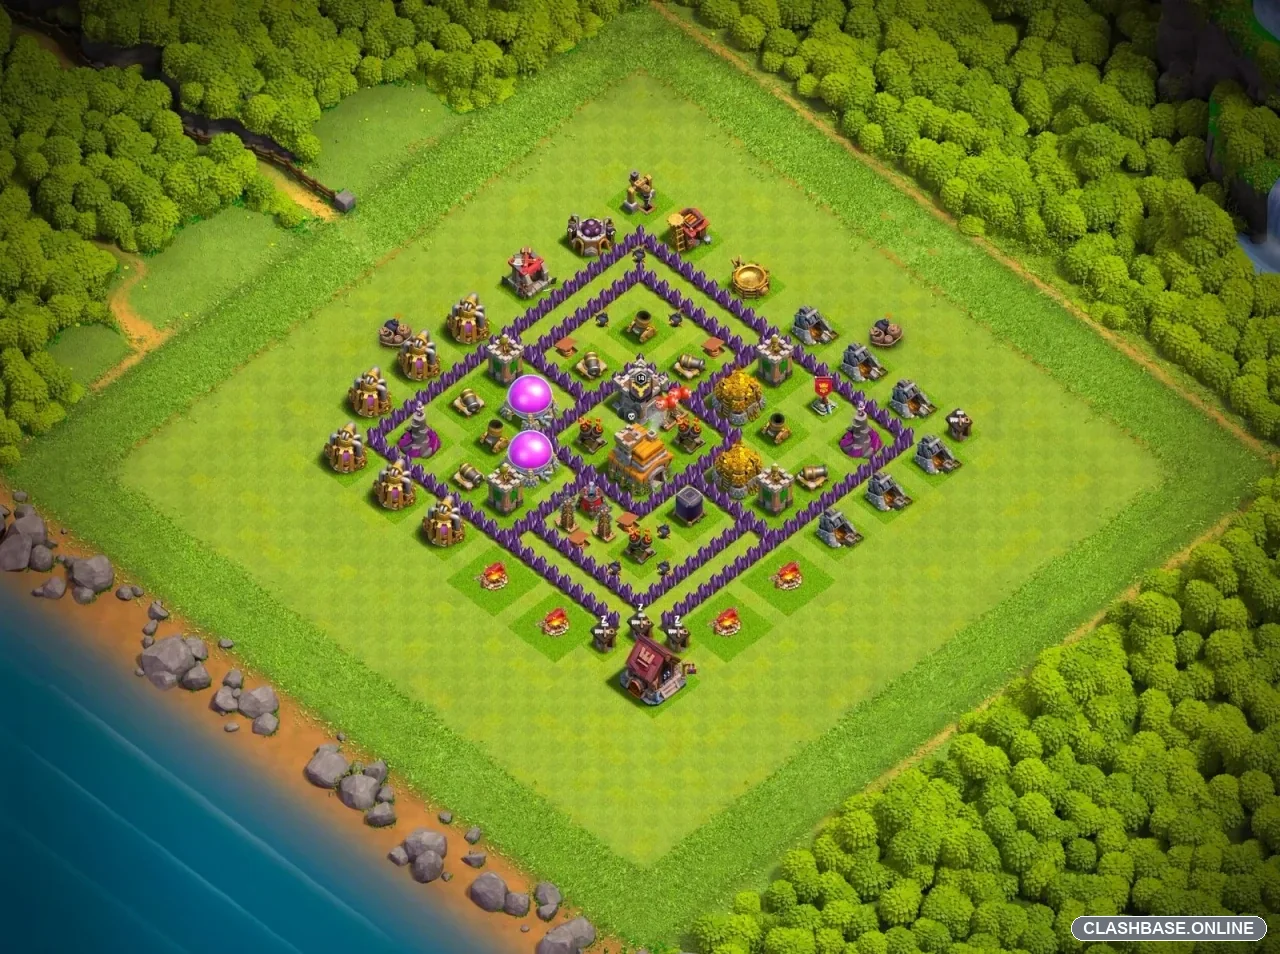
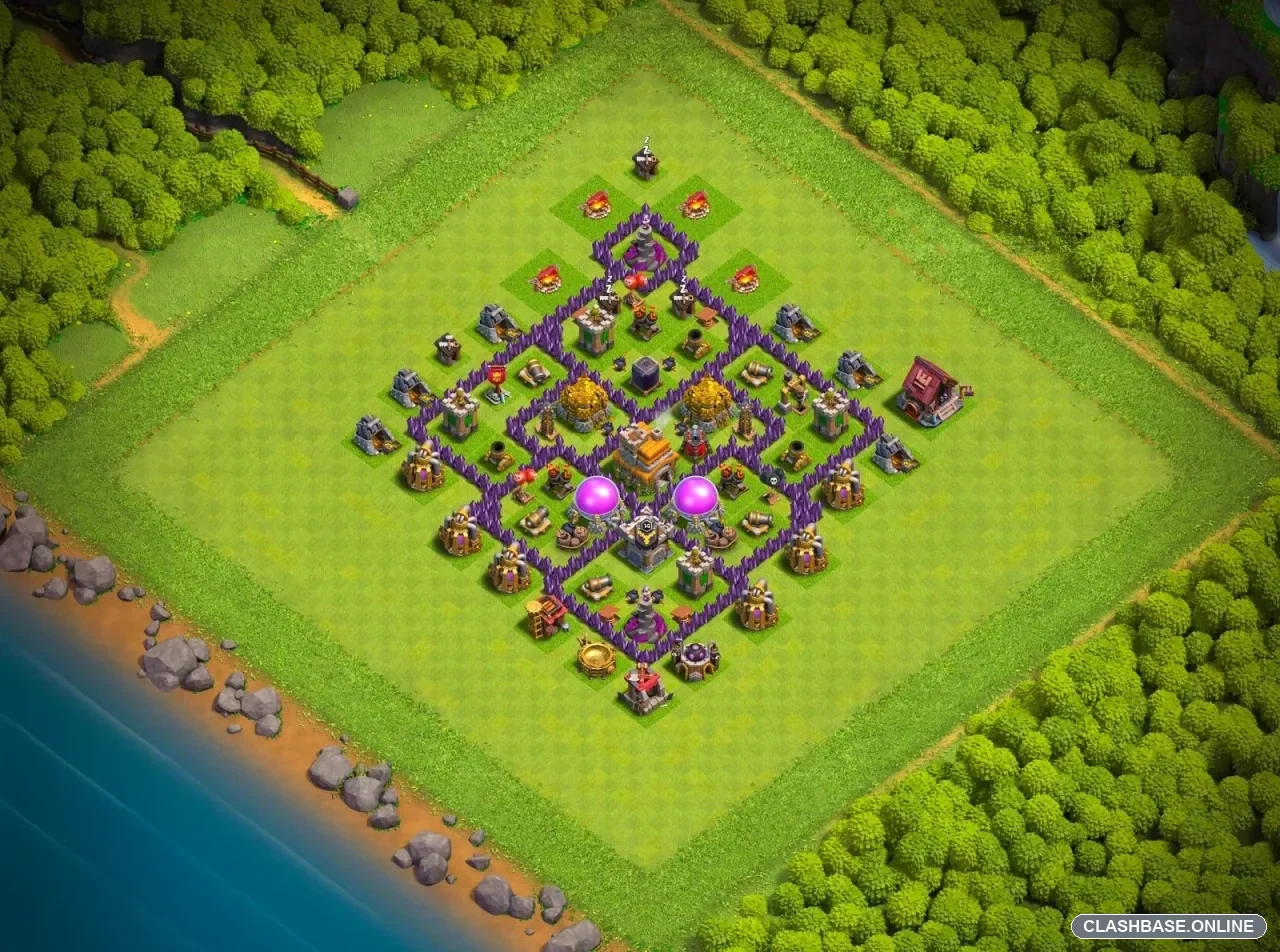
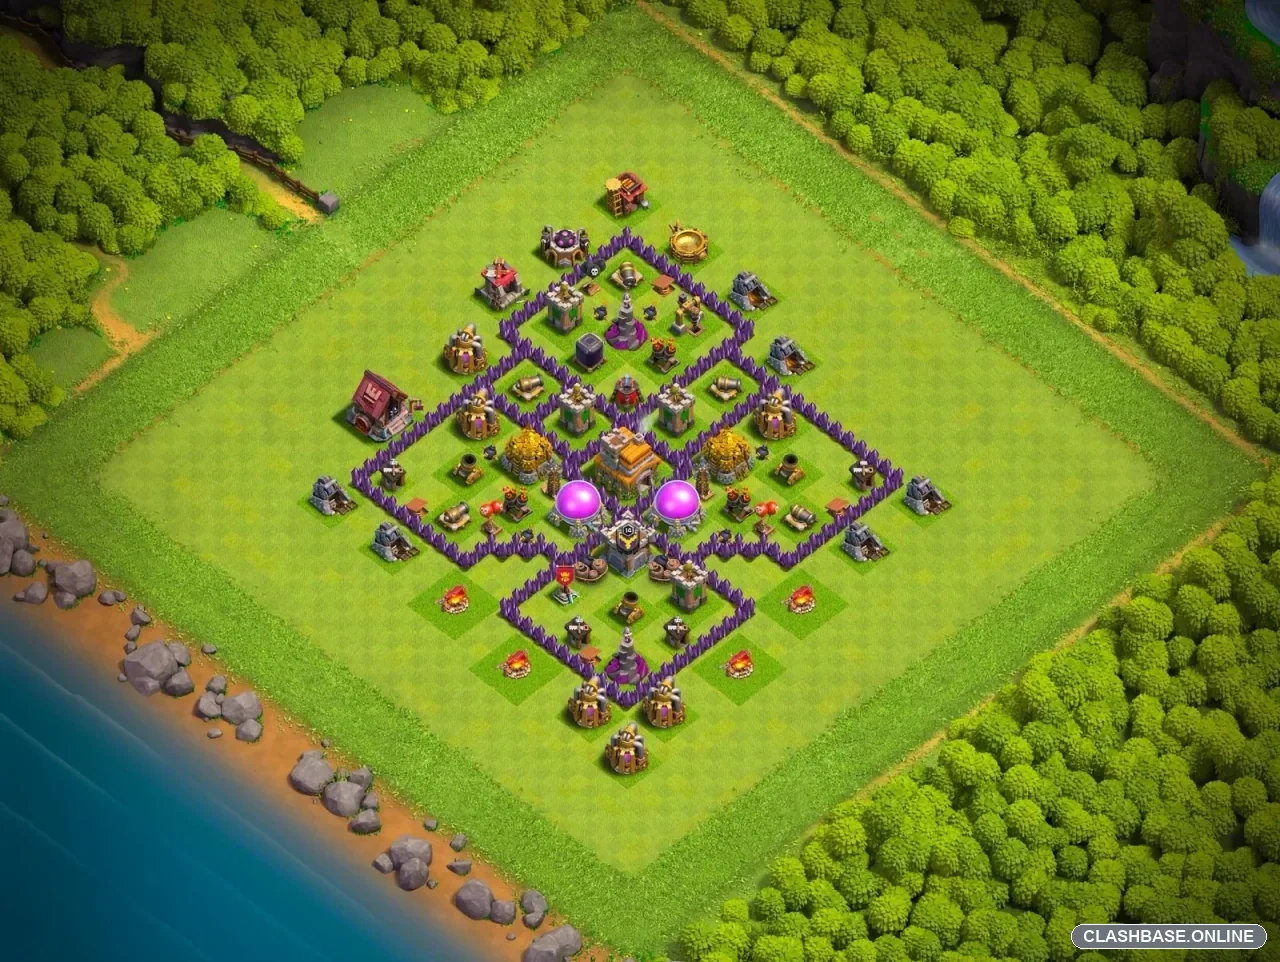
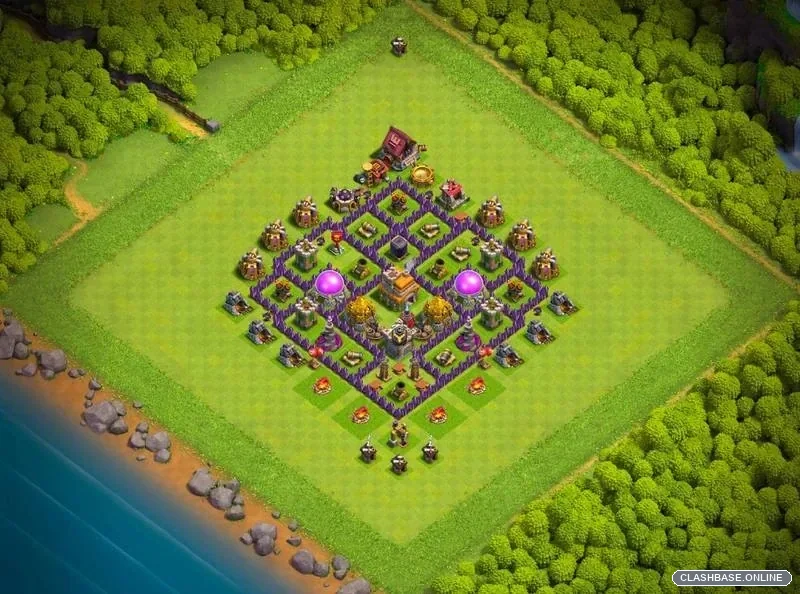
This TH7 farming base looks simple from a distance, but the defensive idea becomes clearer once you follow the walls toward the middle. The village is built as a compact diamond with several smaller compartments inside it, rather than one large room holding every important building. For farming, that is a sensible choice because losing one section does not necessarily mean losing all of the stored resources.
The two Elixir Storages are positioned on opposite sides of the inner layout. Gold Storages sit deeper around the central area as well, so an attacker cannot reach every major resource building from a single breach. Someone entering from the left might secure one Elixir Storage, for example, but the right-side storage is still separated by walls, defensive buildings, and distance.
That separation may be the strongest part of the design.
The Town Hall is kept inside the protected area rather than being left on the perimeter. Several wall sections and defensive targets sit between it and the deployment zone. Ground troops that get through the first layer still need to decide where to go next, and that is where the layout can start causing problems.
Giants are a good example. They may enter through one section and immediately turn toward the closest Cannon or Archer Tower. Wizards or Goblins behind them could stop on a storage instead. Suddenly the tanks are moving one way and the damage troops another. A careful attacker can control this with a good funnel, but quick farming raids are much more likely to make that mistake.
There is useful defensive pressure around the resource area too. Splash defenses are positioned close enough to the inner compartments to threaten groups of Archers, Goblins, Barbarians, or Wizards. Mortar fire can also become annoying when several troops gather behind Giants. Cheap armies may have little trouble collecting a few outside buildings, but reaching the deeper storages is likely to cost more.
The storages themselves help the defense in a less obvious way. They have high hit points. When troops stop for several seconds to destroy one, nearby defenses get extra time to keep shooting. One storage may not delay an army for long, but repeating that process across different compartments can slowly drain troop health.
Air defense also appears to be kept away from the easiest perimeter access. That matters at TH7, where Dragon attacks are a common concern. Air troops should generally have to move through other structures before reaching the important anti-air defenses, while Archer Towers continue adding damage along the route.
The compact design is not without drawbacks. If a strong army reaches the core with plenty of troops remaining, several valuable buildings are fairly close together. The diamond shape is also quite readable once an experienced player studies it.
Still, as an everyday farming layout, the idea is solid. It is built around splitting the loot, delaying movement between compartments, protecting the inner resource area, and making a full storage sweep more expensive than taking only one side of the base. That is exactly the kind of trade-off a TH7 farming base should be trying to create.