
 CLASHBASE.ONLINE
About this Builder Hall 7 base
Copy this base to Clash of Clans
Tap the button below. Clash of Clans will open so you can place this layout in an available base slot.
Copy base to the gameClash of Clans must be installed on this device.Rate this layout
Share a useful, honest experience. One review is stored per visitor for this item.
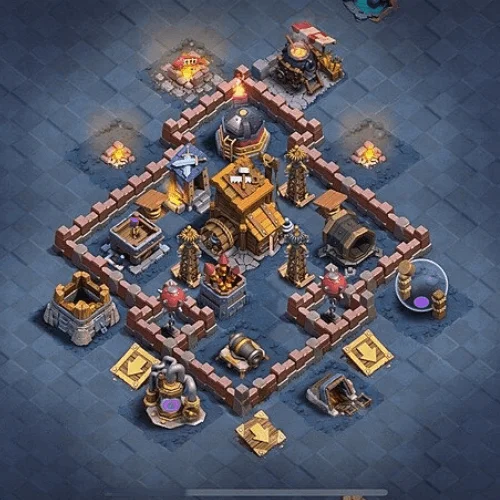
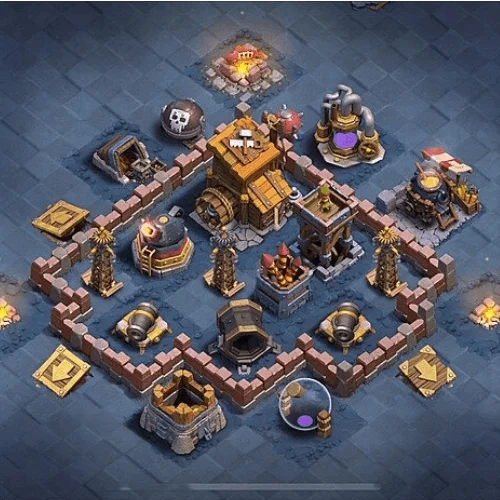
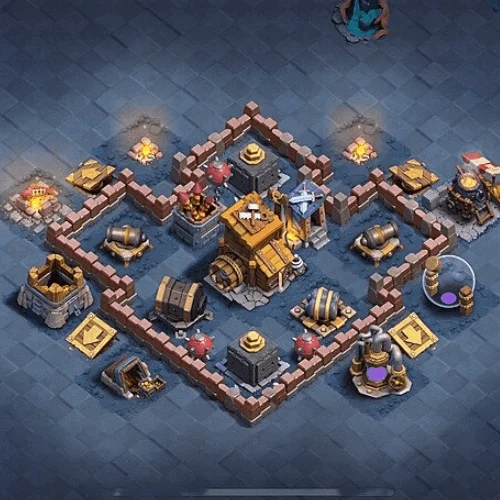
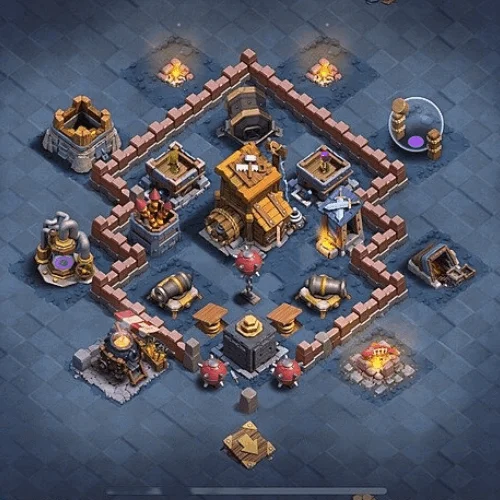
This Builder Hall 7 base number 02 leans heavily on symmetry, but it is not just for appearance. The two side compartments act almost like defensive wings around the central core, giving the base several separate areas that an attacker has to deal with instead of one large room packed with buildings. That separation may be the most useful part of the design because it makes clean troop movement harder to maintain.
The Builder Hall sits directly in the middle, surrounded by several important defenses. It is visible and seemingly reachable, yet a straight rush into the center is likely to bring troops into overlapping fire from multiple directions. The nearby Multi Mortar can keep working on grouped units, while the surrounding point defenses add steady damage once tougher troops move deeper inside.
What makes the base more interesting is the left-and-right compartment structure. Both sides contain defensive buildings enclosed behind their own wall sections. Ground troops that lock onto defenses may peel away from the center and enter one of these pockets first. If that happens, the attacking army can easily become divided into three groups: troops fighting on the left, another group drifting right, and whatever remains moving toward the Builder Hall.
That kind of split is especially useful defensively. A Battle Machine or tanky unit may survive comfortably when the supporting army stays behind it. Once those supporting troops take a different route, though, the whole attack becomes less efficient. The base appears designed to encourage exactly that situation.
The lower approach is also worth watching. There is more open space beneath the central walls, and a defensive building positioned farther outside can interfere with troop deployment. An attacker starting too wide may have units attracted toward the bottom structure before they join the main push. Those few extra seconds of walking can leave the central group fighting without full support.
Up top, several buildings sit beyond the main wall line as well. They do not provide direct protection to the Builder Hall, but they can influence targeting and force additional movement. The large air-focused defense positioned toward the top also means flying troops cannot simply ignore that section. Choosing an entry that avoids it initially may leave the defense active until later in the attack, when surviving air units are already weakened.
The walls themselves are relatively short and segmented. That is a double-edged choice. They help create different troop routes, but they do not provide the same depth as a base built with several complete wall layers. A carefully planned entry that keeps the army together could break into the center fairly quickly. Because several important defenses sit close to the Builder Hall, gaining control of the core may allow an attacker to remove valuable targets one after another.
Still, the defensive idea is easy to understand. This BH7 setup tries to pull troops sideways, divide the attacking force and concentrate damage around the central Hall. The symmetrical side compartments make both flanks relevant, while the scattered exterior buildings add useful pathing distractions. It may not punish every attack in the same way, but armies that lose formation early are likely to find the center much harder to clear efficiently.
 CLASHBASE.ONLINE
 CLASHBASE.ONLINE
 CLASHBASE.ONLINE