
 CLASHBASE.ONLINE
About this Builder Hall 7 base
Copy this base to Clash of Clans
Tap the button below. Clash of Clans will open so you can place this layout in an available base slot.
Copy base to the gameClash of Clans must be installed on this device.Rate this layout
Share a useful, honest experience. One review is stored per visitor for this item.
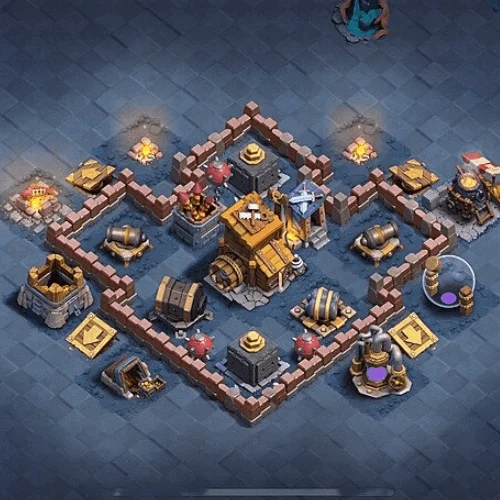
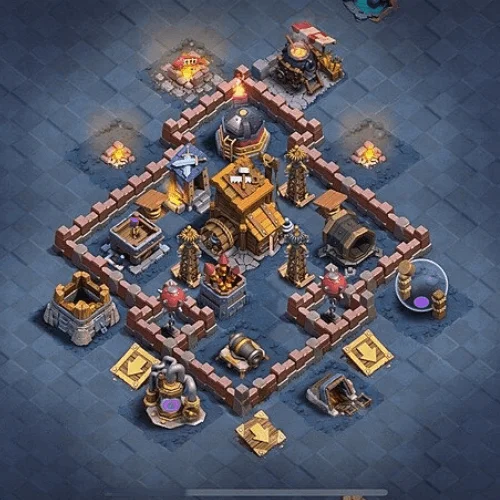
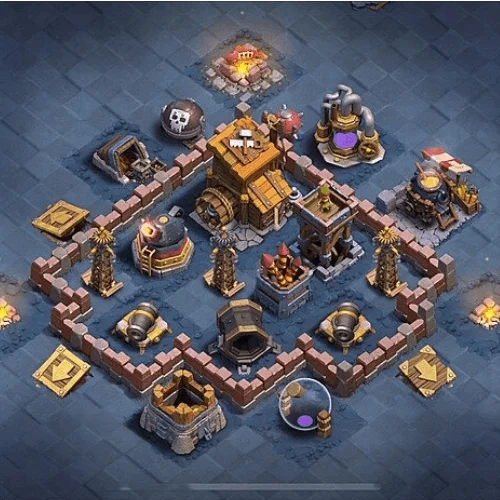
There is a lot of empty ground around this Builder Hall 7 number 05 base, and that seems to be part of the defensive plan rather than wasted space. Most of the important buildings are pulled into a relatively small diamond-shaped structure, while a handful of outer buildings sit far enough away to interfere with clean troop movement. The result is a base that appears to value route control and concentrated fire more than simply surrounding everything with as many walls as possible.
The Builder Hall is placed near the middle, but not completely isolated from the rest of the village. Several defenses sit around it at different angles, meaning troops that reach the core are likely to remain under fire while choosing their next target. A direct push toward the Hall may seem attractive because the distance is not huge. In practice, that route brings the attacking force straight into the area where defensive coverage is at its strongest.
Wall placement is doing quite a bit here. The left and right sections form separate pockets instead of one continuous central room. Ground troops may enter through one side and then start moving sideways after the first defense falls. That sounds like a small detail, but it can matter a lot. If tougher units move toward one compartment while supporting troops select another target, the attack loses the protection of a single organized front line.
The upper section adds another layer of resistance. Defenses are positioned behind the main wall line rather than sitting directly on the perimeter, so troops generally have to commit before reaching them. Meanwhile, the tall defensive structure placed well above the walls forces extra movement if troops are pulled toward it. An attacker who sends units too widely could end up with part of the army spending valuable time away from the center.
Toward the lower half, the design becomes a little more open. That may look like the easier side at first, but the scattered exterior structures can complicate deployment. The Air Bombs are also positioned well away from the central Hall, which gives the base more than one important defensive area. Flying troops focused entirely on the middle may eventually have to deal with anti-air pressure that was left untouched elsewhere.
Another useful detail is the spacing between the defensive compartments. Splash and ranged defenses are not all sitting on top of each other, yet they remain close enough to support nearby sections. This reduces the chance that removing one building immediately shuts down an entire side of the defense.
The compact center does come with a trade-off. If troops reach the inner area together and still have plenty of health, several valuable targets are relatively close. In that situation, the base may lose defensive power faster than a wider, more spread-out design would. Its wall geometry is most effective when troop pathing becomes uneven.
For BH7, though, the defensive concept is sensible. Separated compartments, a protected central Hall, exterior distractions and overlapping coverage all work toward the same goal: making the attack arrive at the core in pieces rather than as one clean group. When pathing begins to break down, this base is positioned to turn those small mistakes into lost time and steady troop damage.
 CLASHBASE.ONLINE
 CLASHBASE.ONLINE
 CLASHBASE.ONLINE