
 CLASHBASE.ONLINE
About this Builder Hall 9 base
Copy this base to Clash of Clans
Tap the button below. Clash of Clans will open so you can place this layout in an available base slot.
Copy base to the gameClash of Clans must be installed on this device.Rate this layout
Share a useful, honest experience. One review is stored per visitor for this item.
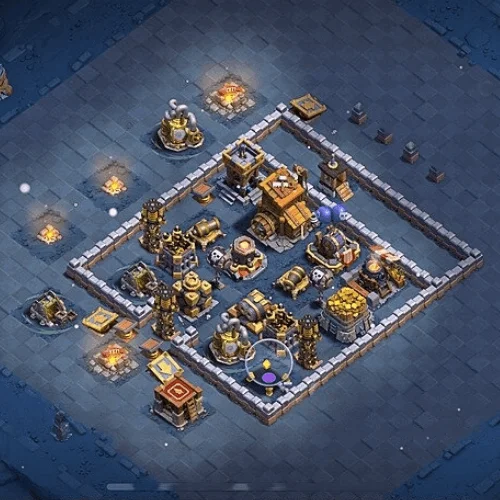
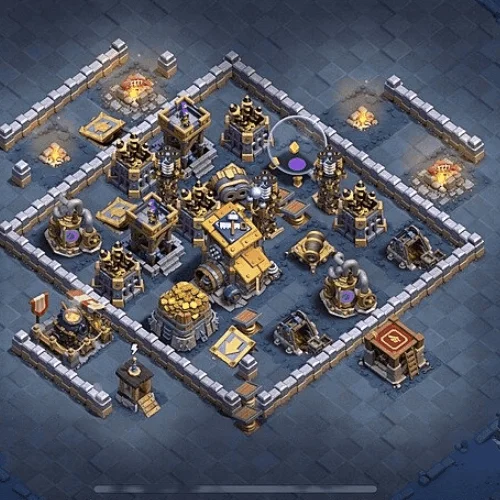
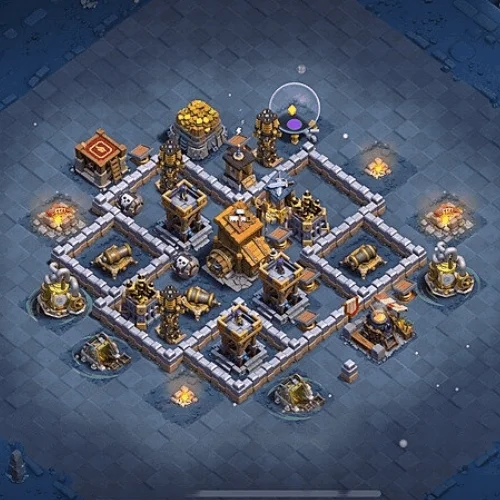
This Builder Hall 9 layout number 02 is built around a very concentrated defensive core. Almost every important structure sits within a relatively small area, while the walls form two different layers around that center. It looks straightforward from a distance, but the entry is probably where this design does most of its defensive work.
The Builder Hall is positioned slightly left of center, surrounded by several defenses rather than isolated behind its own compartment. That gives attackers an obvious objective, but not necessarily an easy route. A ground army coming from the left can reach the general Builder Hall area fairly quickly, yet it also has to deal with the Giant Cannon and nearby defensive fire. Approaching from another side means spending more time moving around the compact core.
I find the outer wall arrangement particularly interesting. It is not a completely sealed second box. Long wall sections extend around the upper and side edges, leaving gaps and empty lanes in between. That may appear wasteful at first, but it can influence troop movement before the real fight begins. An attacker who chooses the wrong drop point could have troops walking along the wall instead of entering where expected.
Inside, the layout becomes much tighter.
The Giant Cannon on the left is placed close enough to support the central area while still being separated from the Builder Hall itself. Against ground-heavy attacks, that is useful because clustered troops can remain in its firing path while they are trying to reach another target. Other defenses around the middle add pressure from different angles, so entering the core with a large group does not automatically make the attack comfortable.
Another strength is the spacing between the major defensive buildings. They are close enough to support each other, but not arranged in one perfectly straight line. This can create awkward target changes for Power P.E.K.K.A.s, Boxer Giants, or the Battle Machine. One unit may move toward a nearby defense while the rest of the push continues deeper, and even a small split can reduce the strength of the main group.
The compact design also helps with percentage denial. Because most of the valuable structures are gathered inside the protected area, attackers cannot collect a huge amount of easy destruction before entering the defenses. That can make failed pushes more costly, especially if troops spend too much time dealing with the outer wall or taking an indirect route.
There is a trade-off, of course. Once an experienced attacker creates a clean funnel and gets a healthy army into the center, several key targets are within a short distance of one another. This base is likely to depend heavily on causing damage and pathing mistakes before that happens.
Overall, this BH9 layout appears strongest at controlling entry, concentrating defensive fire, and making troop movement less predictable around the core. The Builder Hall is well supported without being buried in a simple box, and the unusual outer wall shape adds an extra layer of pathing pressure. It should be especially effective against rushed attacks, while more patient players will probably spend time studying the safest entry before committing their main force.
 CLASHBASE.ONLINE
 CLASHBASE.ONLINE
 CLASHBASE.ONLINE