
 CLASHBASE.ONLINE
About this Builder Hall 9 base
Copy this base to Clash of Clans
Tap the button below. Clash of Clans will open so you can place this layout in an available base slot.
Copy base to the gameClash of Clans must be installed on this device.Rate this layout
Share a useful, honest experience. One review is stored per visitor for this item.
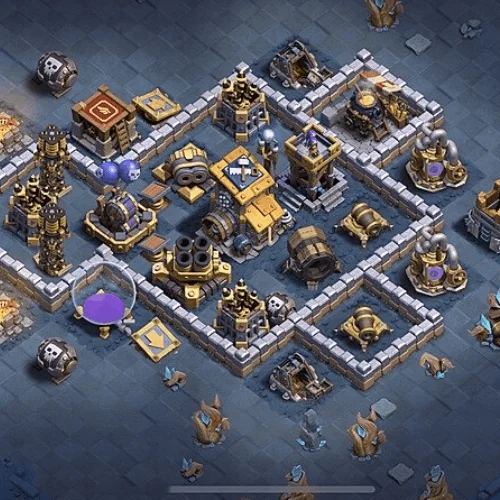
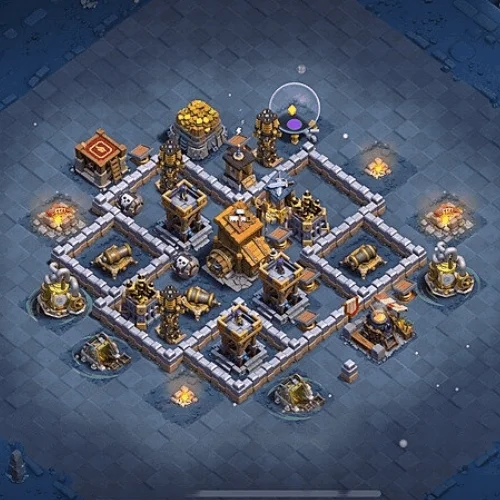
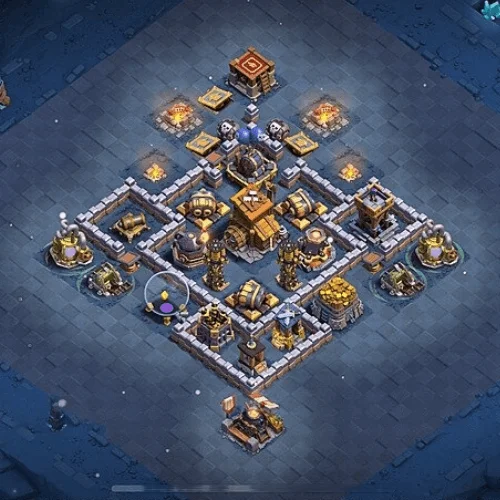
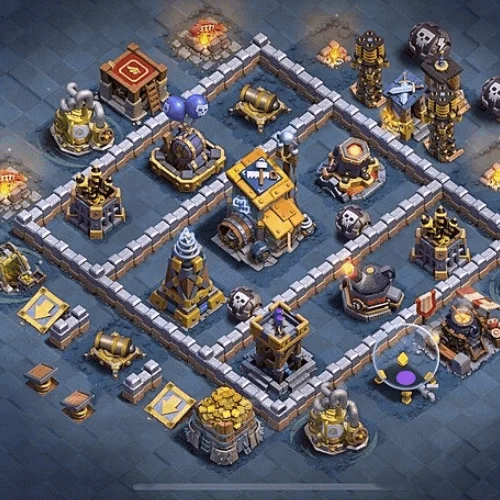
There is something slightly deceptive about the shape of this BH9 number 07 setup. The defensive area looks open from several directions, yet most useful entry points eventually feed troops toward a crowded middle where damage can stack up quickly.
The main objective sits close to the center, but it is not wrapped in a simple square of walls. Instead, the surrounding sections bend around it at different angles. That makes a straight-line ground attack less reliable. A player may open one side expecting the army to move inward, only to watch a tanking unit peel off toward a nearer defense.
That is where the wall placement earns its value.
The left side has several separated targets that can interfere with funneling before the real push begins. Dropping troops too wide could leave part of the army clearing outside structures while the stronger group moves inside without enough support. At BH9, that kind of separation can be costly because the central defenses have enough damage to punish an incomplete push.
The Giant Cannon on the right is also positioned intelligently. It is far enough from the middle that an attacker cannot simply destroy everything important in one compact engagement. Ground units moving through that side may line up naturally, giving the cannon opportunities to pressure several troops during the same sequence.
Meanwhile, the central defensive group creates a different problem. There are multiple structures close enough to cover the same fighting zone, but they are not arranged in a perfectly neat cluster. That matters. A Power P.E.K.K.A. may turn one direction, the Battle Machine another, while supporting troops hesitate between nearby targets. The base is basically asking the attacker to maintain control after the first wall break rather than just before it.
I also think the lower extension is easy to underestimate. A small number of buildings and wall pieces sit away from the busiest section, which can stretch the attack during cleanup. If most surviving troops finish on the opposite side, they may have to spend valuable seconds walking back across the field.
Air armies will probably experience the base differently. Walls obviously matter less to flying troops, so the defensive value shifts toward coverage and spacing. That means a carefully planned air approach may avoid some of the pathing problems that make the ground route awkward. Still, the spread of defenses prevents one early takedown from completely opening the whole area.
The biggest vulnerability is concentration. If an experienced attacker prepares the funnel correctly and enters the center with most of the army still healthy, several valuable targets become reachable quite quickly. The design works best when it causes trouble before that point.
Defensively, the idea is clear: break the attack into smaller pieces, keep side defenses active, and force troops to make uncomfortable target choices around the middle. It is not relying on one surprise or one oversized wall compartment. Instead, the pressure builds through positioning, crossfire, awkward angles, and late cleanup — a sensible approach for BH9.
 CLASHBASE.ONLINE
 CLASHBASE.ONLINE
 CLASHBASE.ONLINE